How to Knit a Bunny
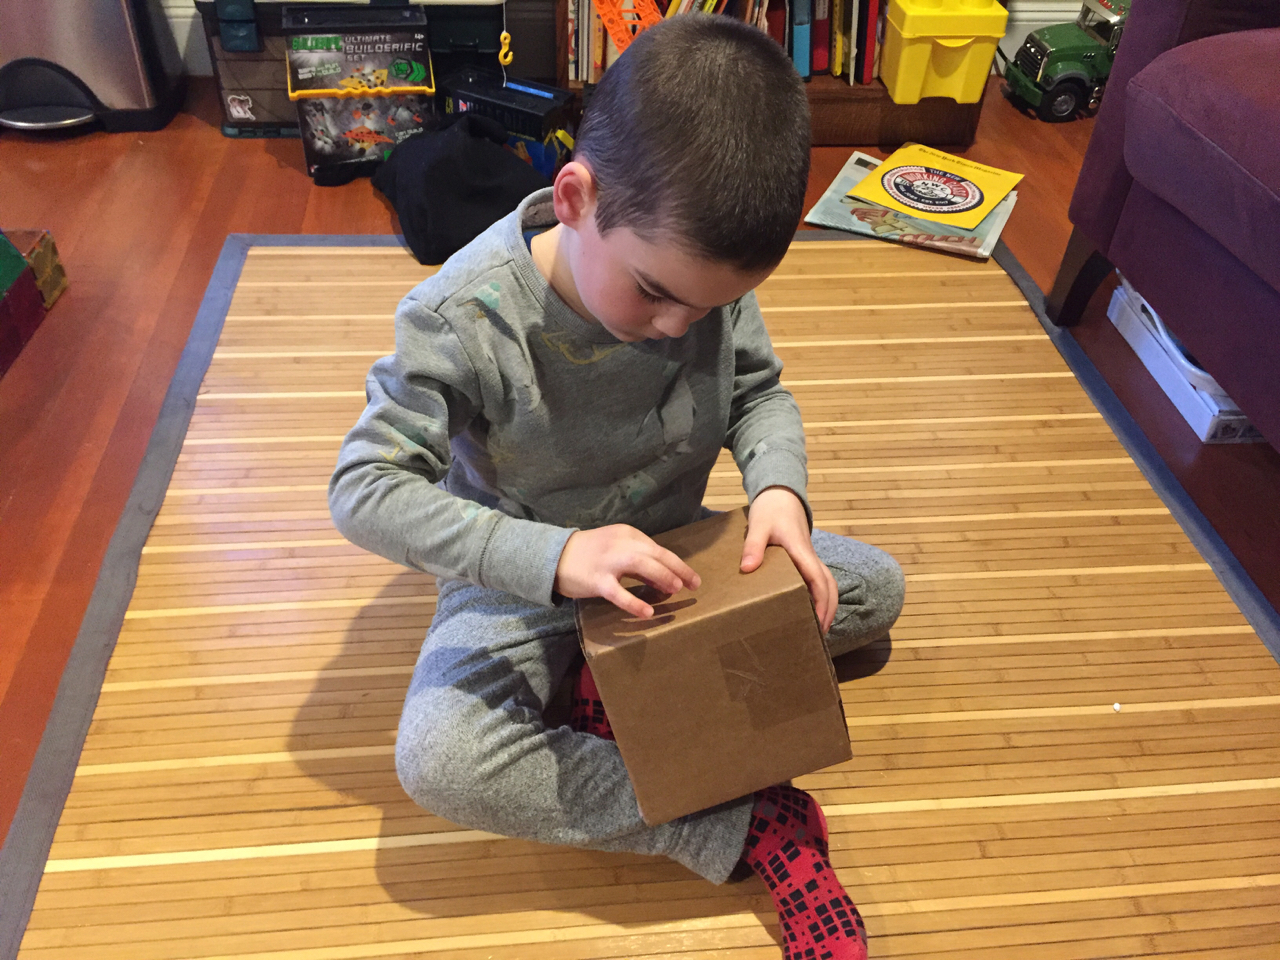
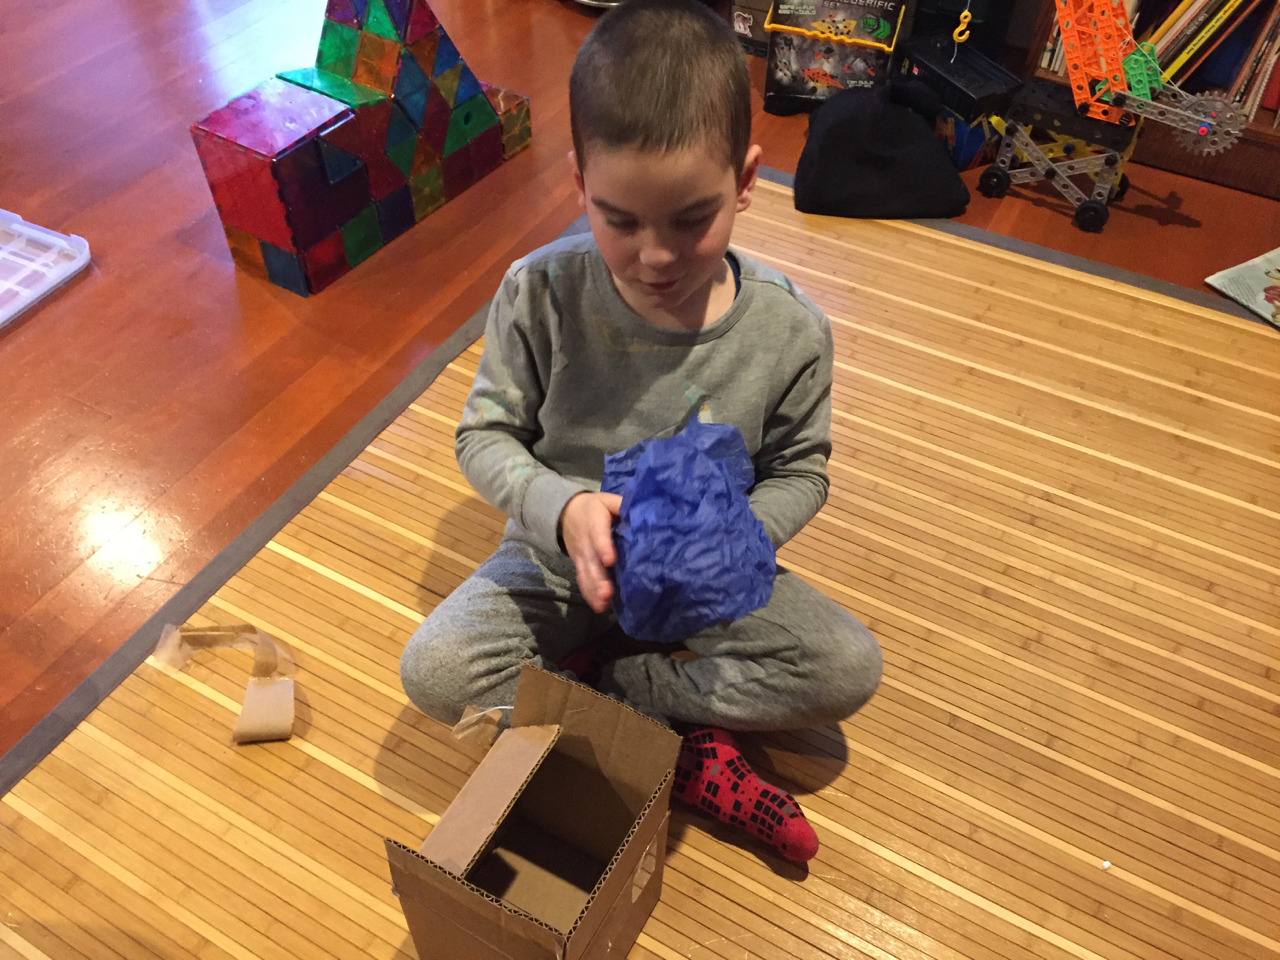
It has been awhile since Wyatt has participated in the craft exchange with Benjamin.
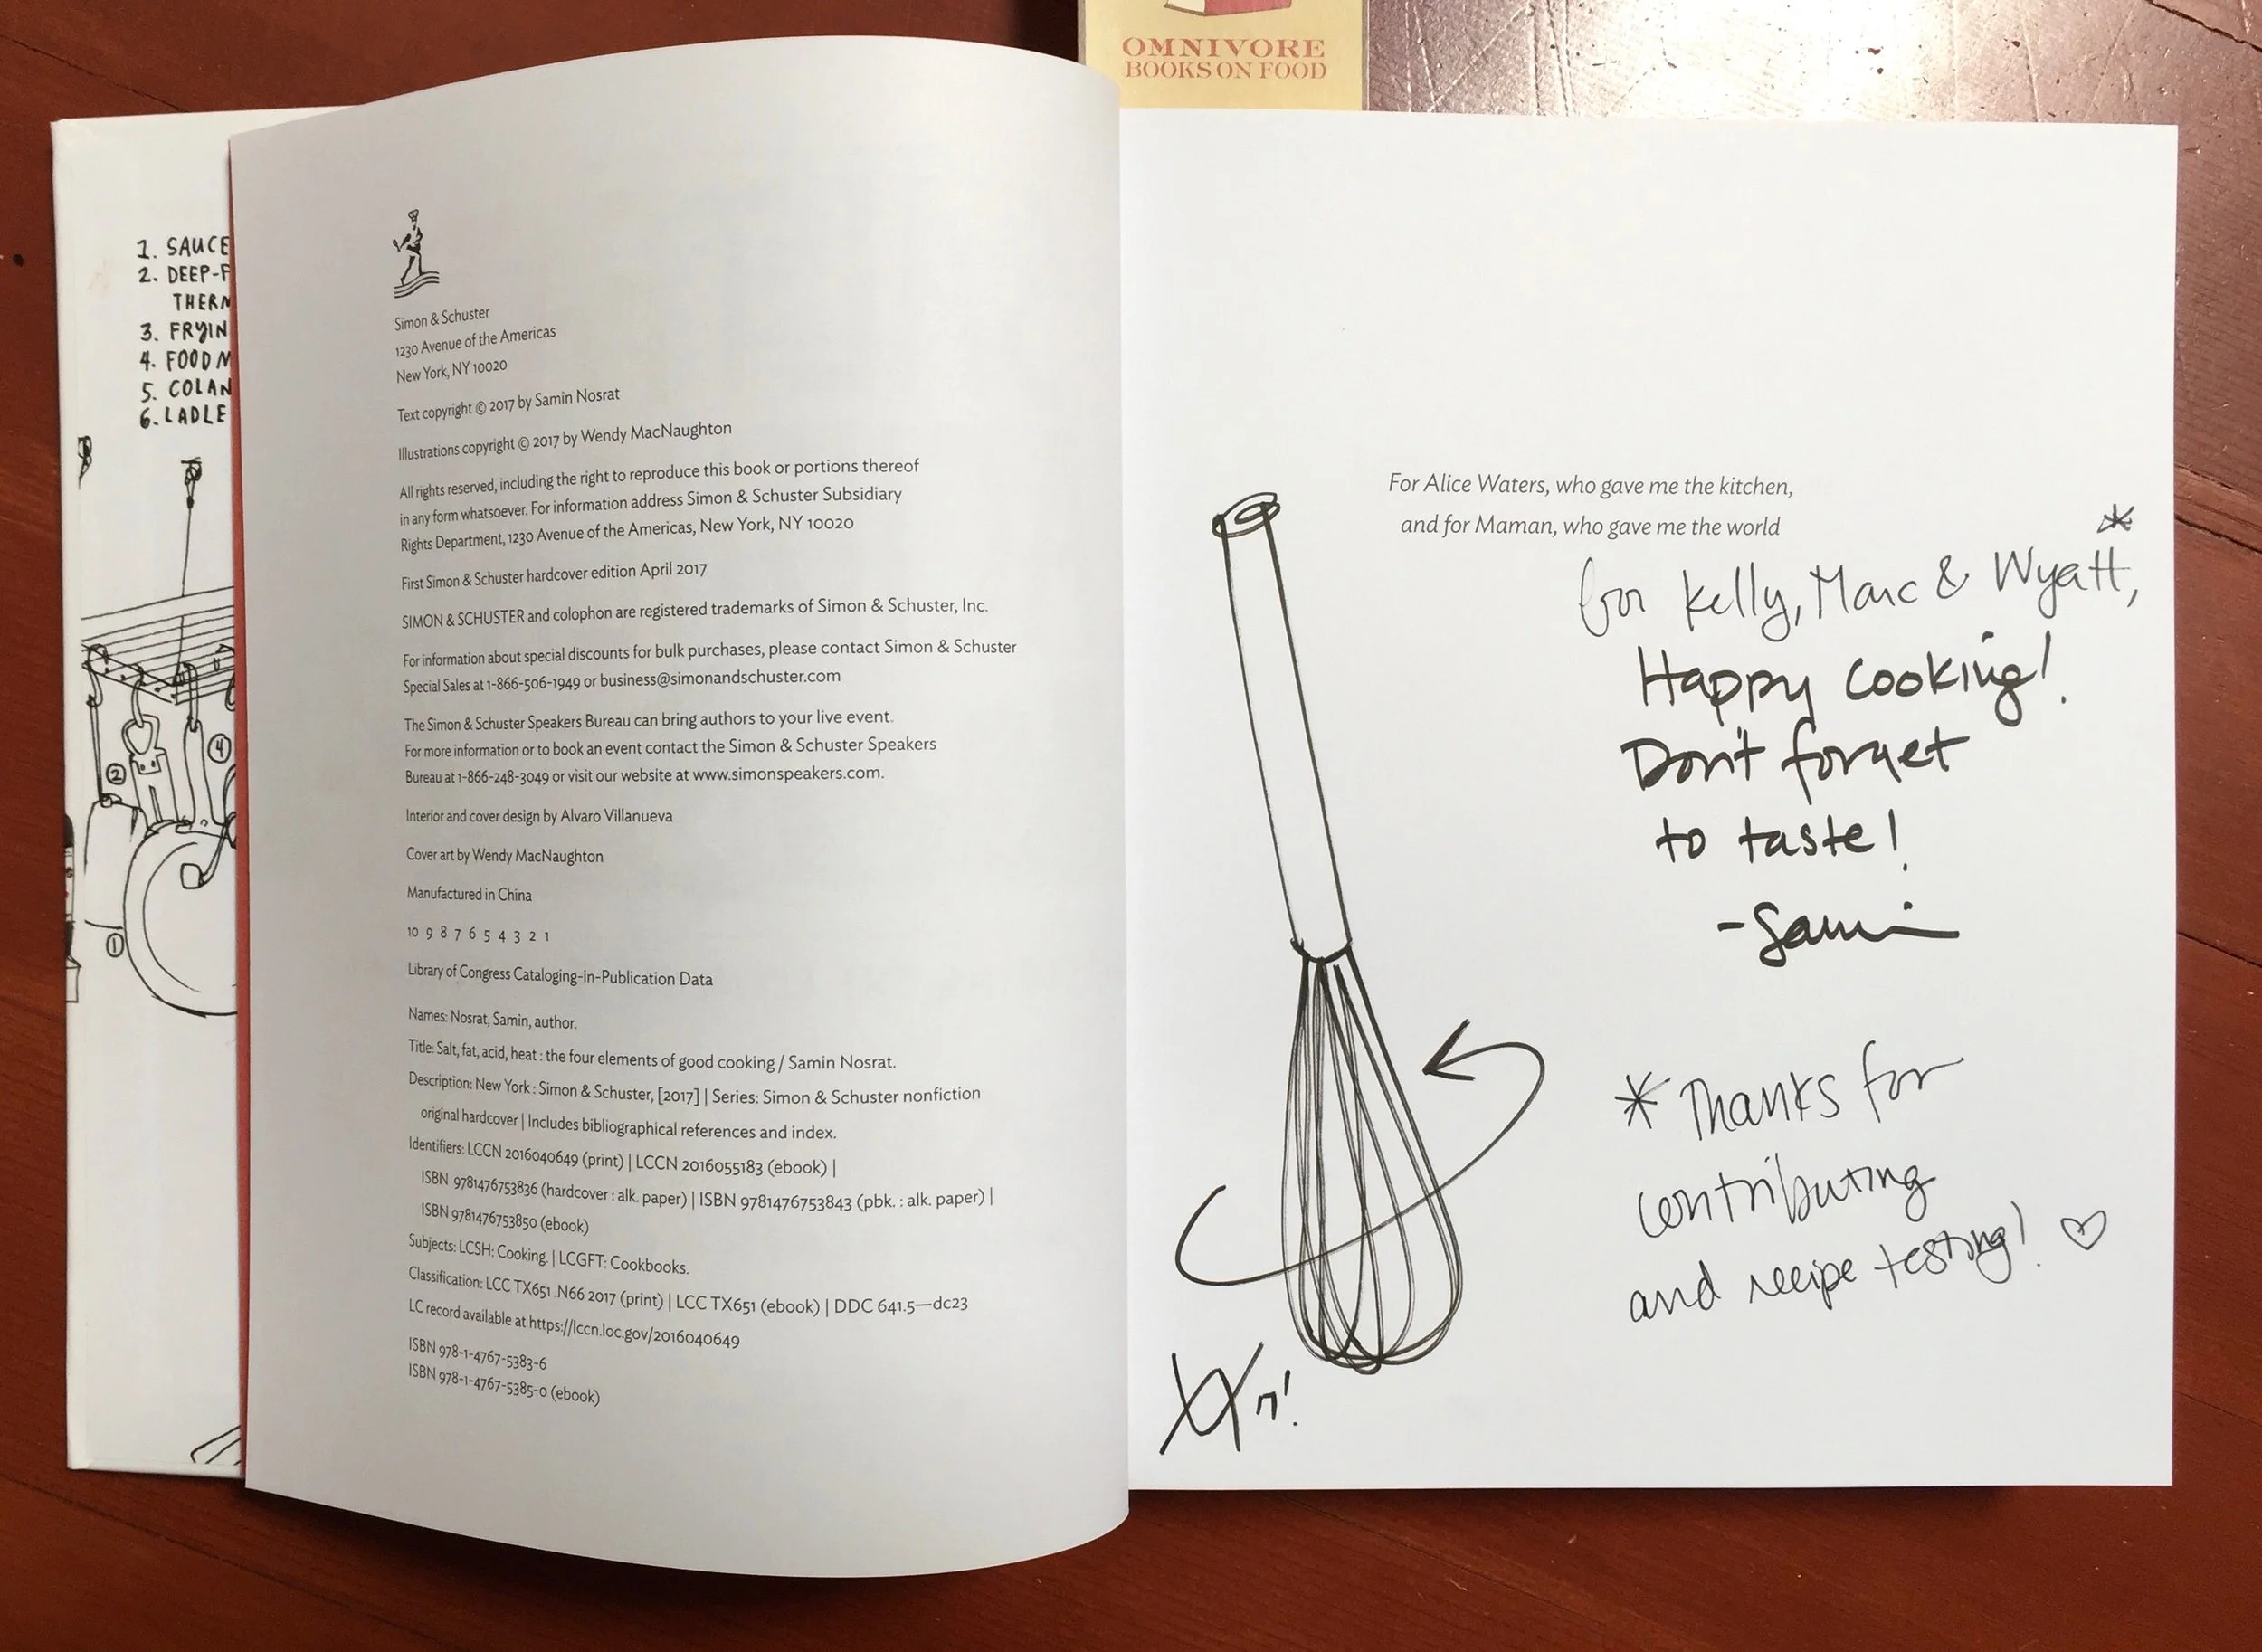
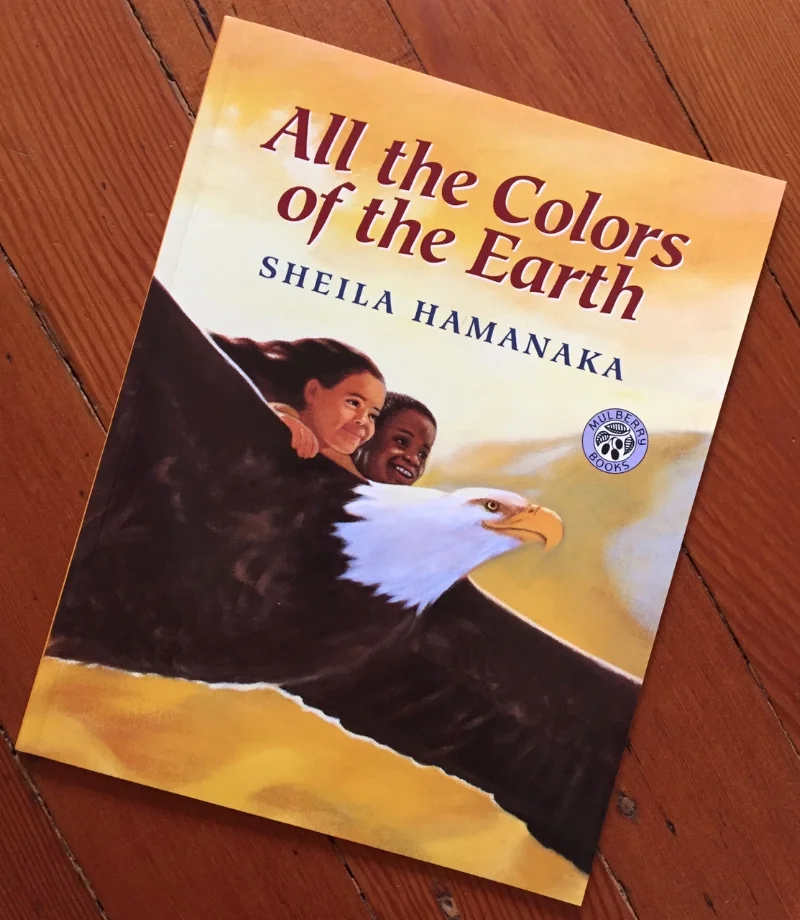
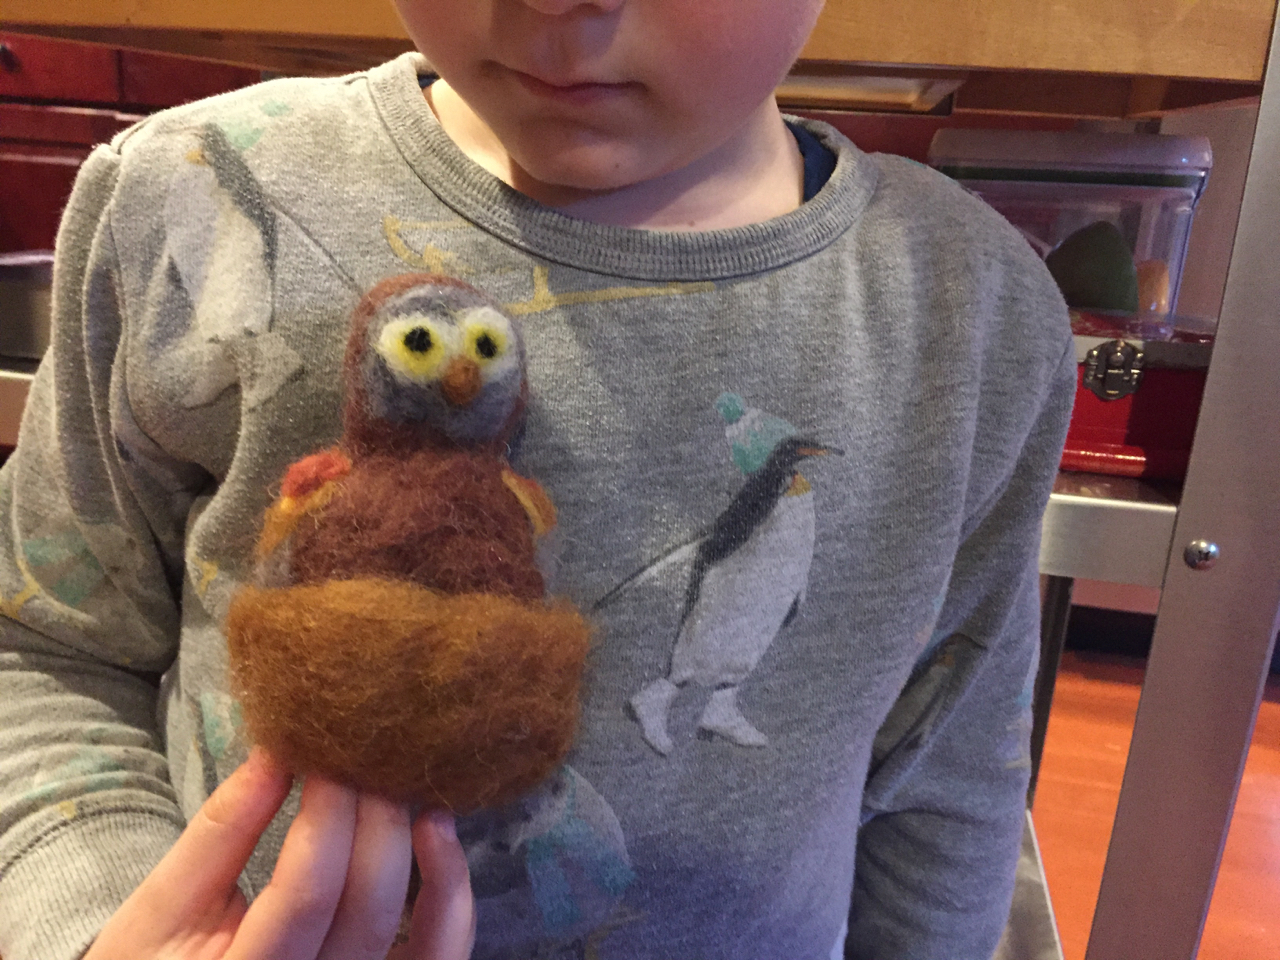
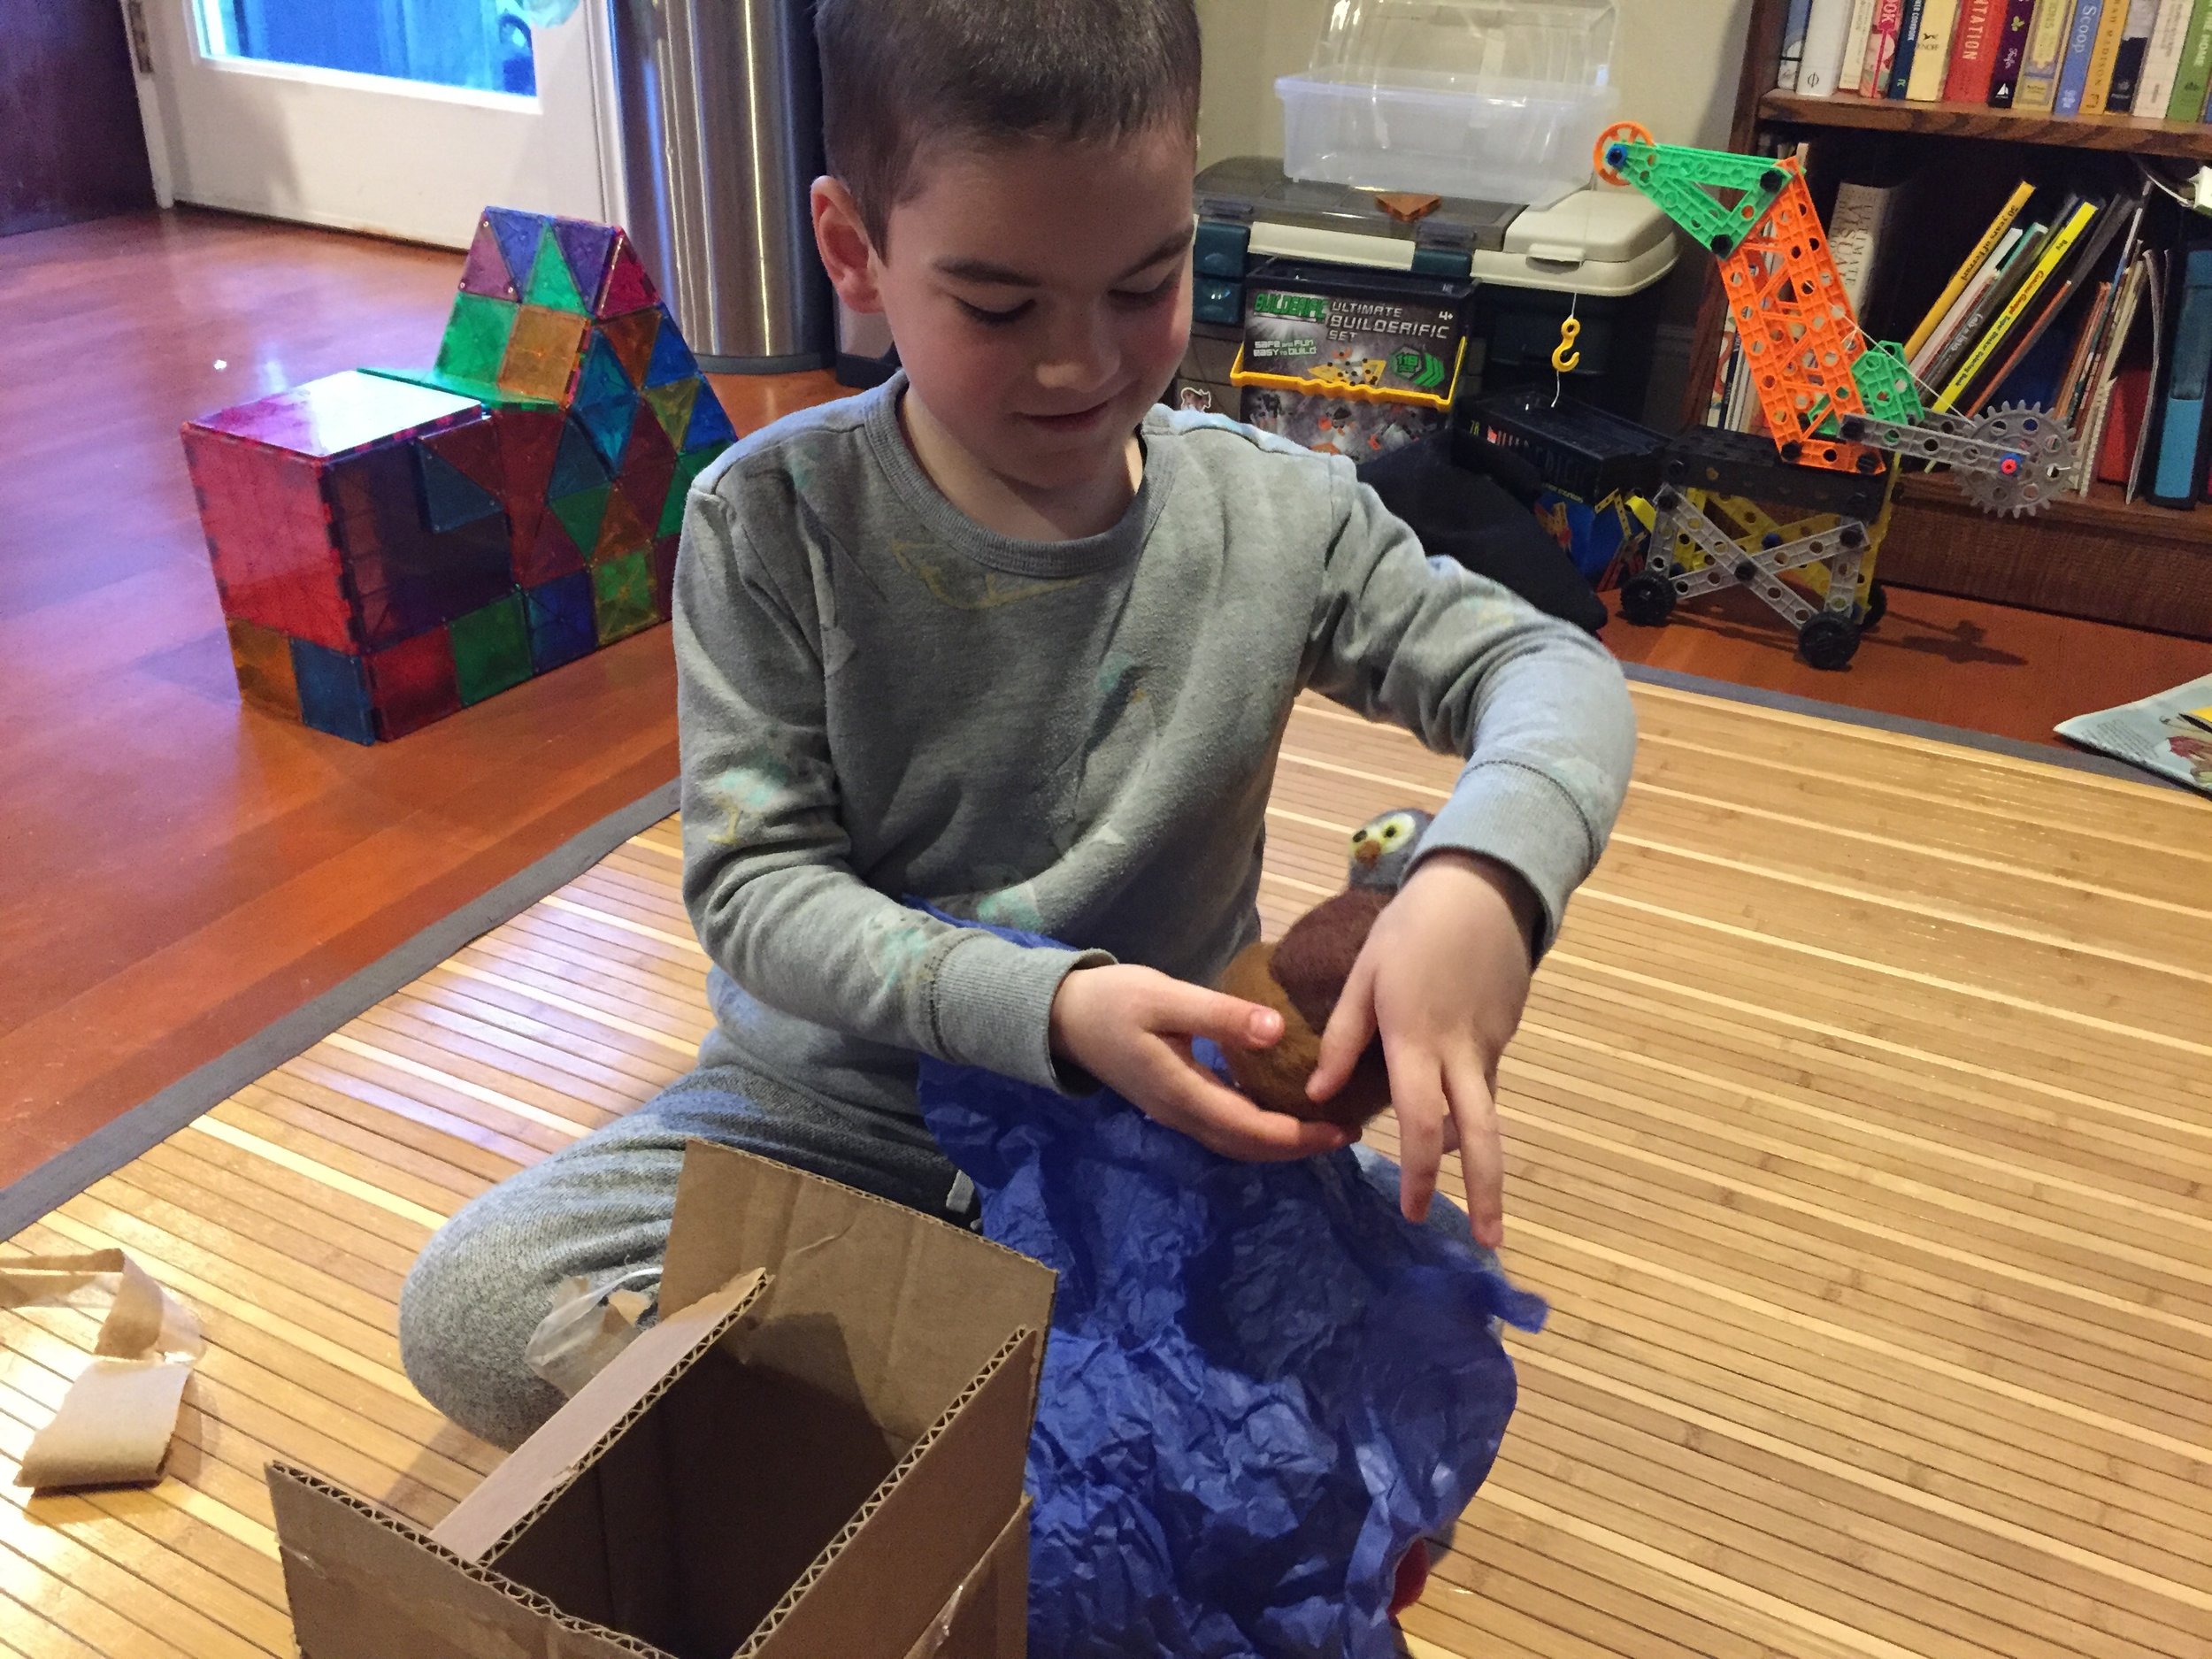
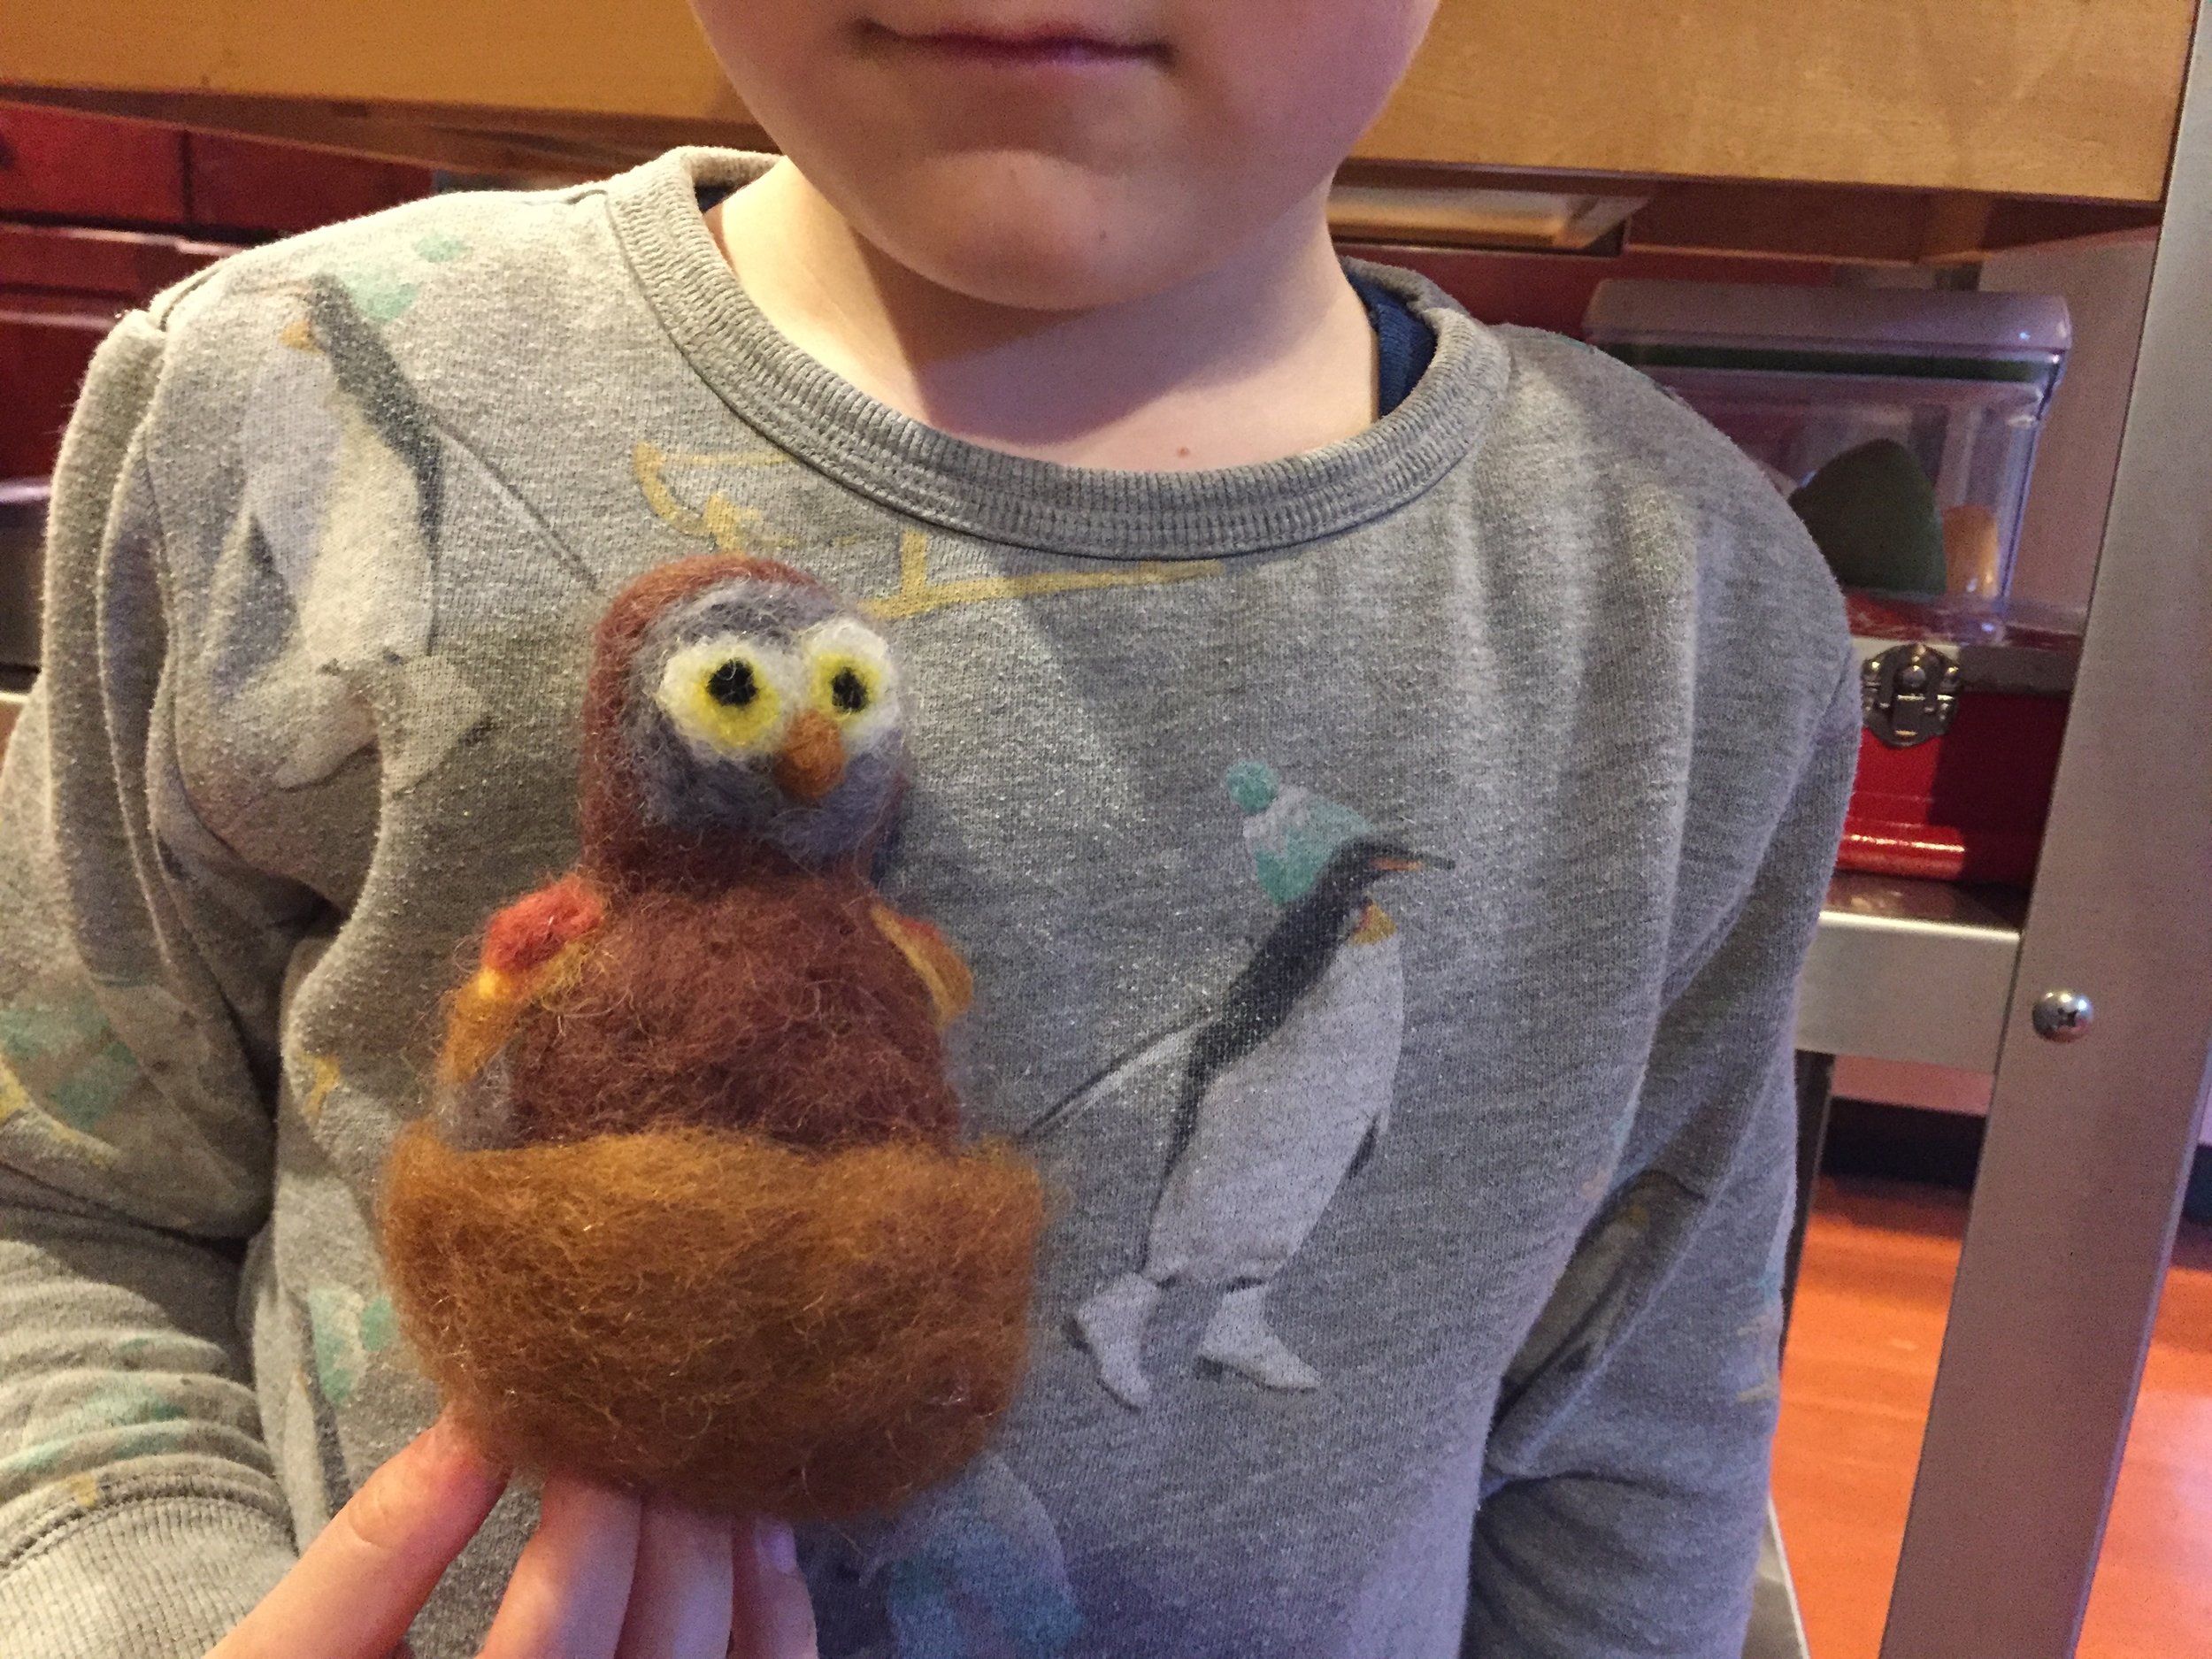
On his last turn, in February, Benjamin sent Wyatt the most incredible felted owl in a nest. And then, for Wyatt's birthday, he sent Wyatt a teddy bear scarf he had knitted, and he also sent him a copy of Testing the Ice: A True Story About Jackie Robinson.


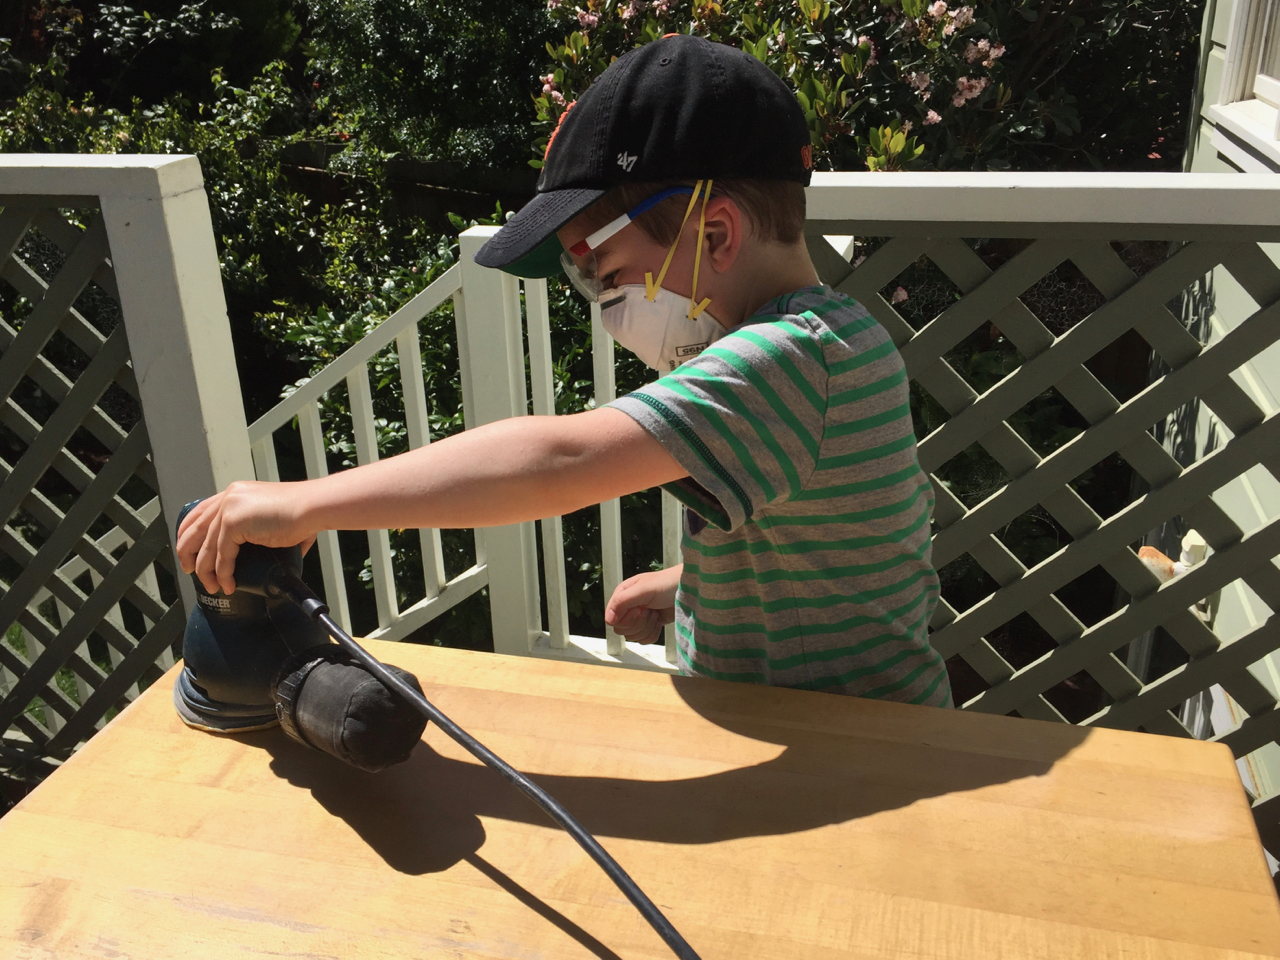
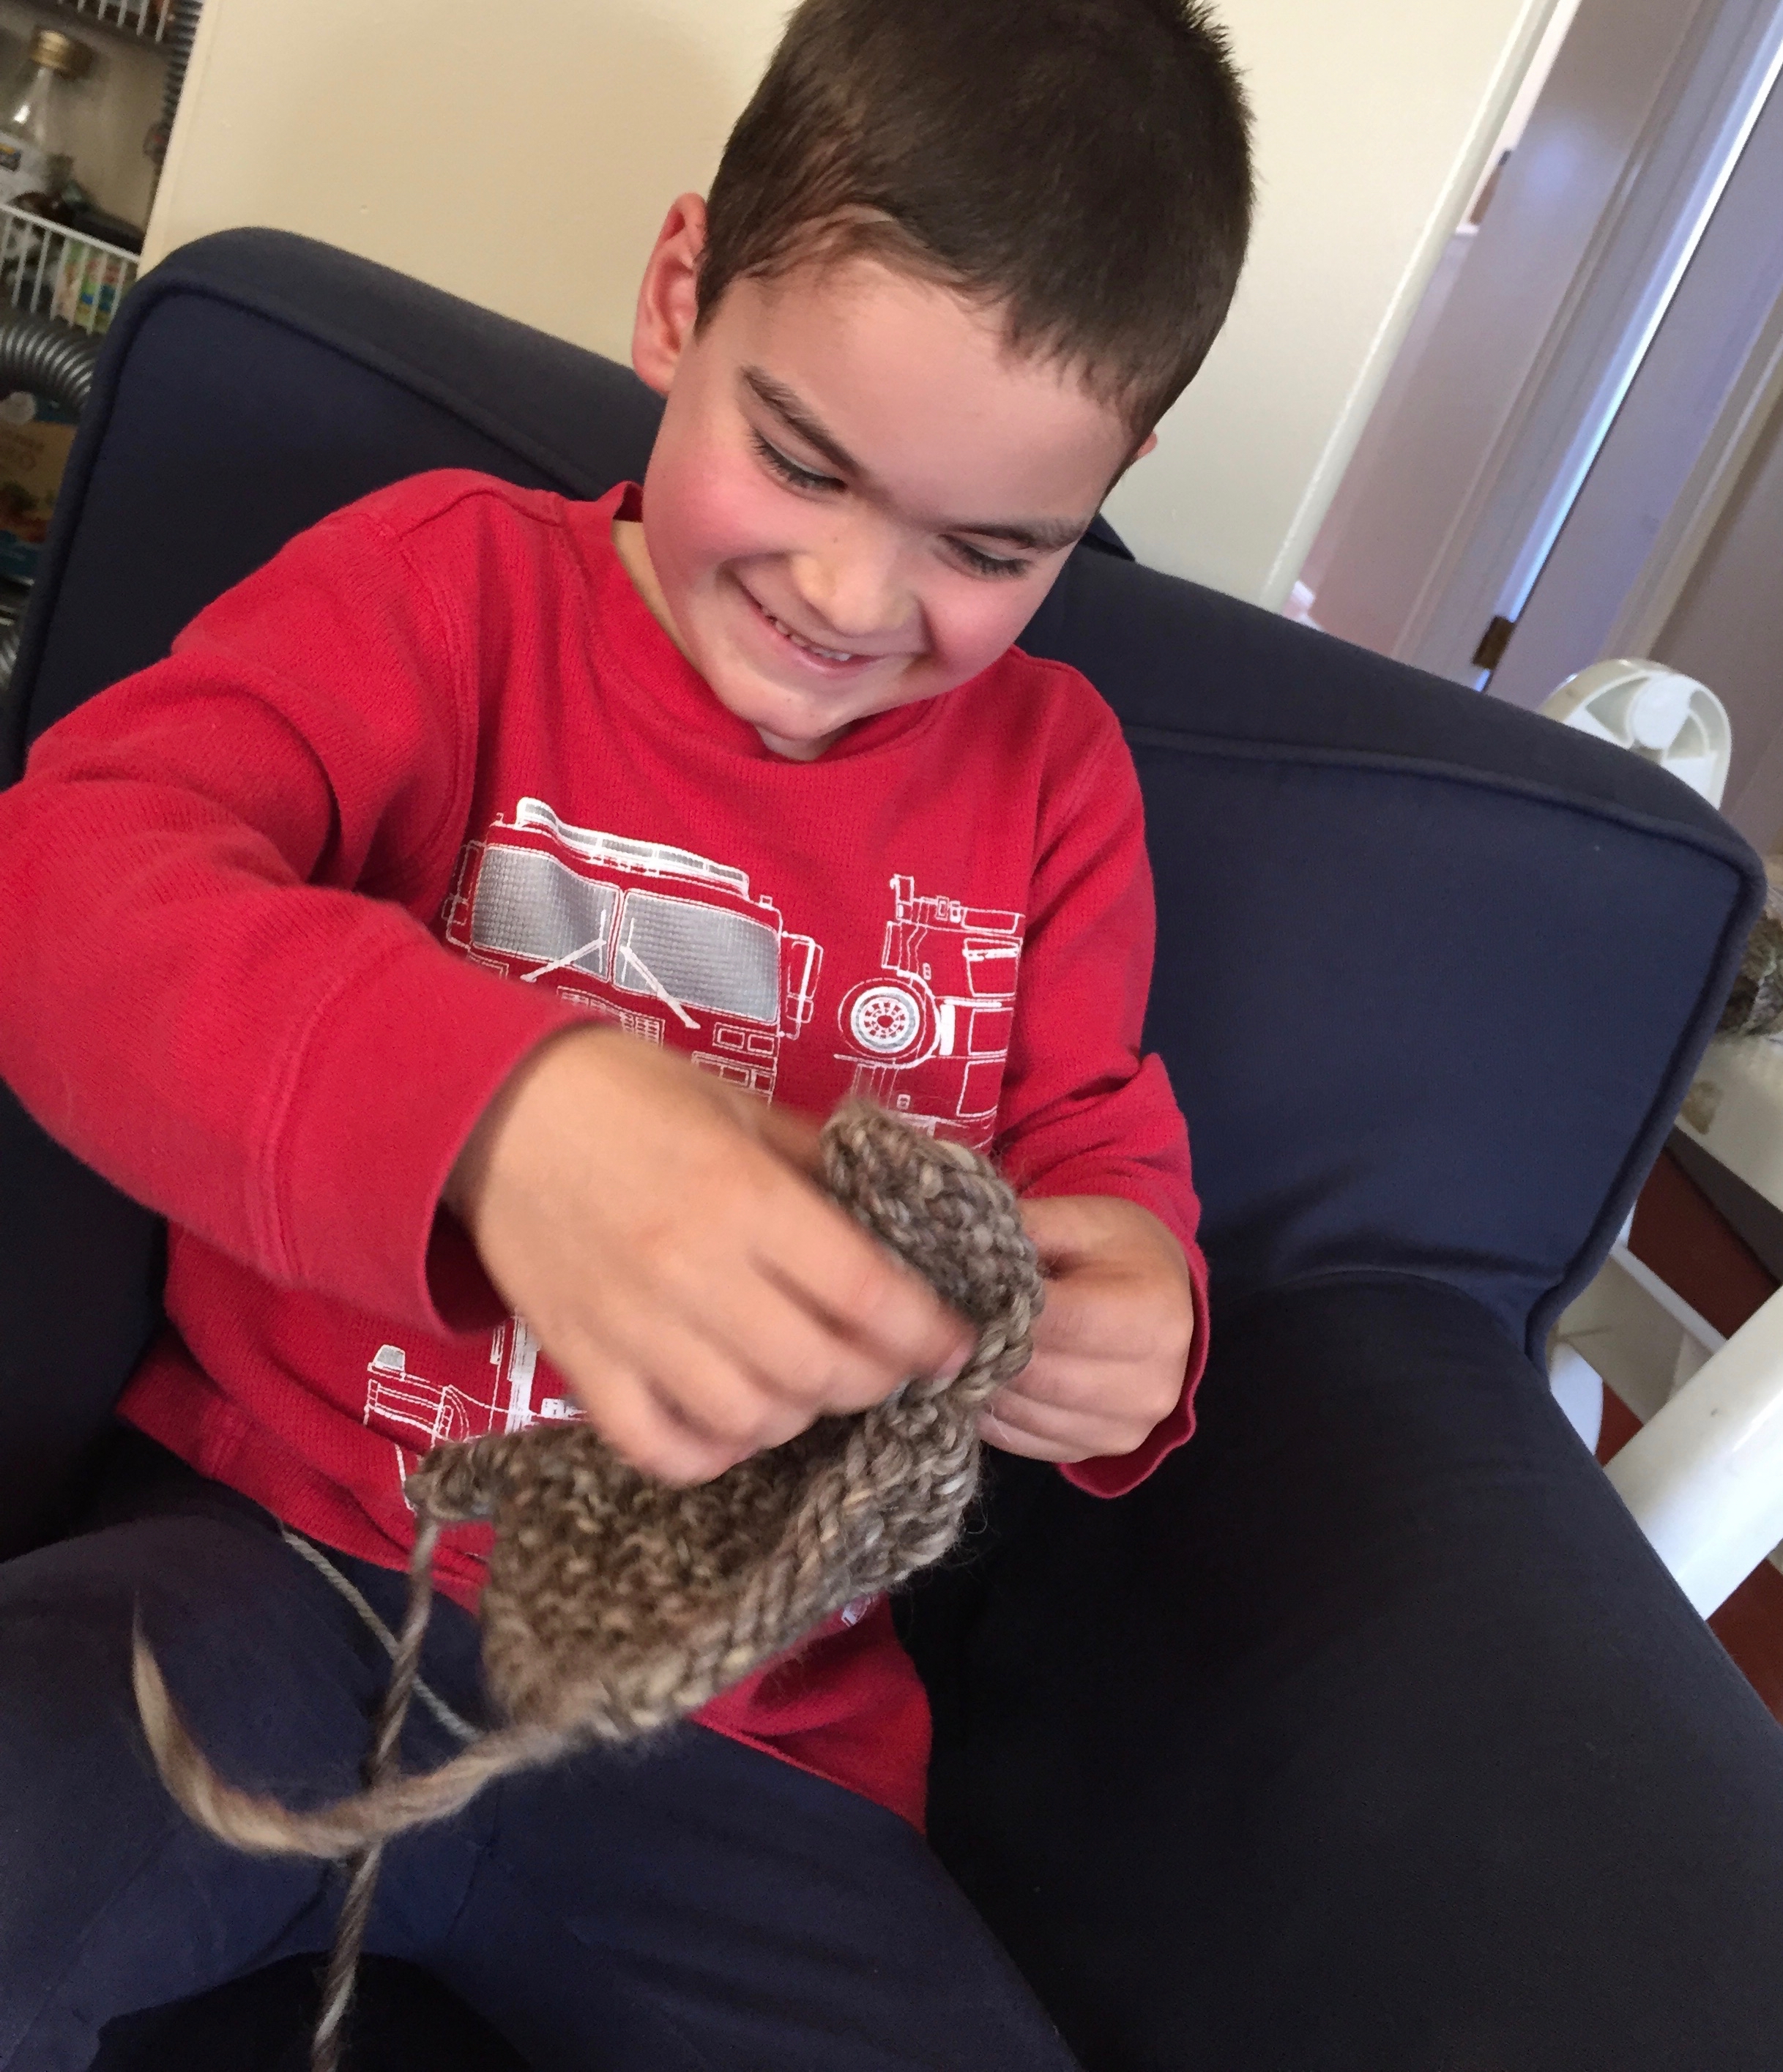
Since about April, Wyatt has been focused on learning to knit. For anyone who has ever tried to learn to knit, you know how slow and frustrating it can be. Even with the rhyme ("In through the front door, running 'round the back, peeping through the window, and off jumps Jack!"), stuff happens that you truly hate. Stitches get too tight, your head starts to hurt, stitches drop, you find that you have wrapped yarn in weird ways that make no sense, and sometimes, you want to scream, "STUPID JACK!!" and then hurl the whole mess across the room.
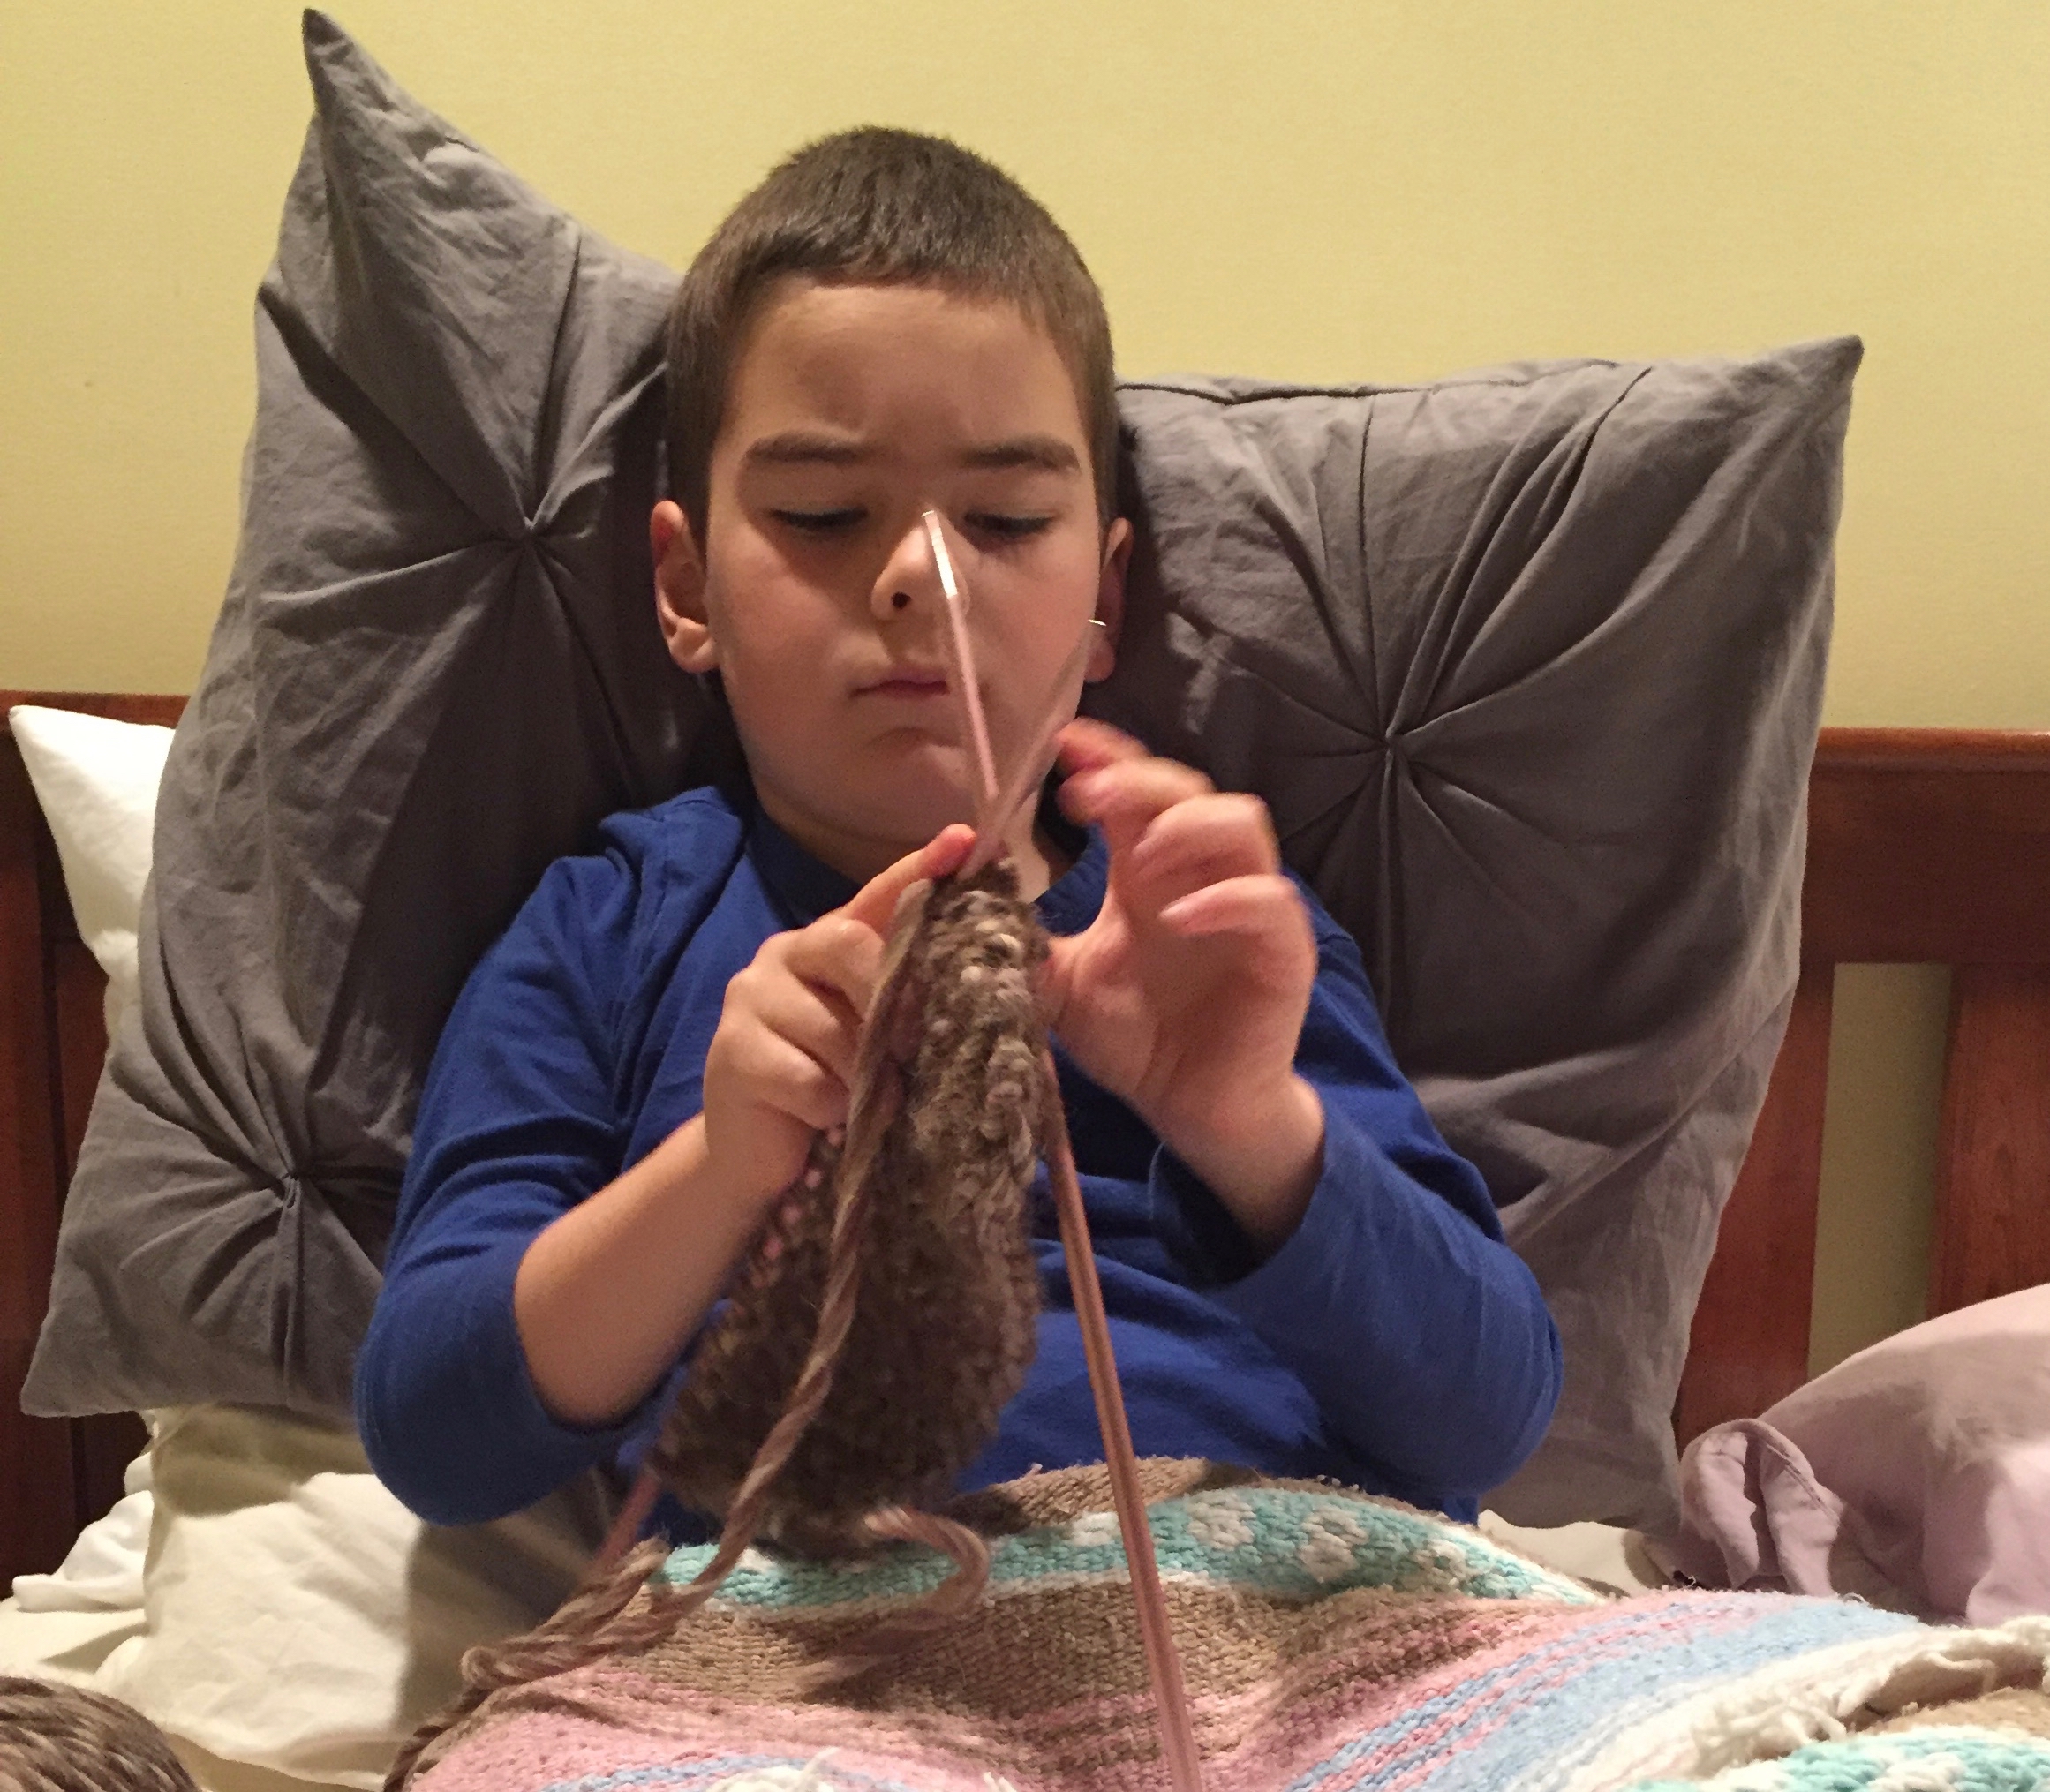
But, eventually, it gets easier. Soon, you can do two rows without stopping, and some days you can do four. And eventually, after a couple of months, you find that you are so close to having a square, you just keep knitting until your eyes cross and you're there! It's a square! Then you can wander around the house with your knitted square for a bit, hugging it, pulling it by its yarn tail and pretending it's a pet, all the while celebrating that it's a square, free and safely cast-off from the needles.
But then? It's time to make it into a bunny. (I learned how to make a bunny from the parent craft circle.) Here's how we did it.
You'll need: Bunny-colored yarn, white yarn, knitting needles, a blunt tapestry needle, stuffing fluff, a smallish bunny-butt-sized flat stone, and if you want a face, buttons and some pink yarn for a nose.
Knit a Square:
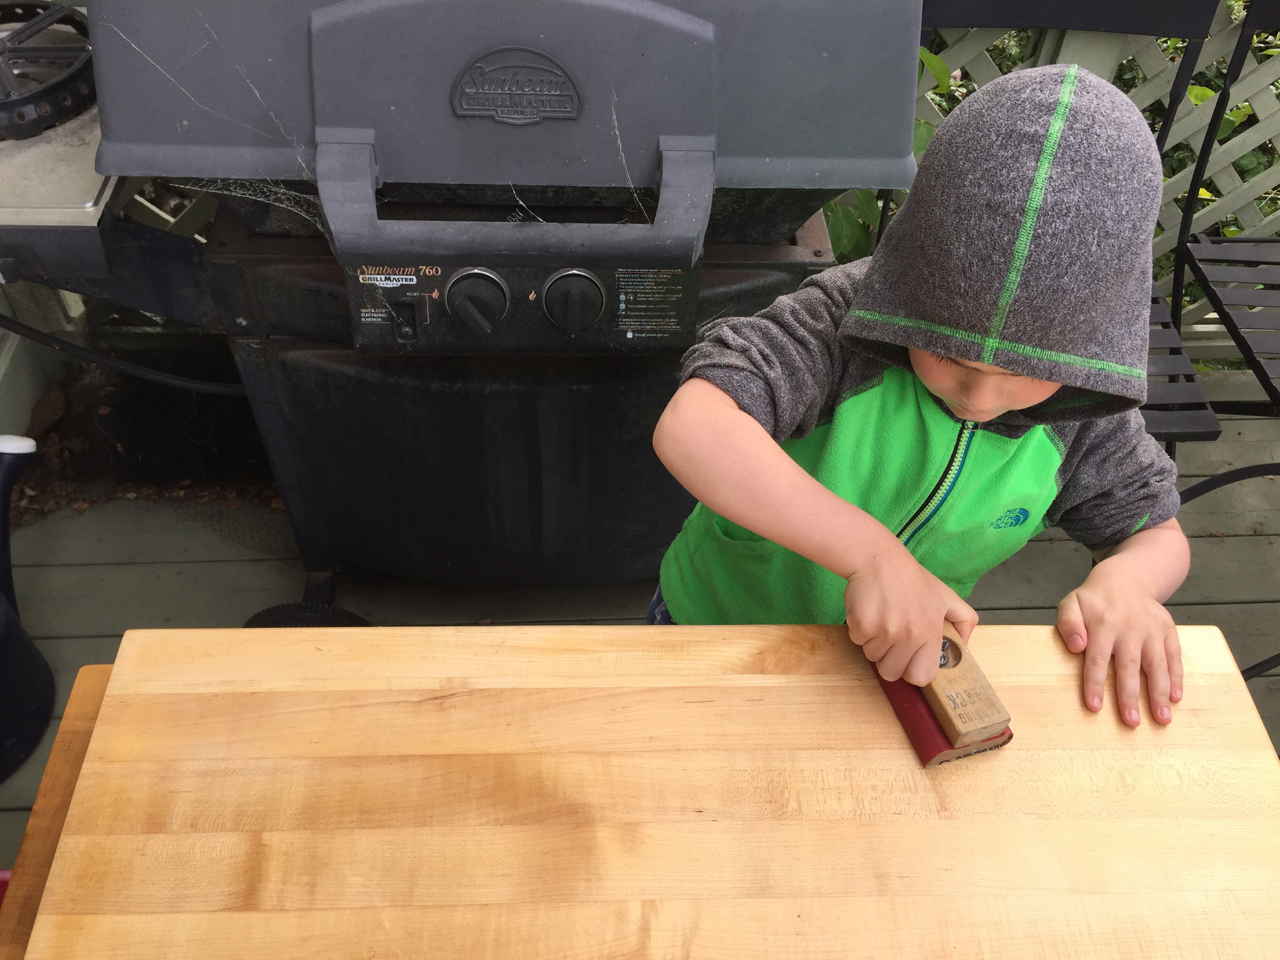
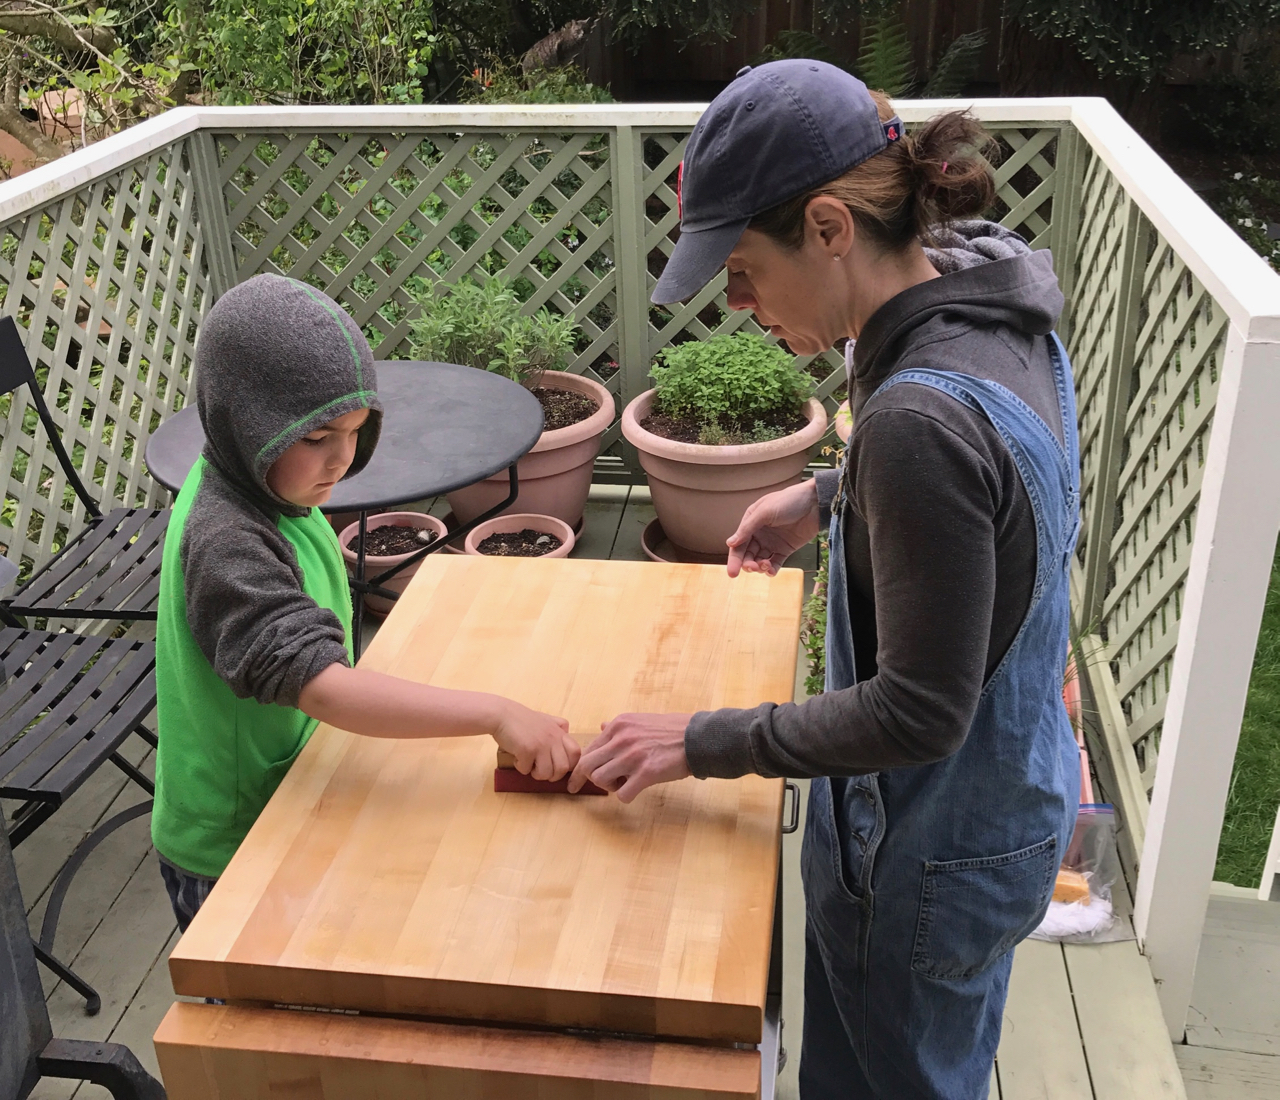
Take your bunny-colored yarn and appropriately sized needles for that yarn to get a nice cushy square. Wyatt has been using some pretty fluffy, low-twist yarn and size 10 needles. Cast on 20 stitches. Knit row after row, maintaining your stitch count of 20, until you have a square. You can check for square-ness by folding a lower corner up to the needle. When you see one triangle with no left-over rectangle, you'll know you have a square. (Or you can use a ruler and measure until the sides are even.) Cast off your square and dance around!
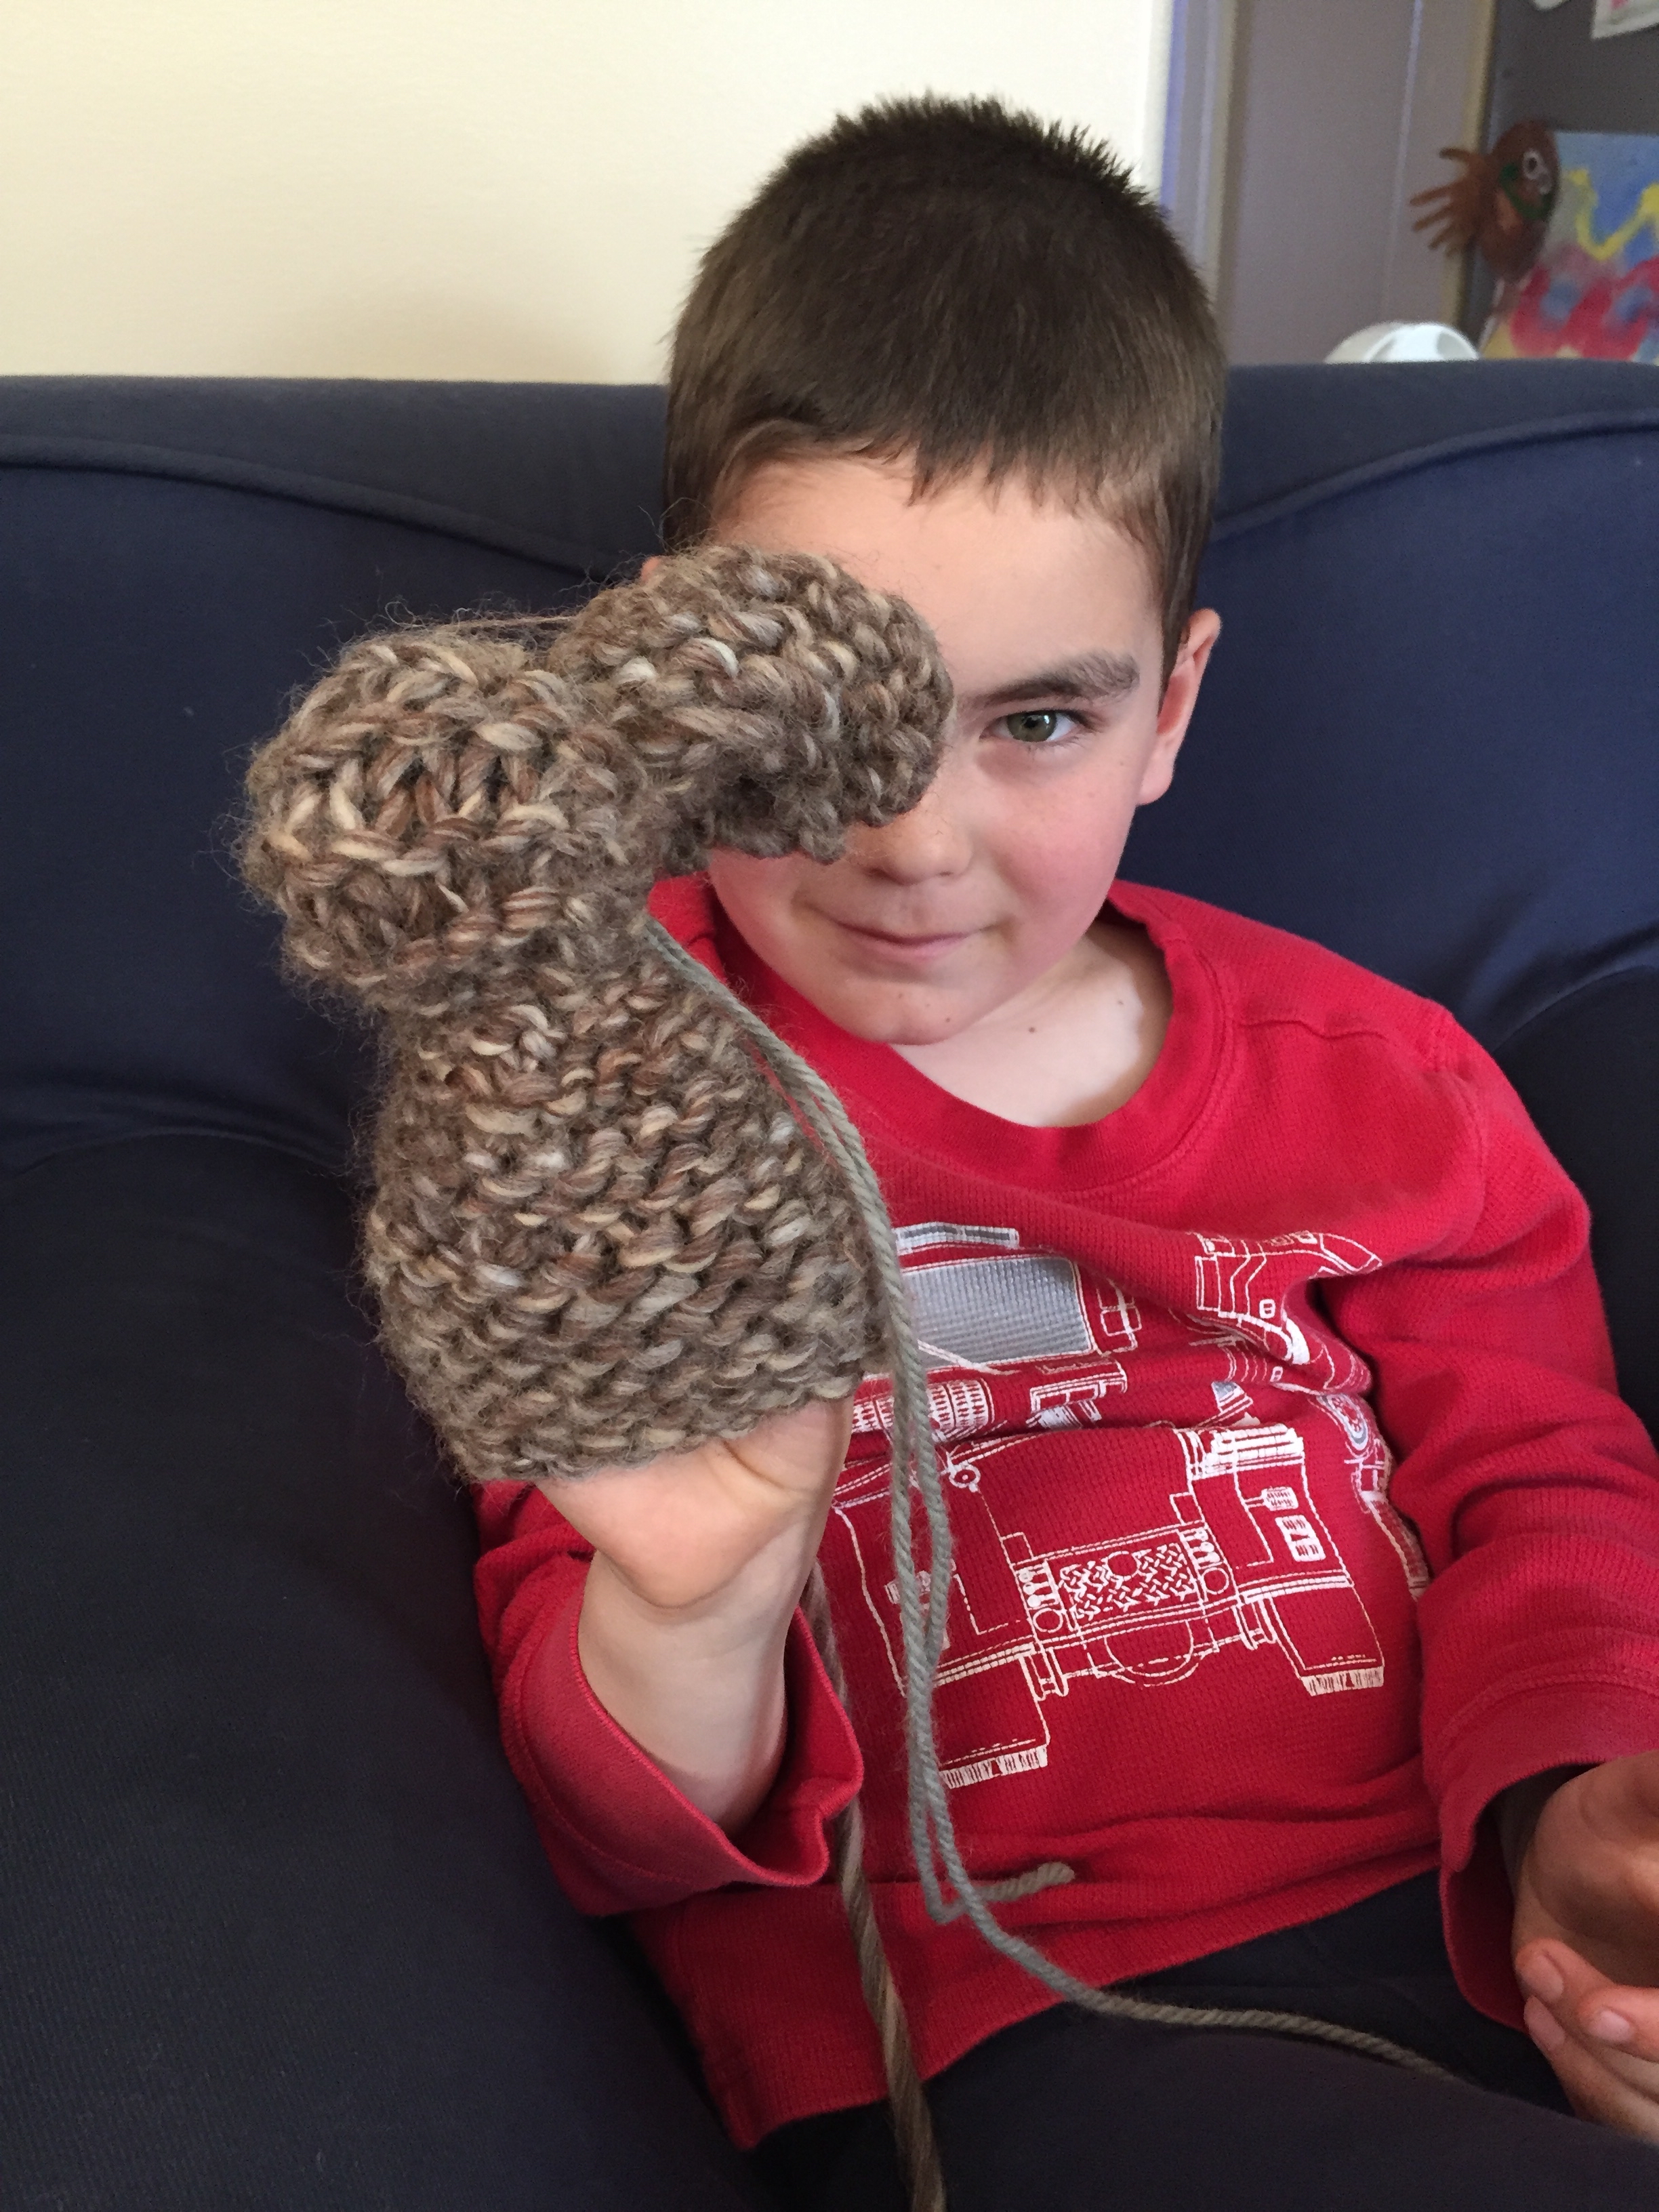
Make the Bunny's Head and Ears:
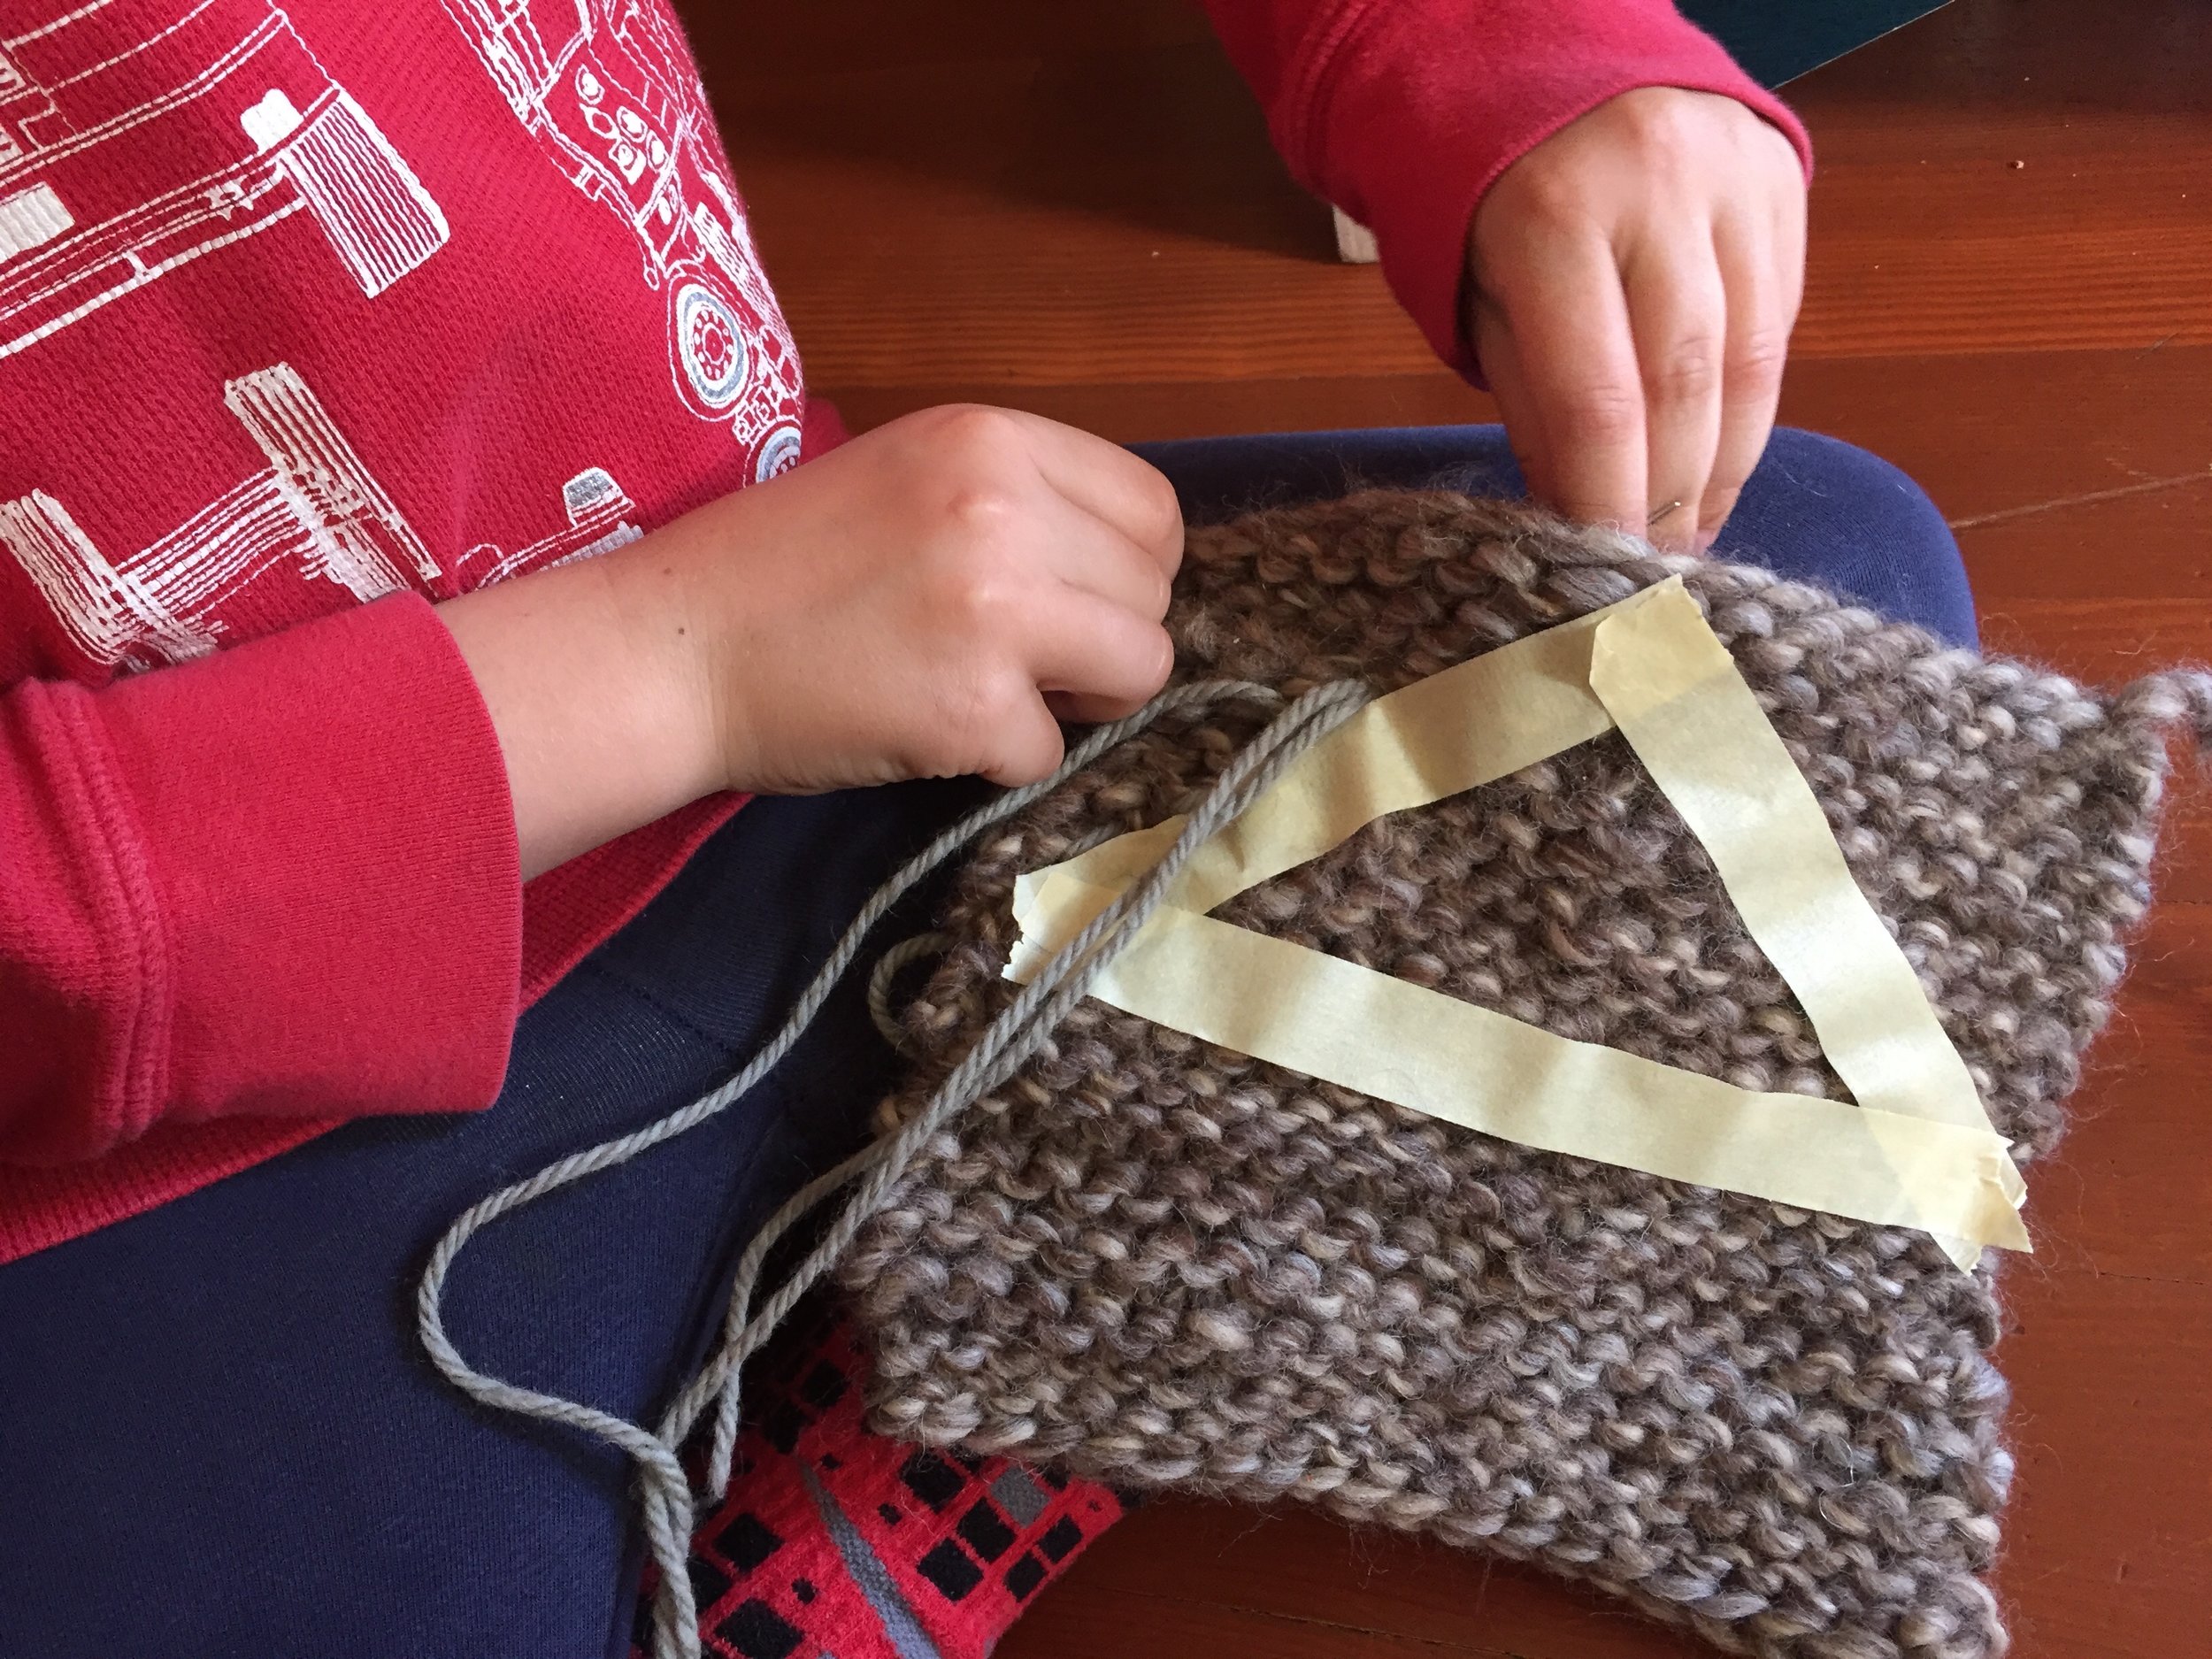
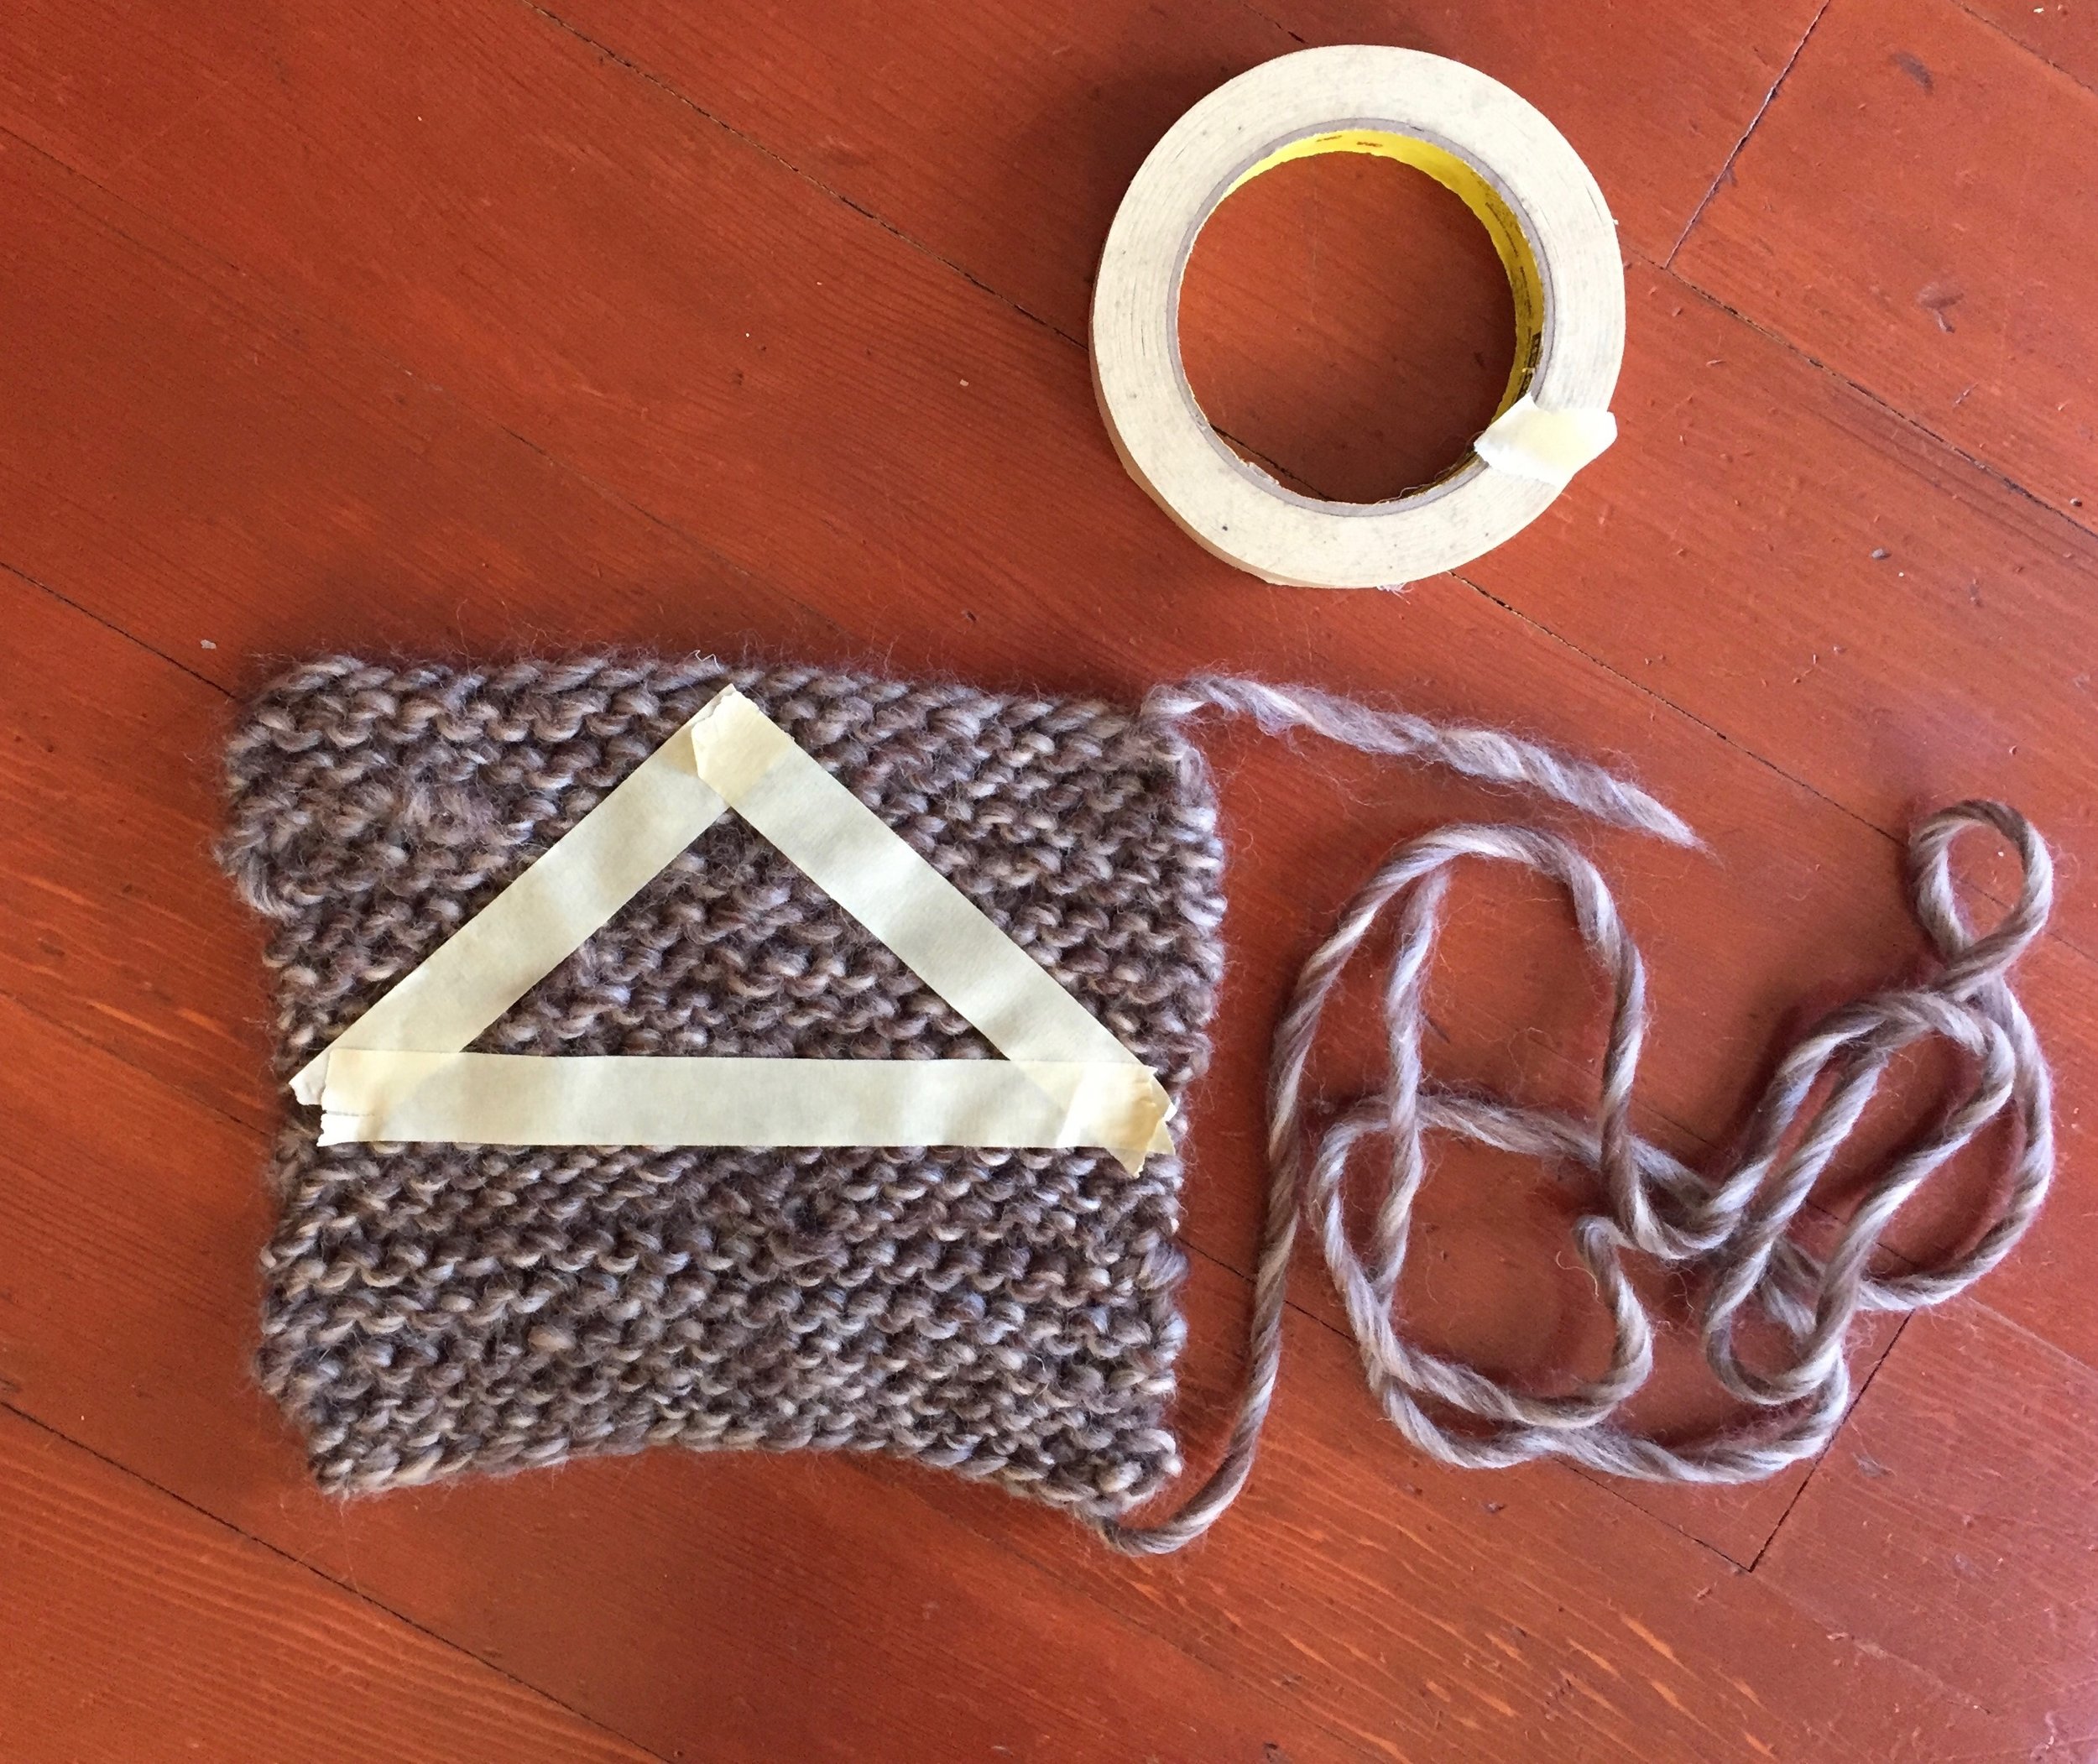
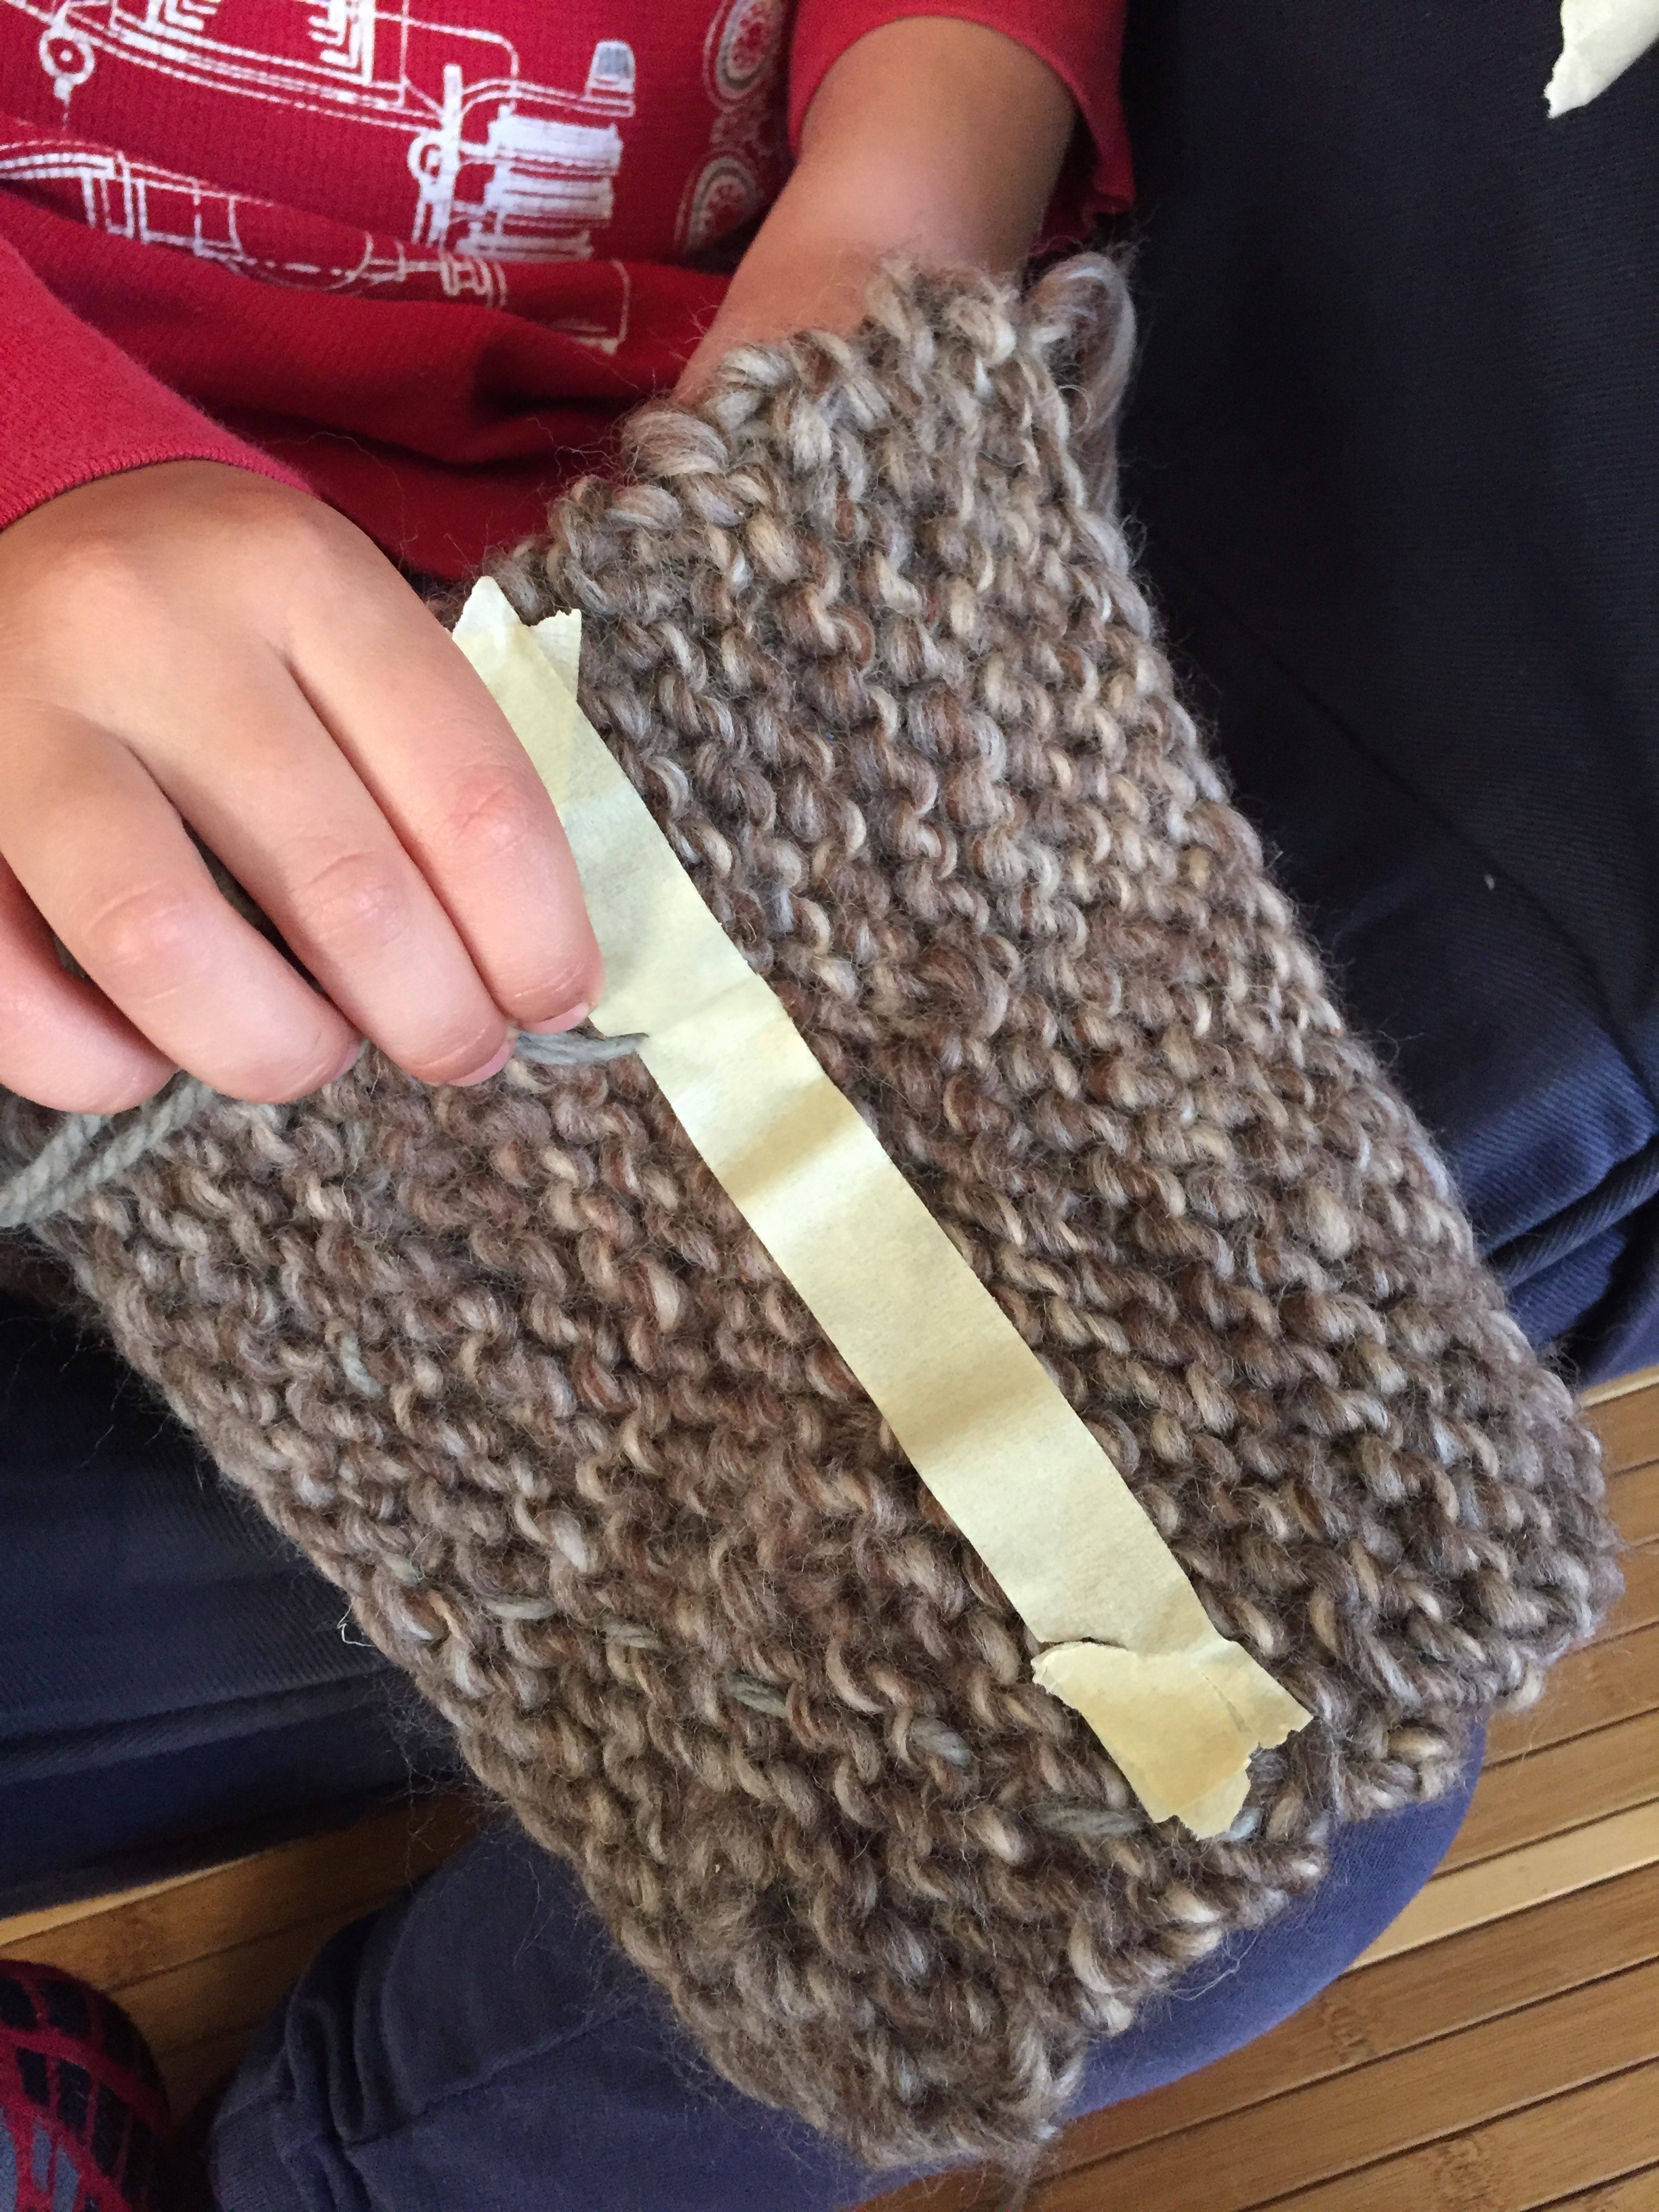
Take some masking tape and make a triangle like this. Thread a tapestry needle with a length of yarn about 8 inches longer than the perimeter of the triangle. If you can, choose a yarn that constrasts a little bit with the bunny yarn you've used so that you can see your stitches. Using a running stitch (over-under-over-under with your needle), and starting at the left corner, leave a 3- to 4-inch tail and stitch along the outer edge of masking tape from the left corner up to the top, and down the other side of the triangle. Tear off the two pieces of tape where you have just stitched, then stitch across the hypotenuse on the inside of the remaining piece of masking tape.
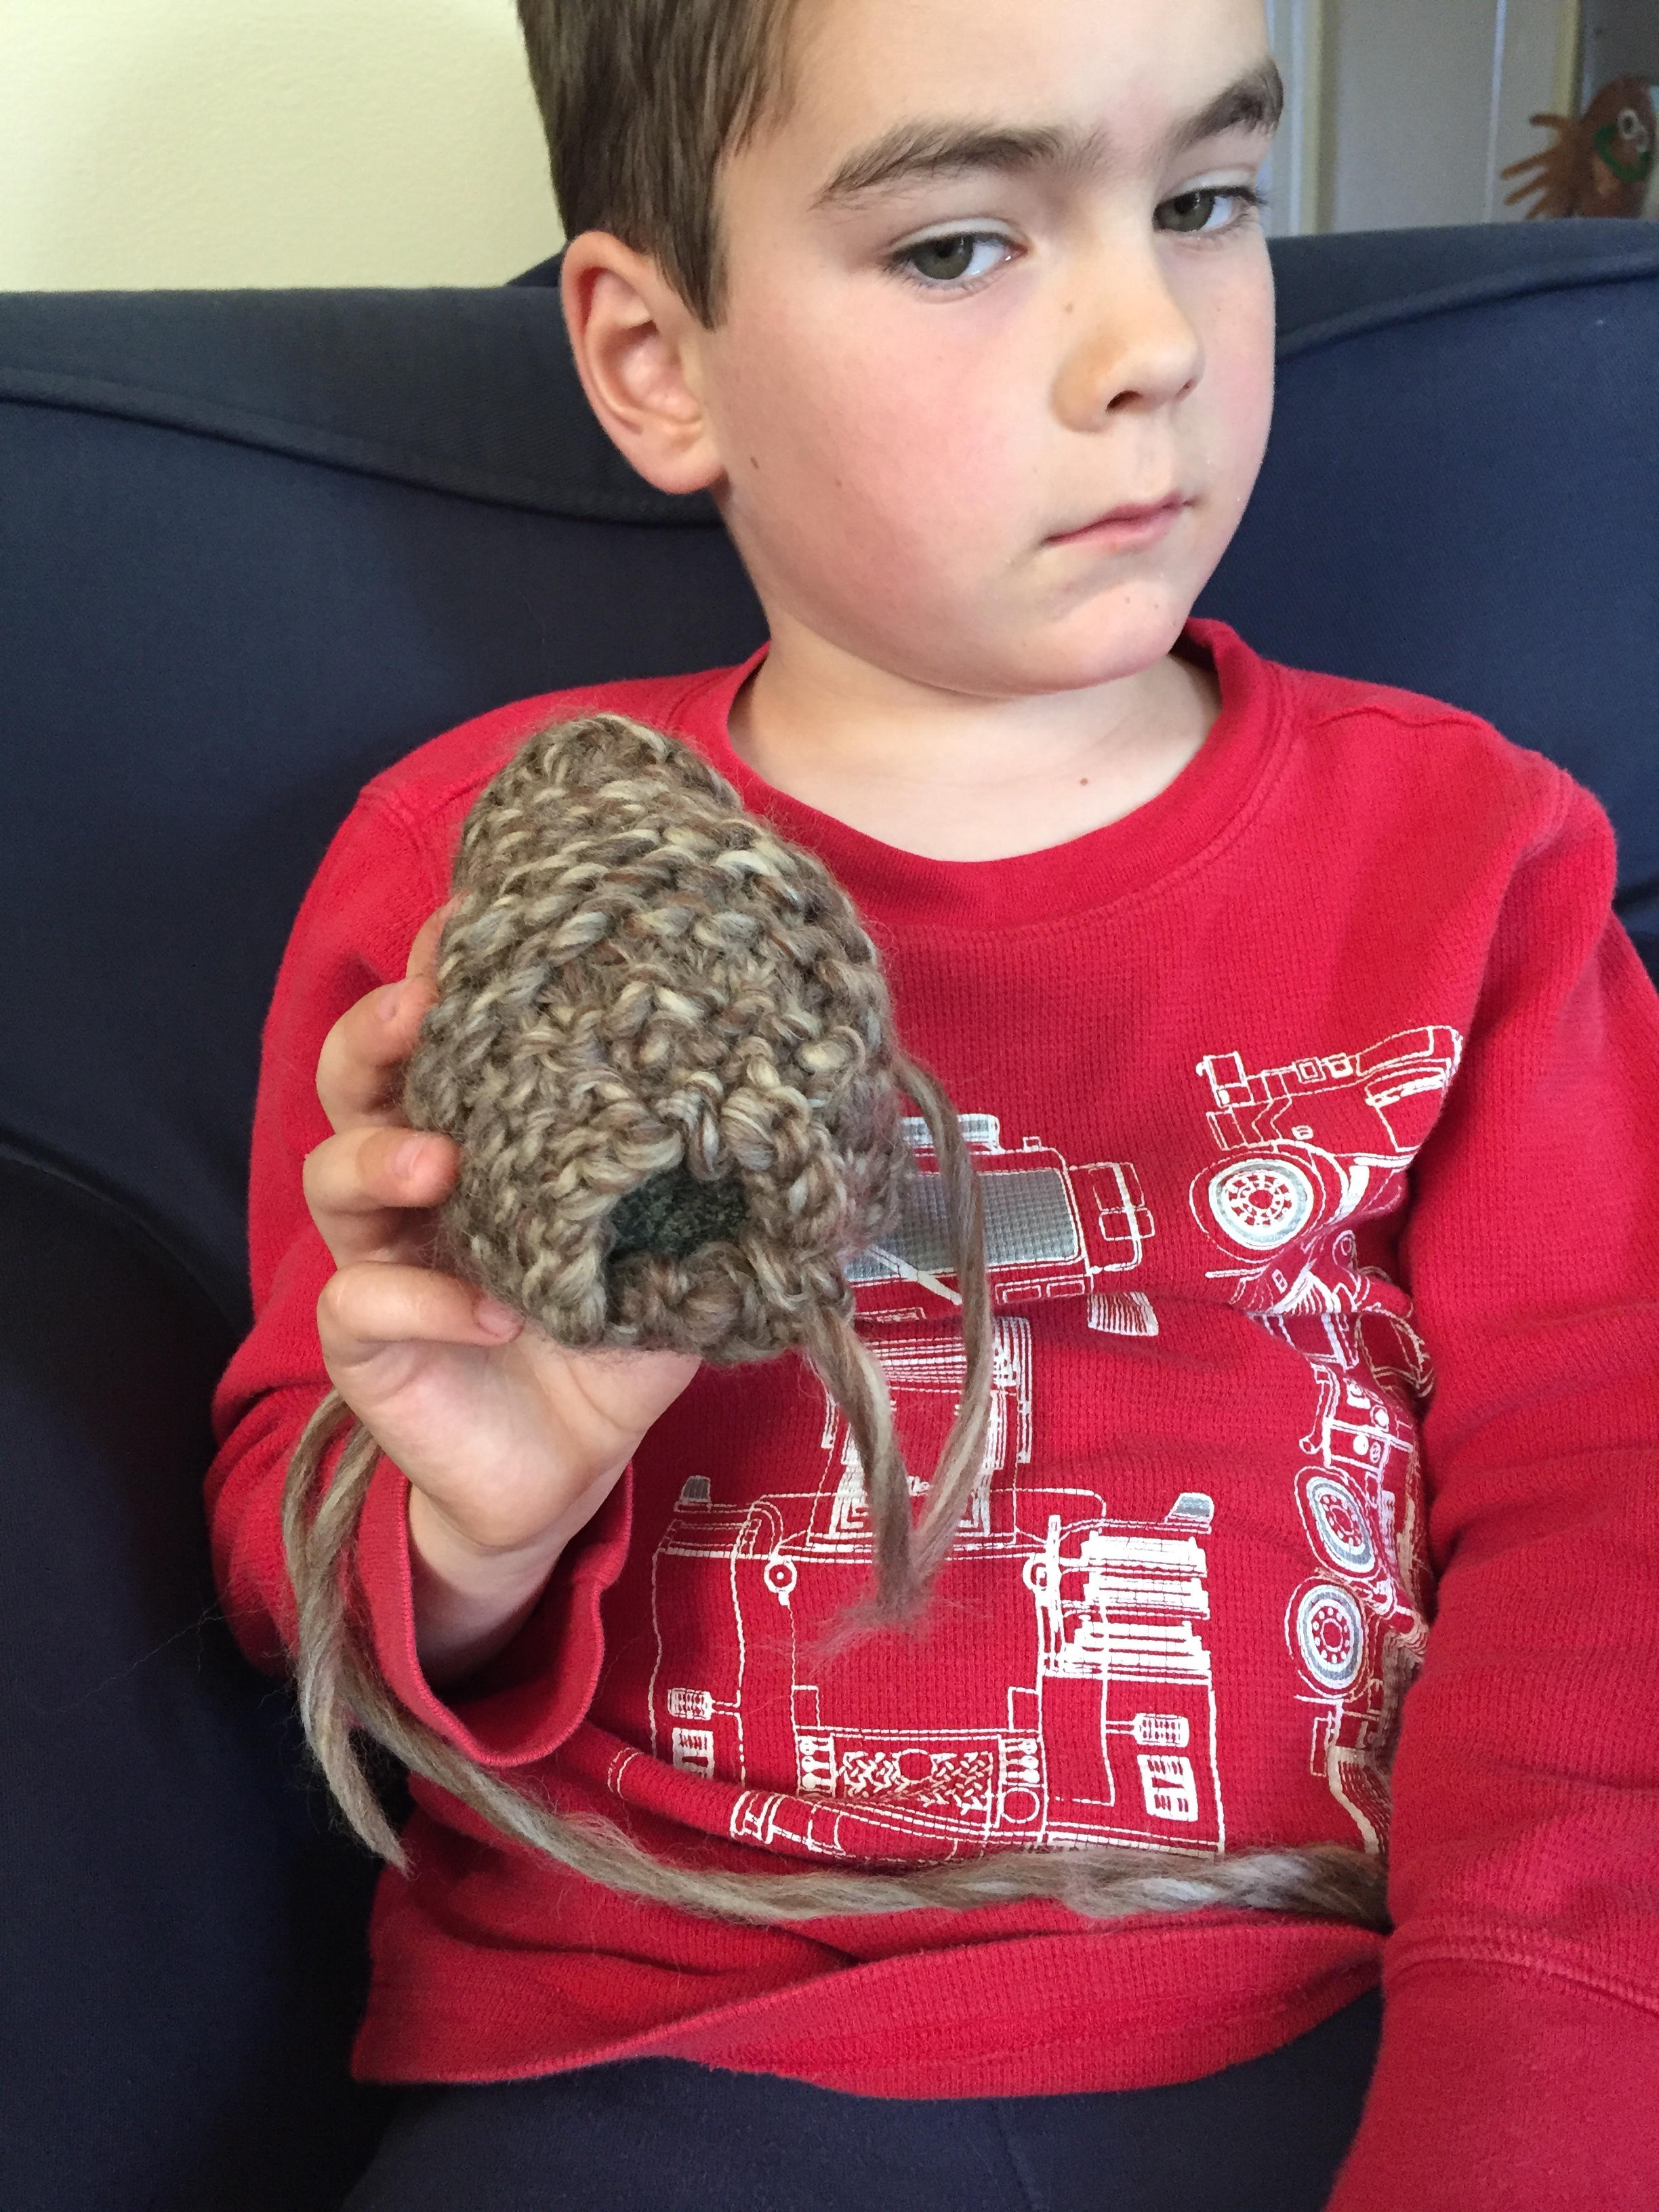
When your last stitch meets your first stitch, you're done with the triangle. Take hold of both ends of the yarn and gently pull the yarn so that you cinch the triangle together. Work the stitches and fabric gently because you don't want to break the yarn!
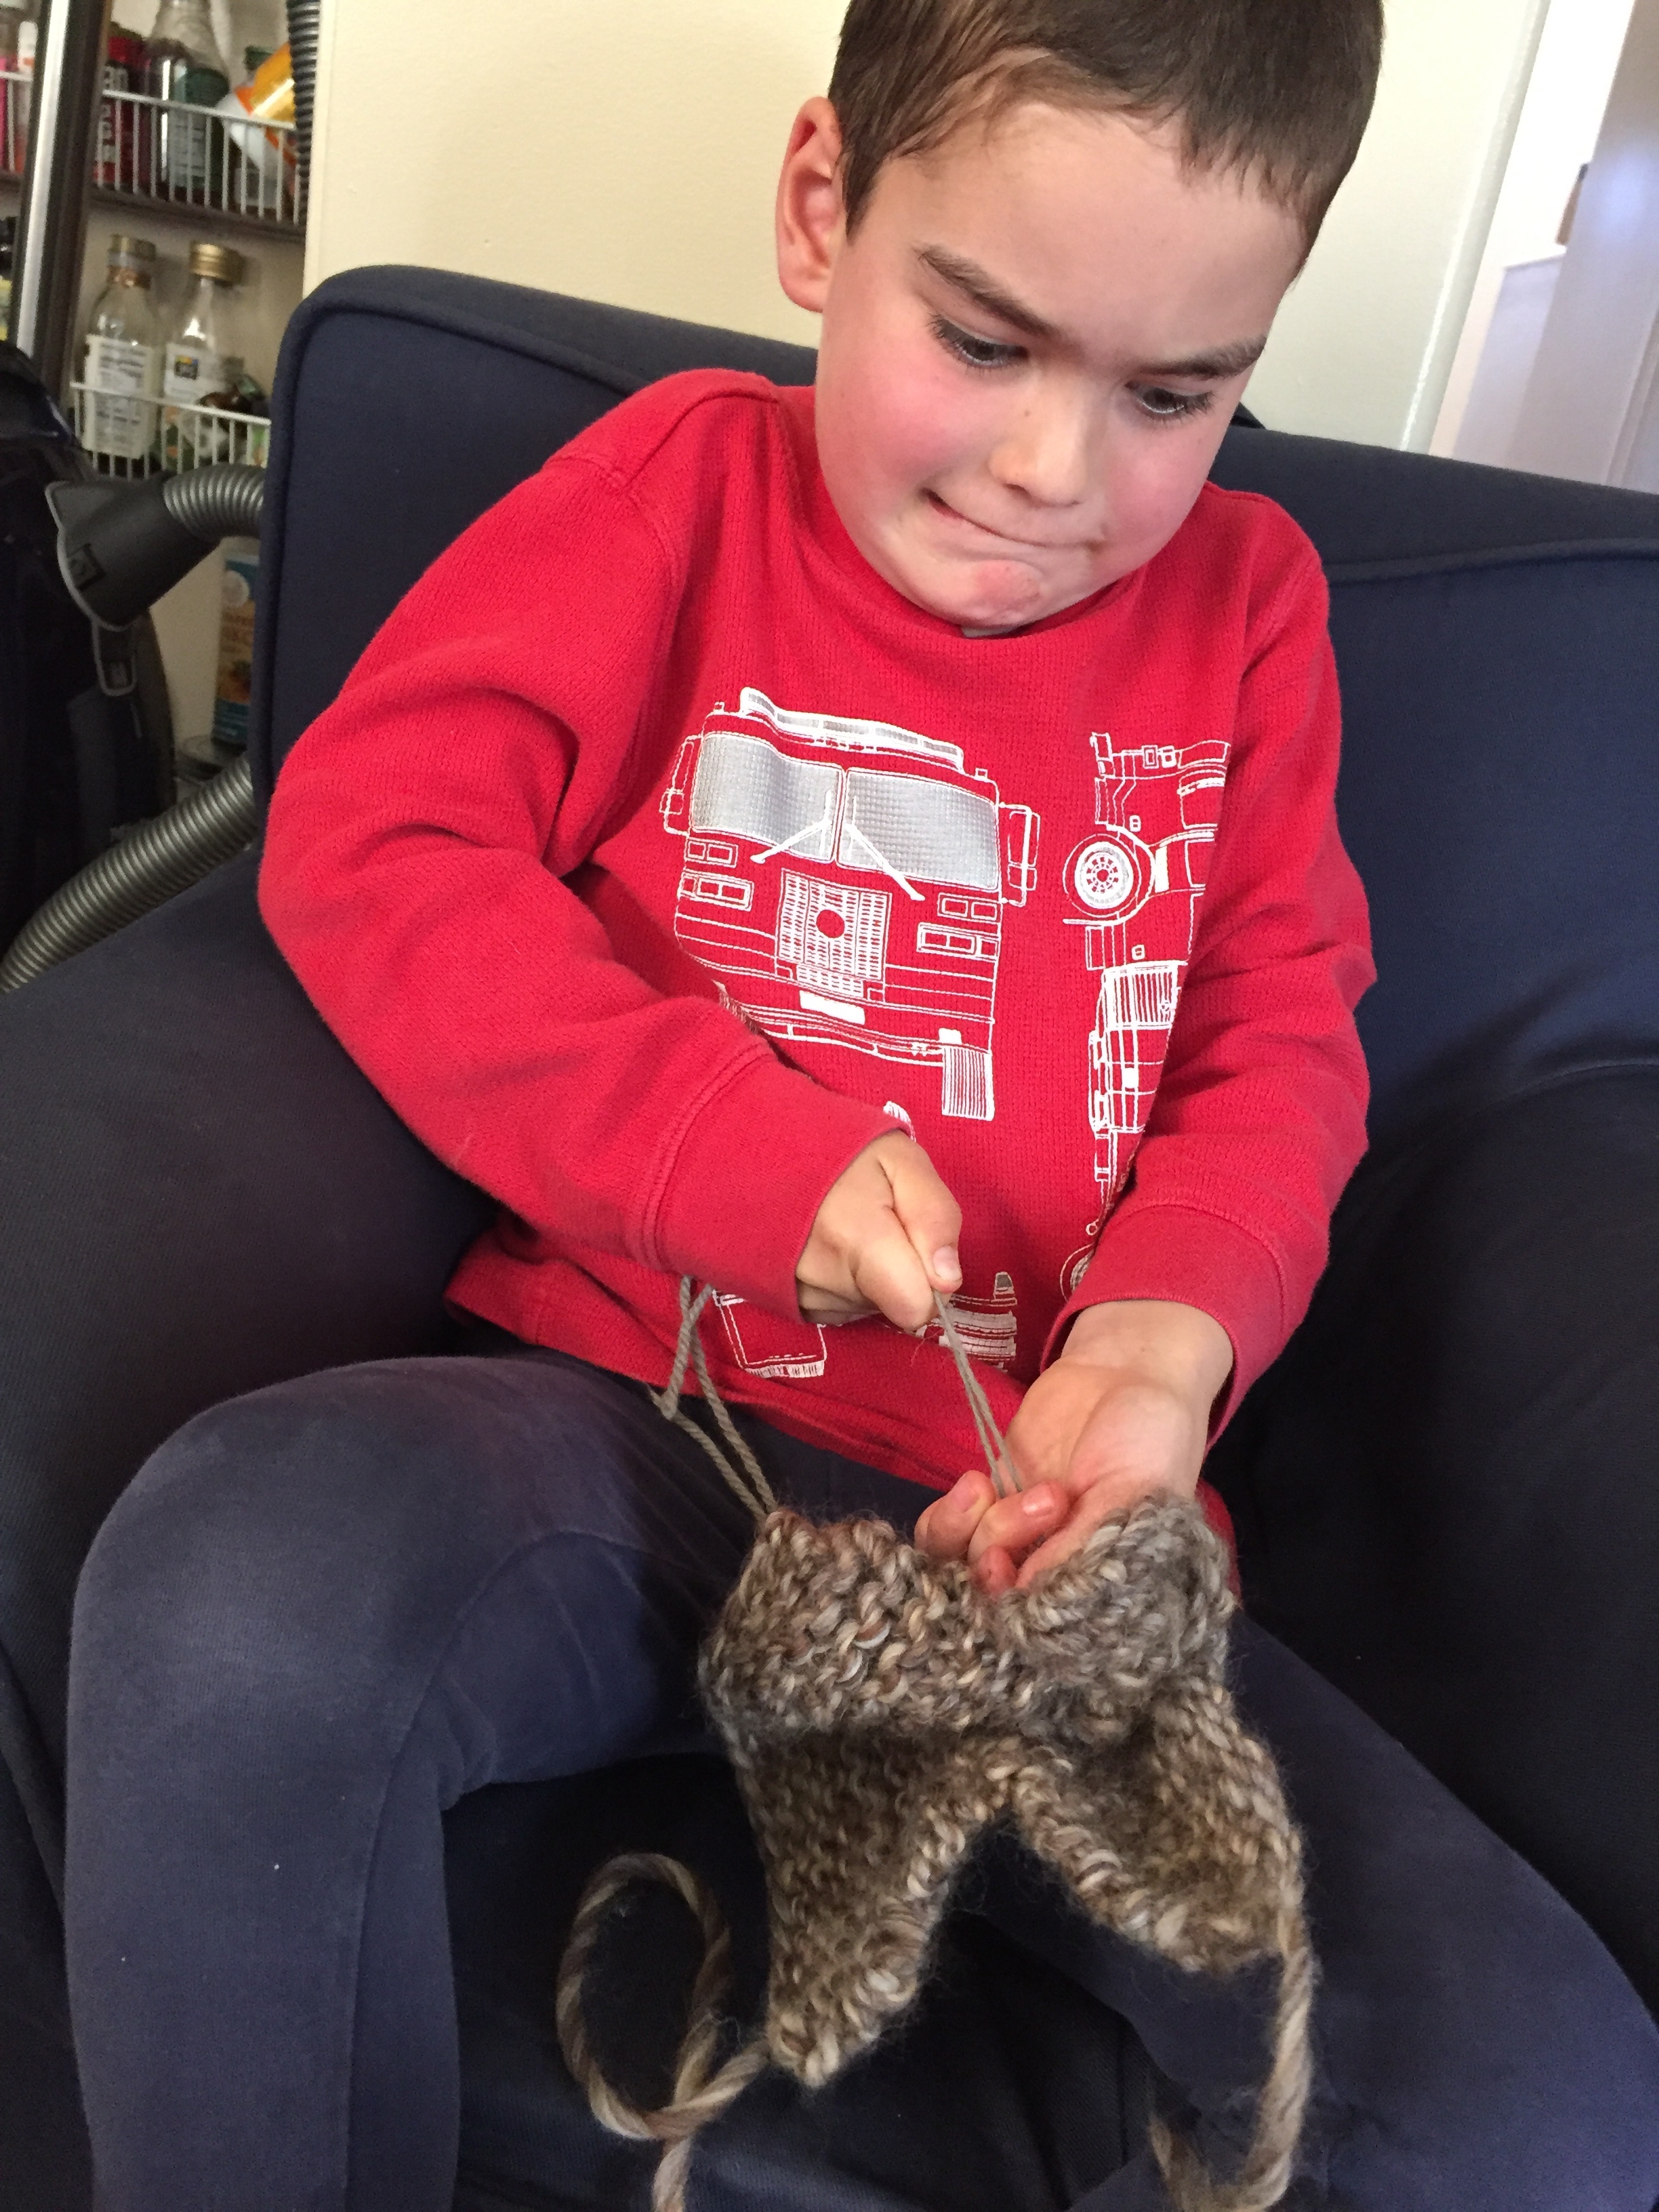


The head will appear at the center of the triangle, and the ears will take shape from there. It's so fun when the head appears! Before you cinch it super tight, stuff it with fluff so it's sort of firm. Then take the remaining yarn and stitch the stuffing hole closed.
Make the Bunny's Body:


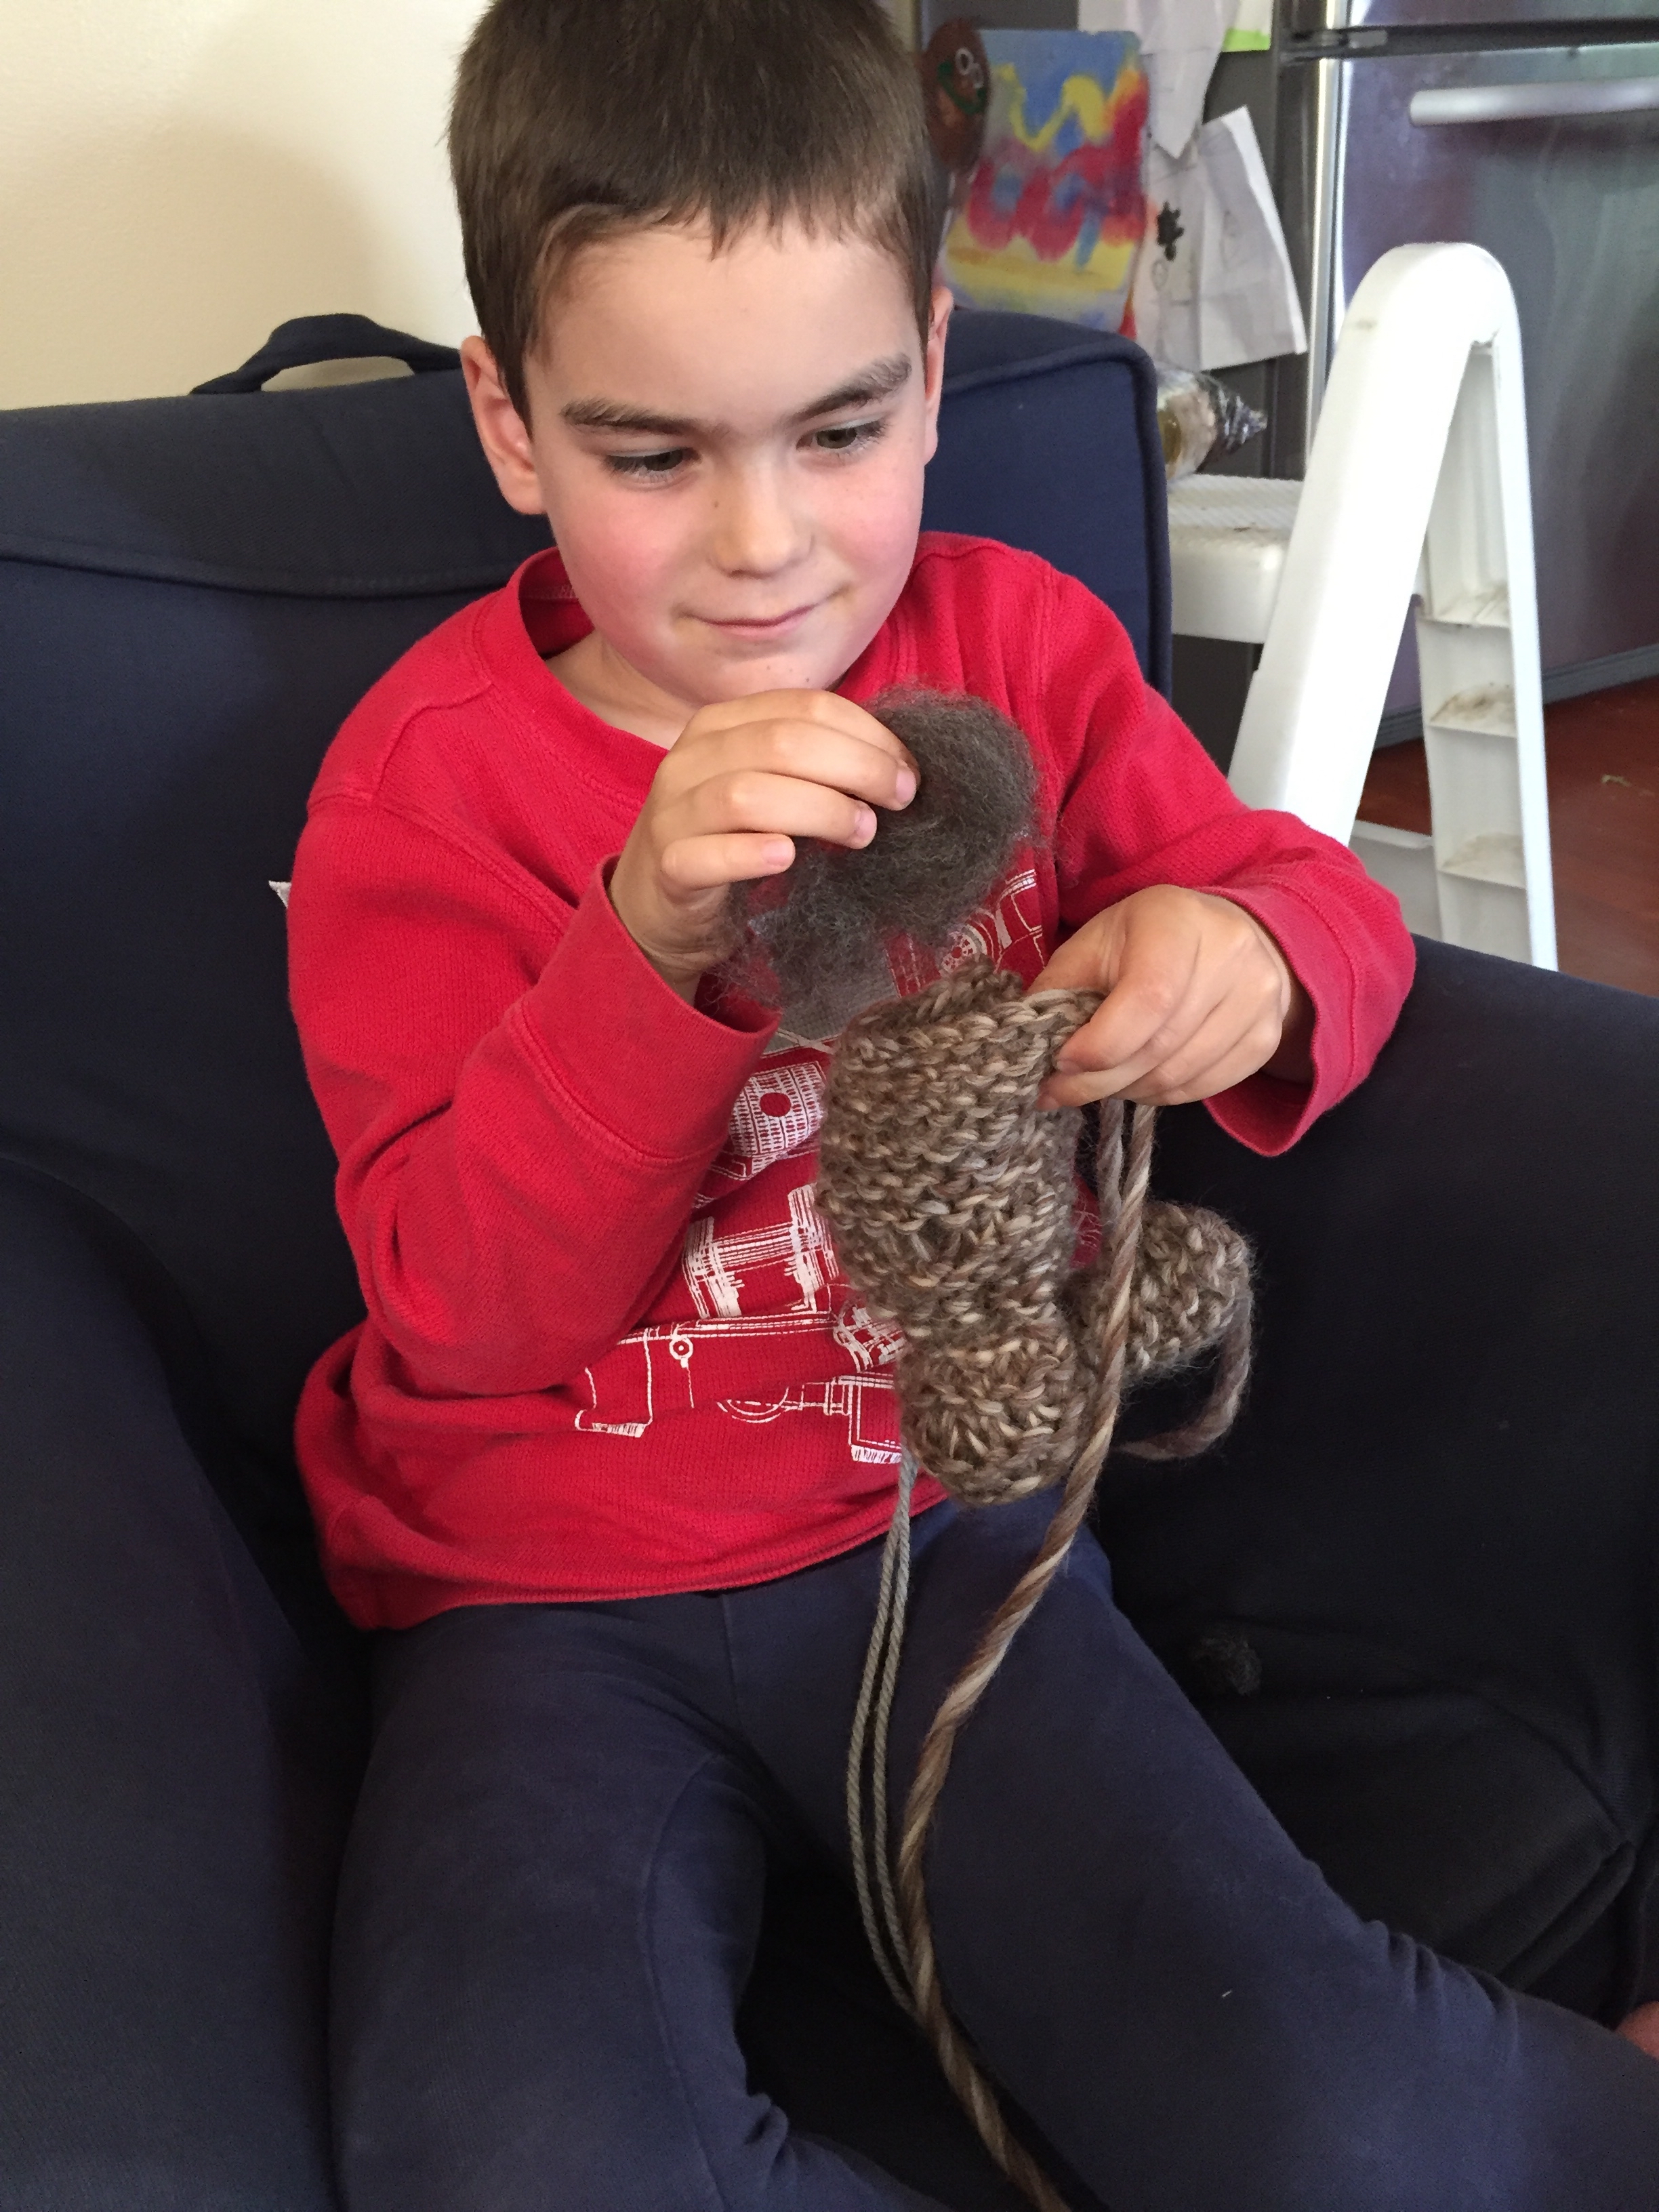
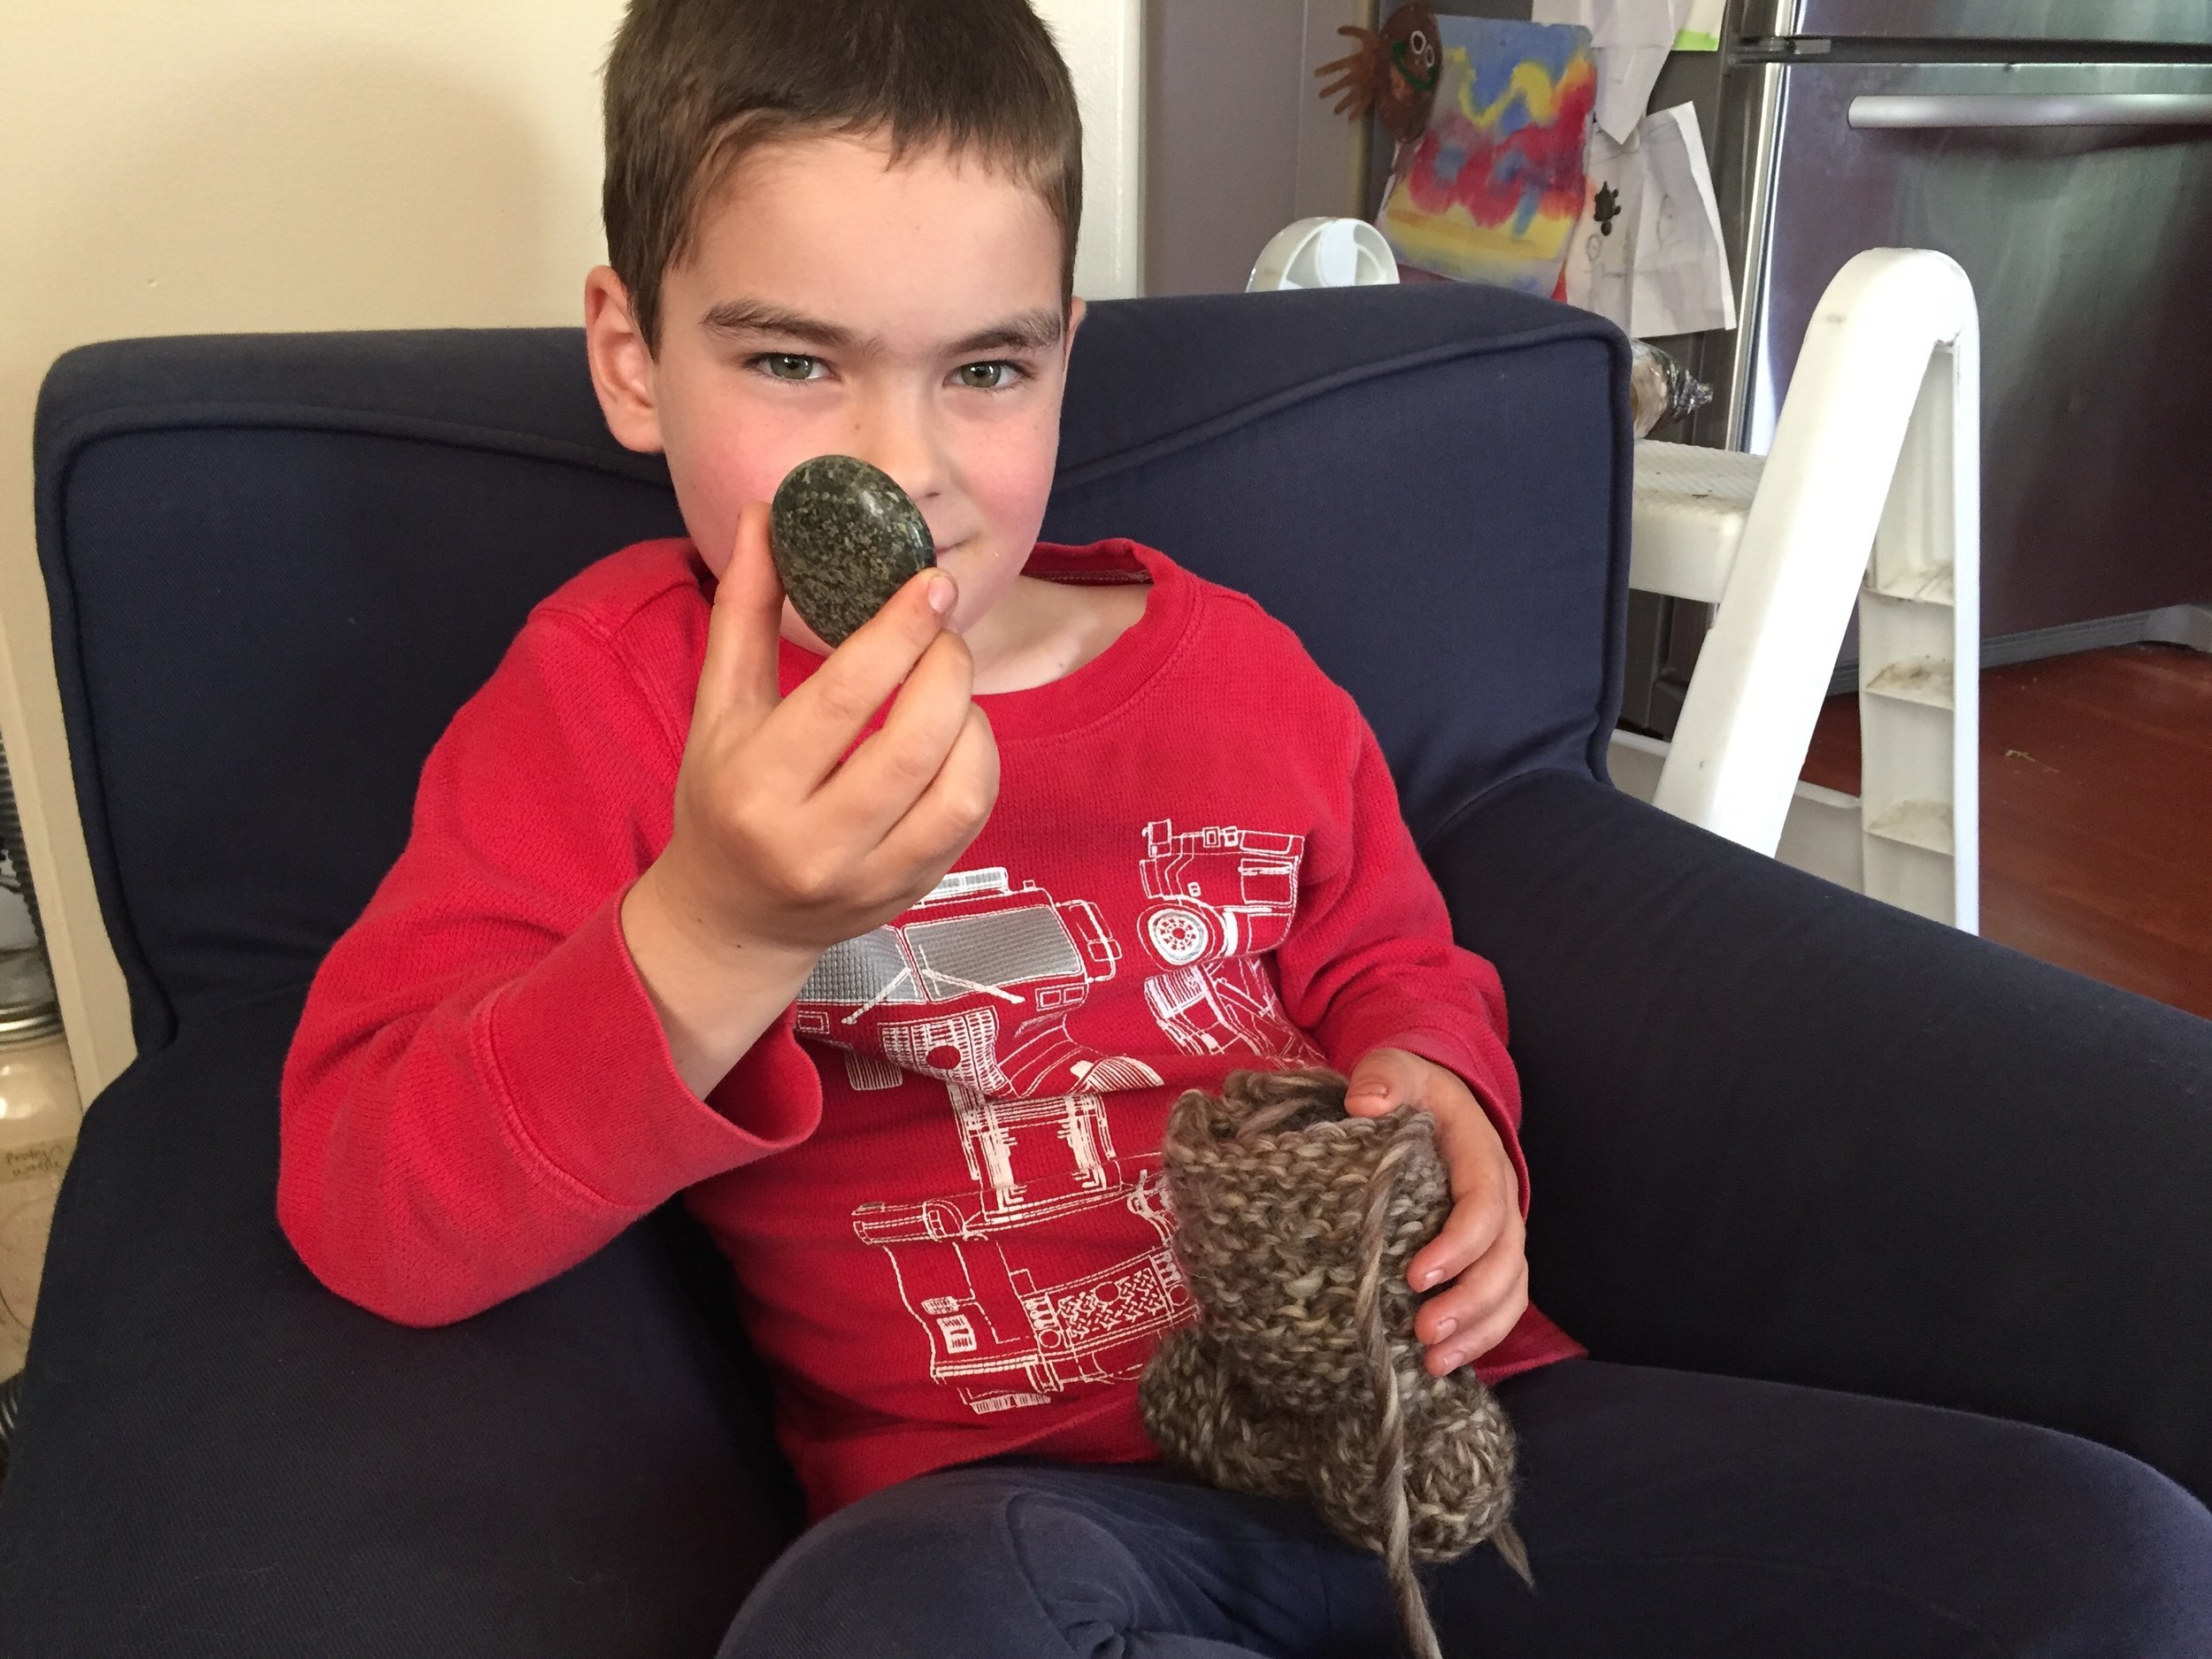
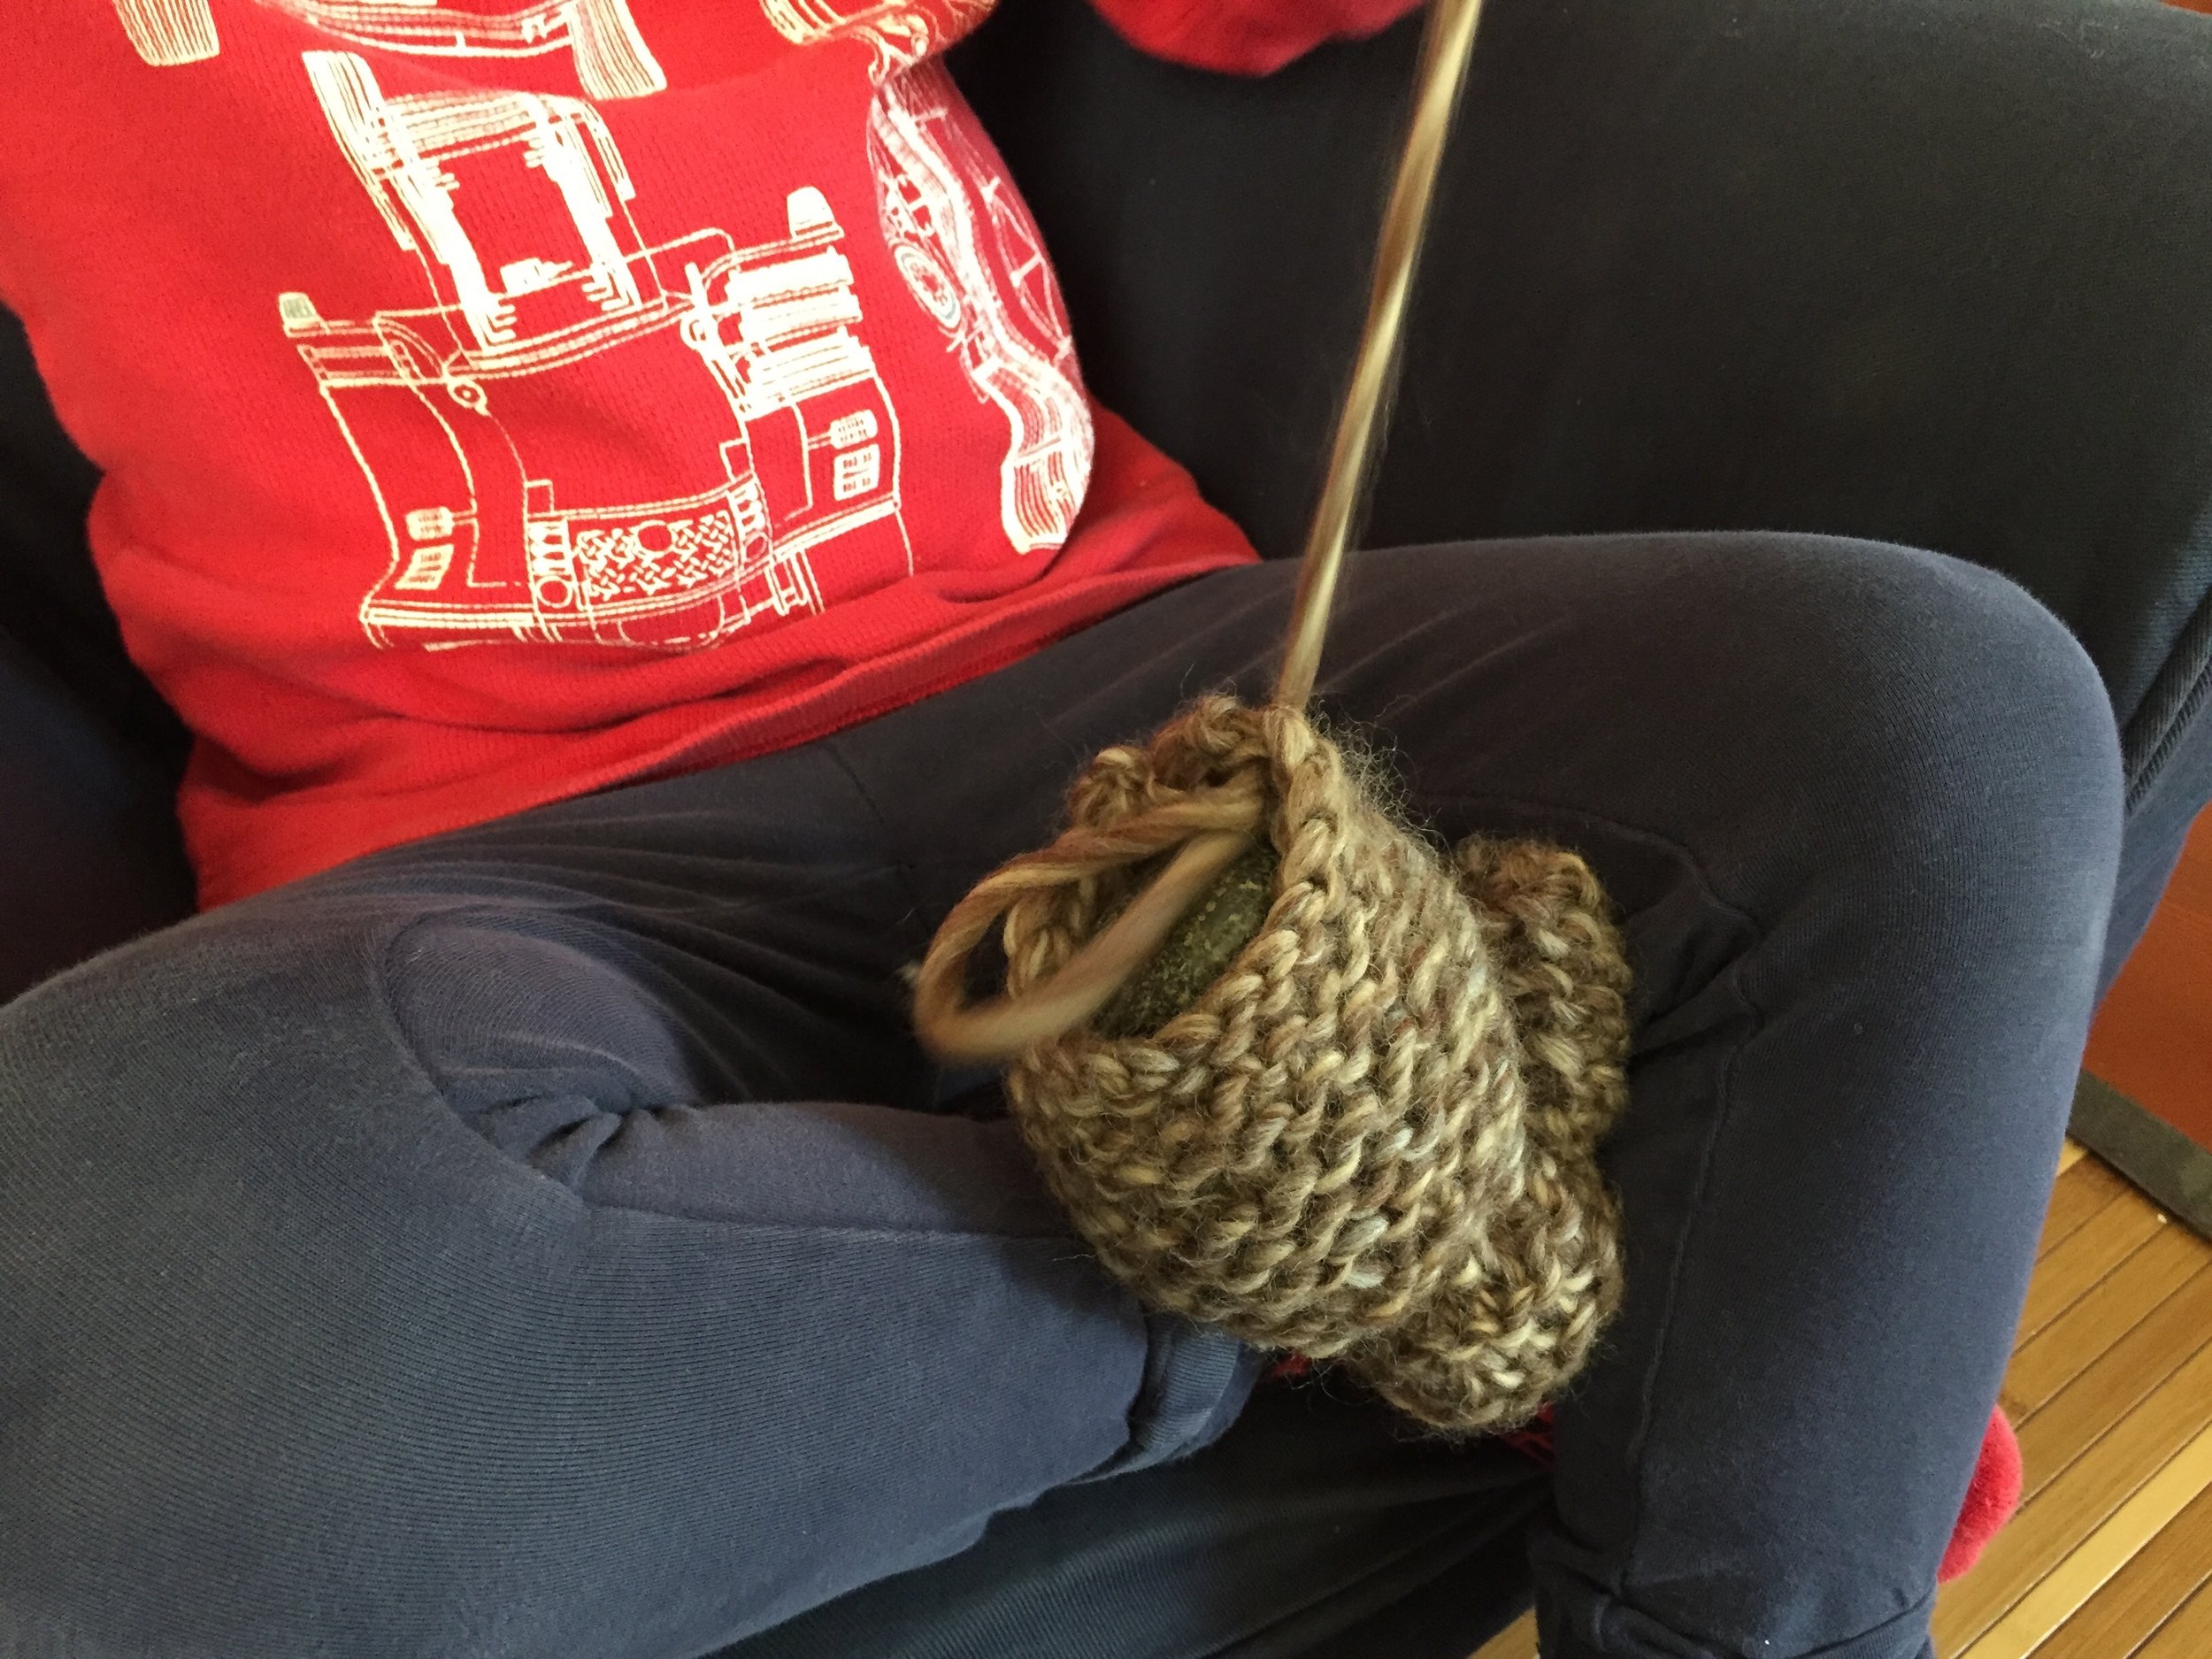
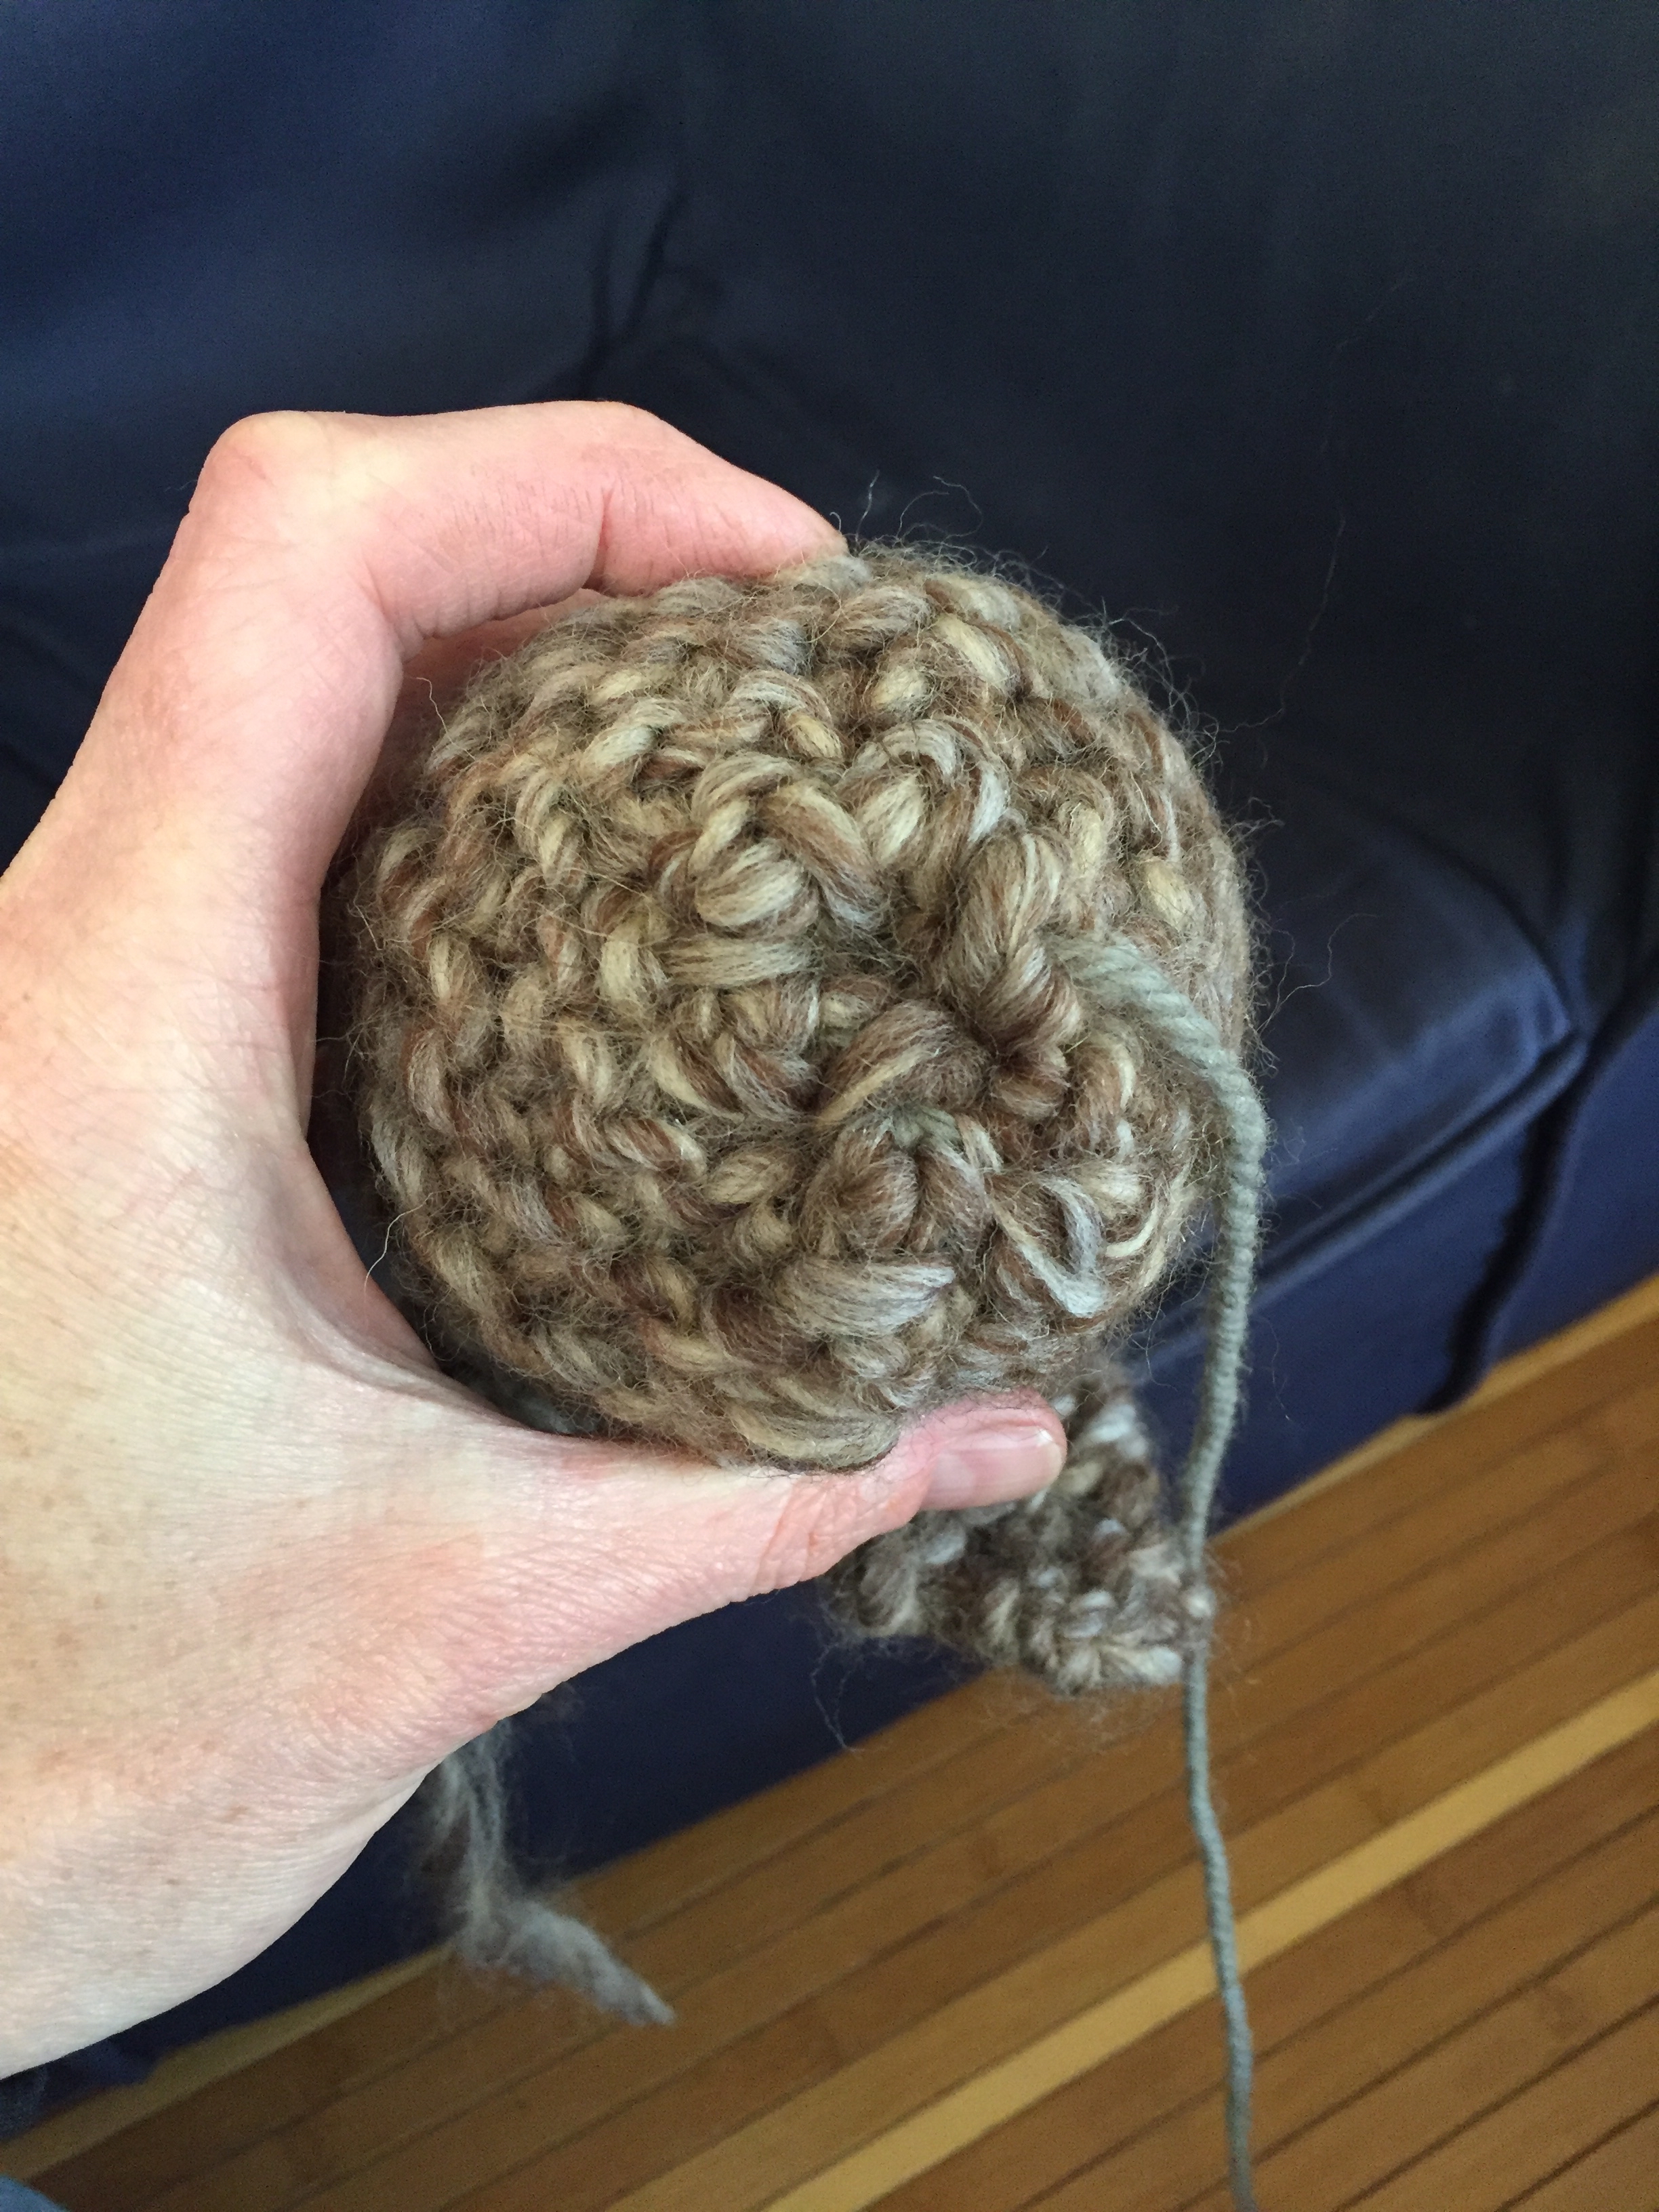
Using an overhand (or whip stitch), close the bunny's spine. Stuff the bunny's body with fluff so it's sort of firm. Drop in the flat, bunny-butt-sized stone. Using a running stitch, go around the edge of the hole, leaving a tail of yarn at the beginning. Cinch the hole closed, pulling gently. Tie it and stitch the hole shut.
Make the Bunny's Tail:
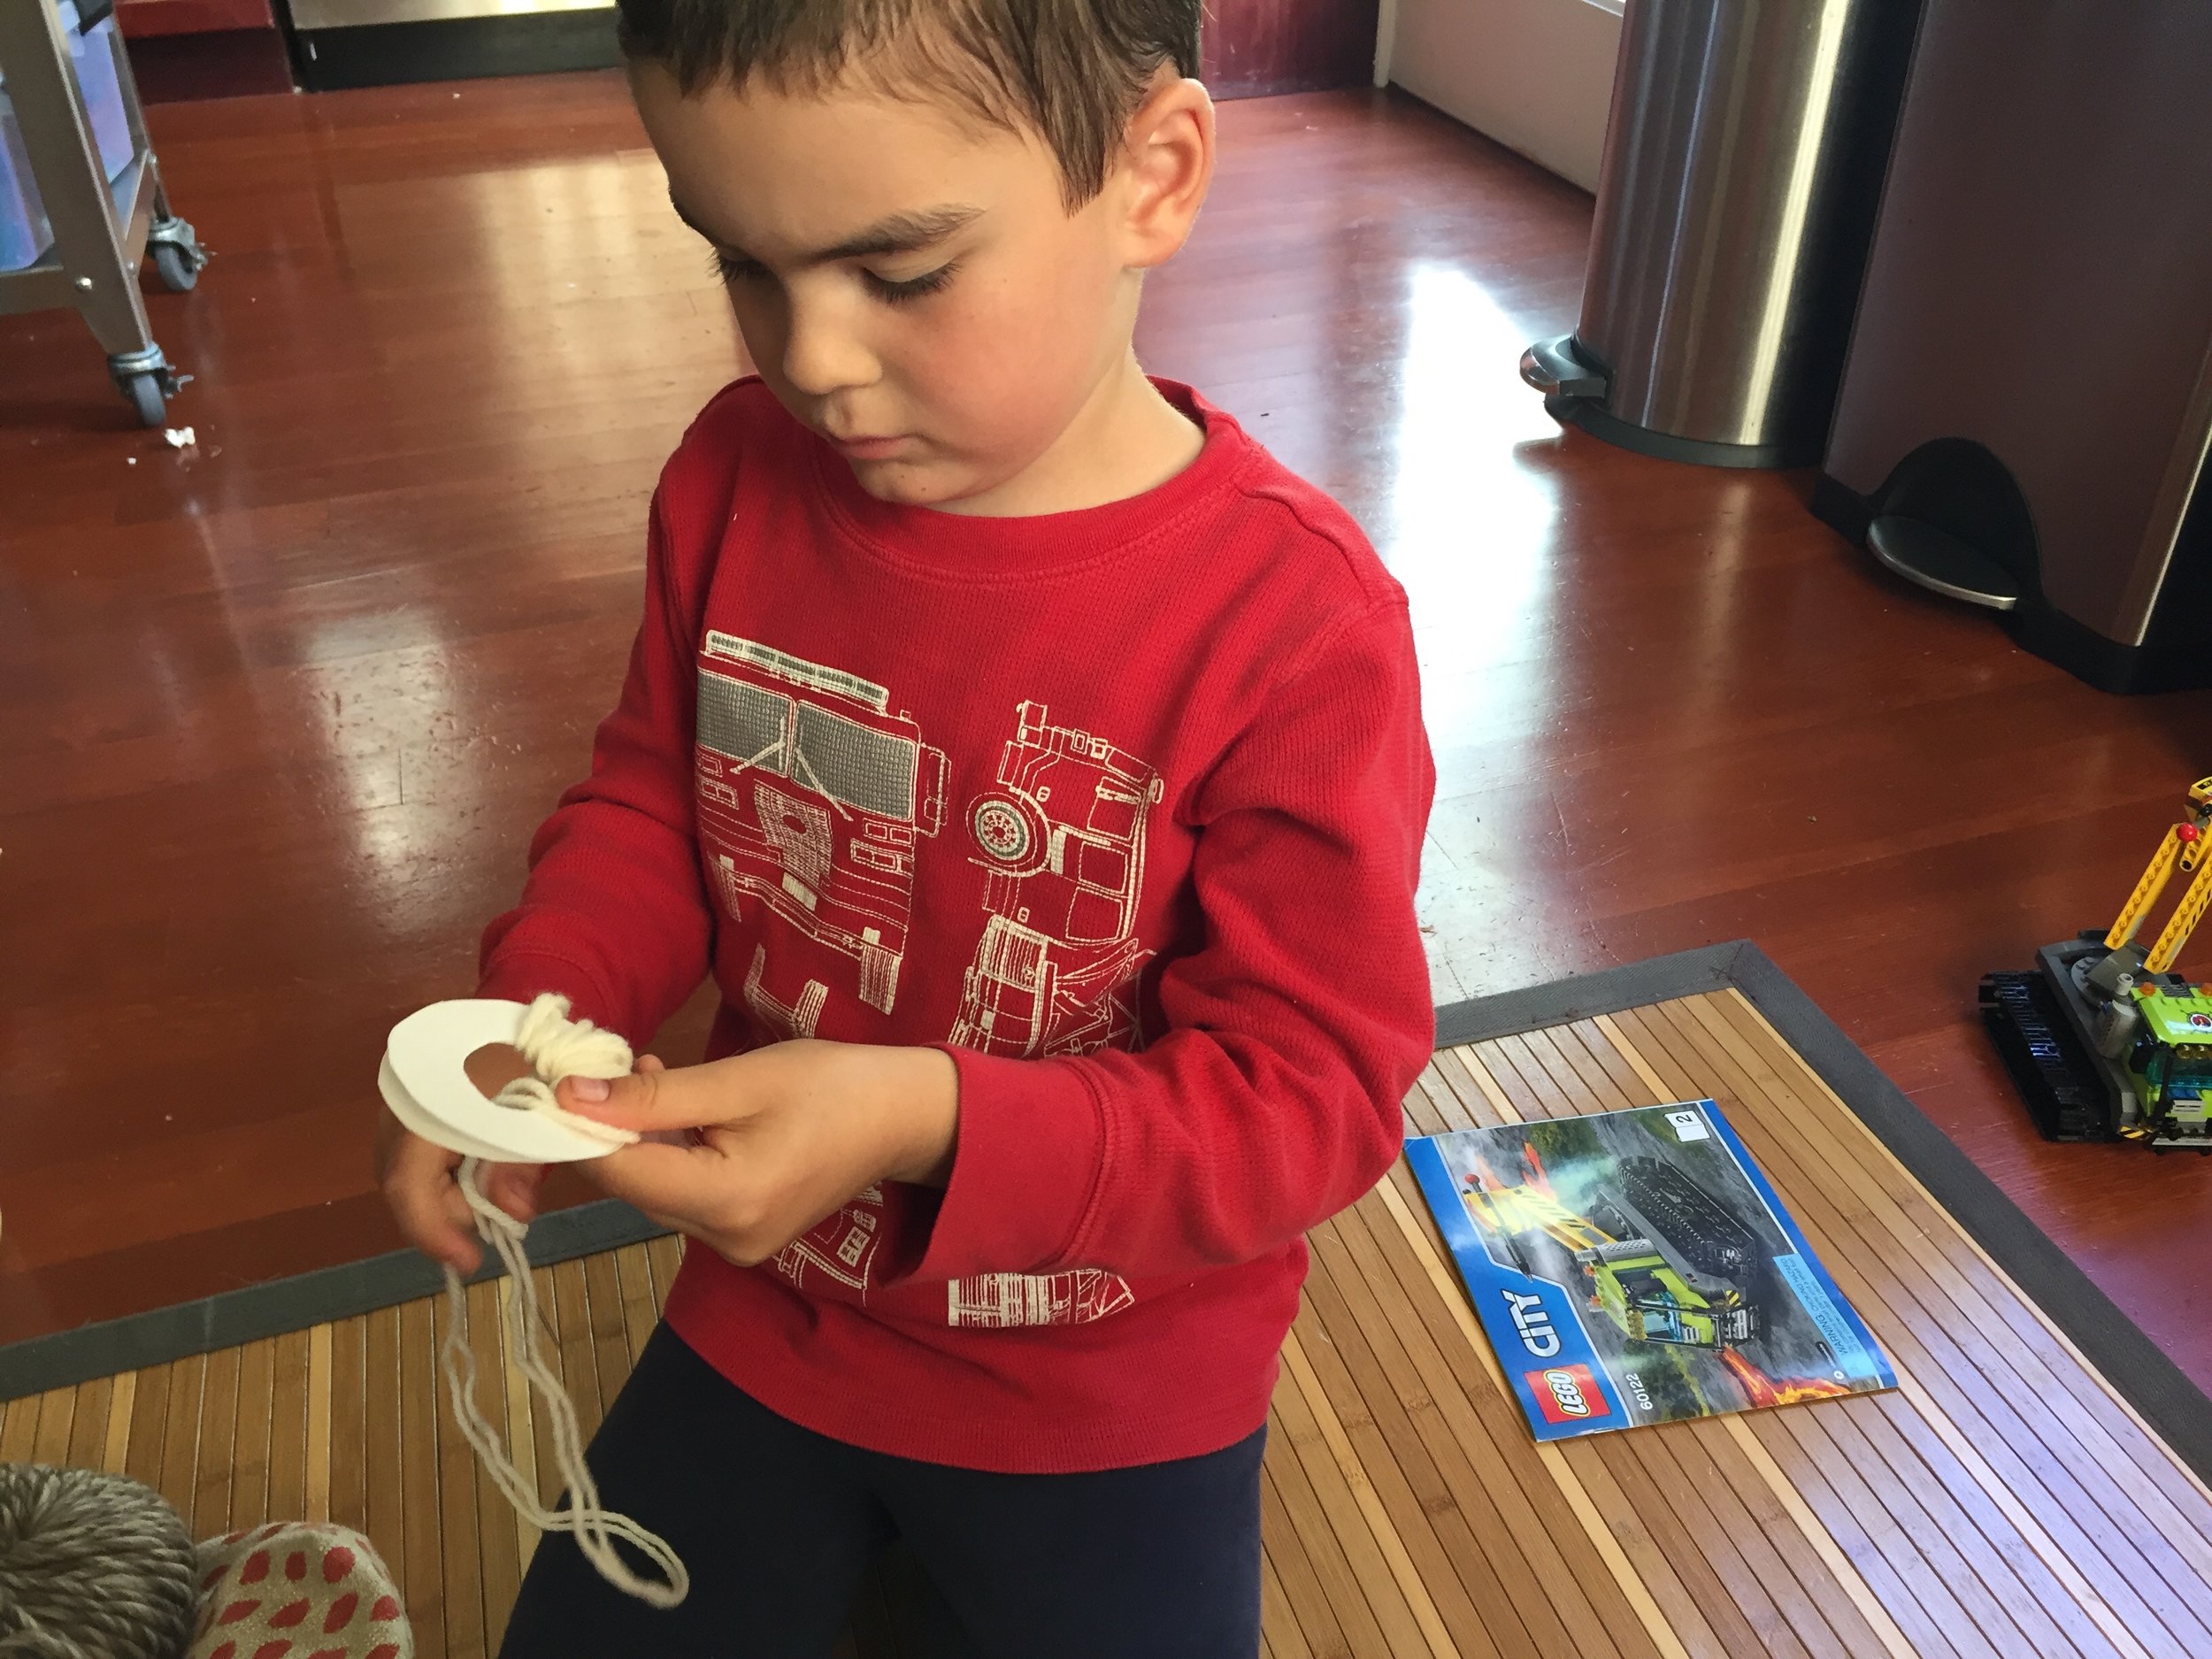
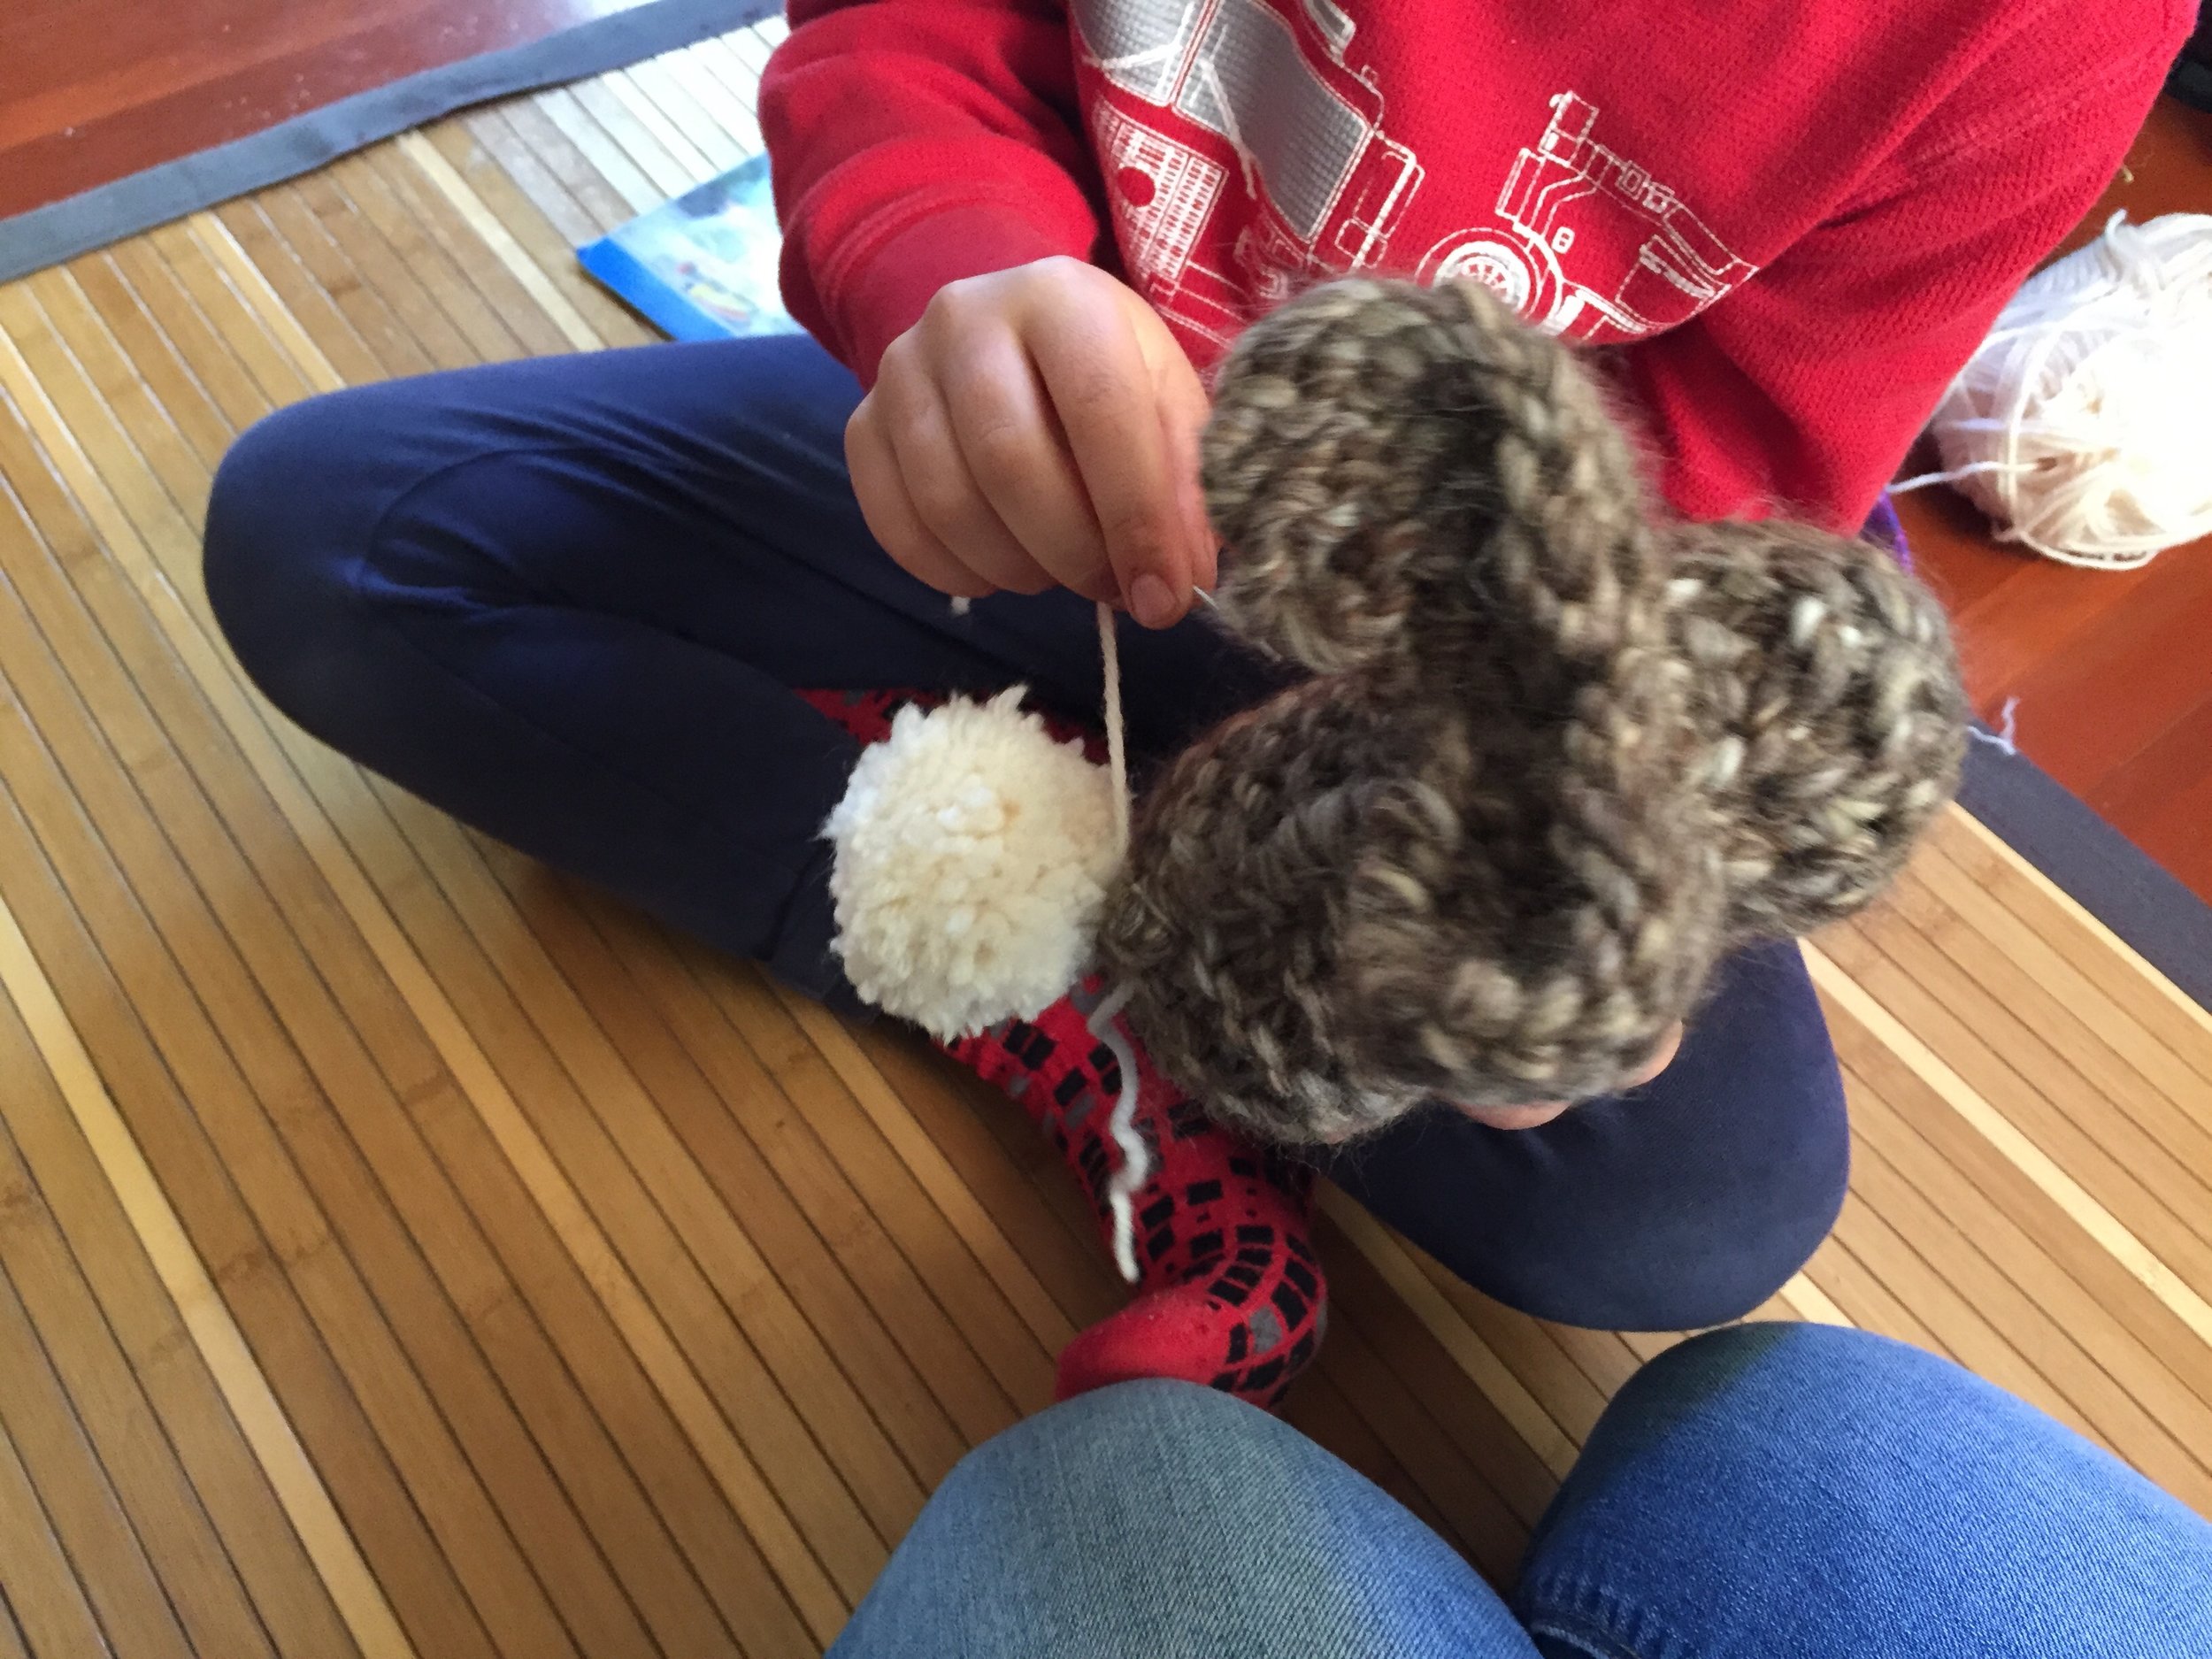
Make a pompom. I hate making pompoms so much. There are a ton of online tutorials for how to make pompoms. Have a look around and see which one you like. (We go with the two cardboard donuts technique. ) Maybe you'll love making pompoms. Let me know if you do, because I am in favor of anyone but me making them. Trim the pompom to the size you like and then stitch the pompom to where the tail should be.

Finishing:
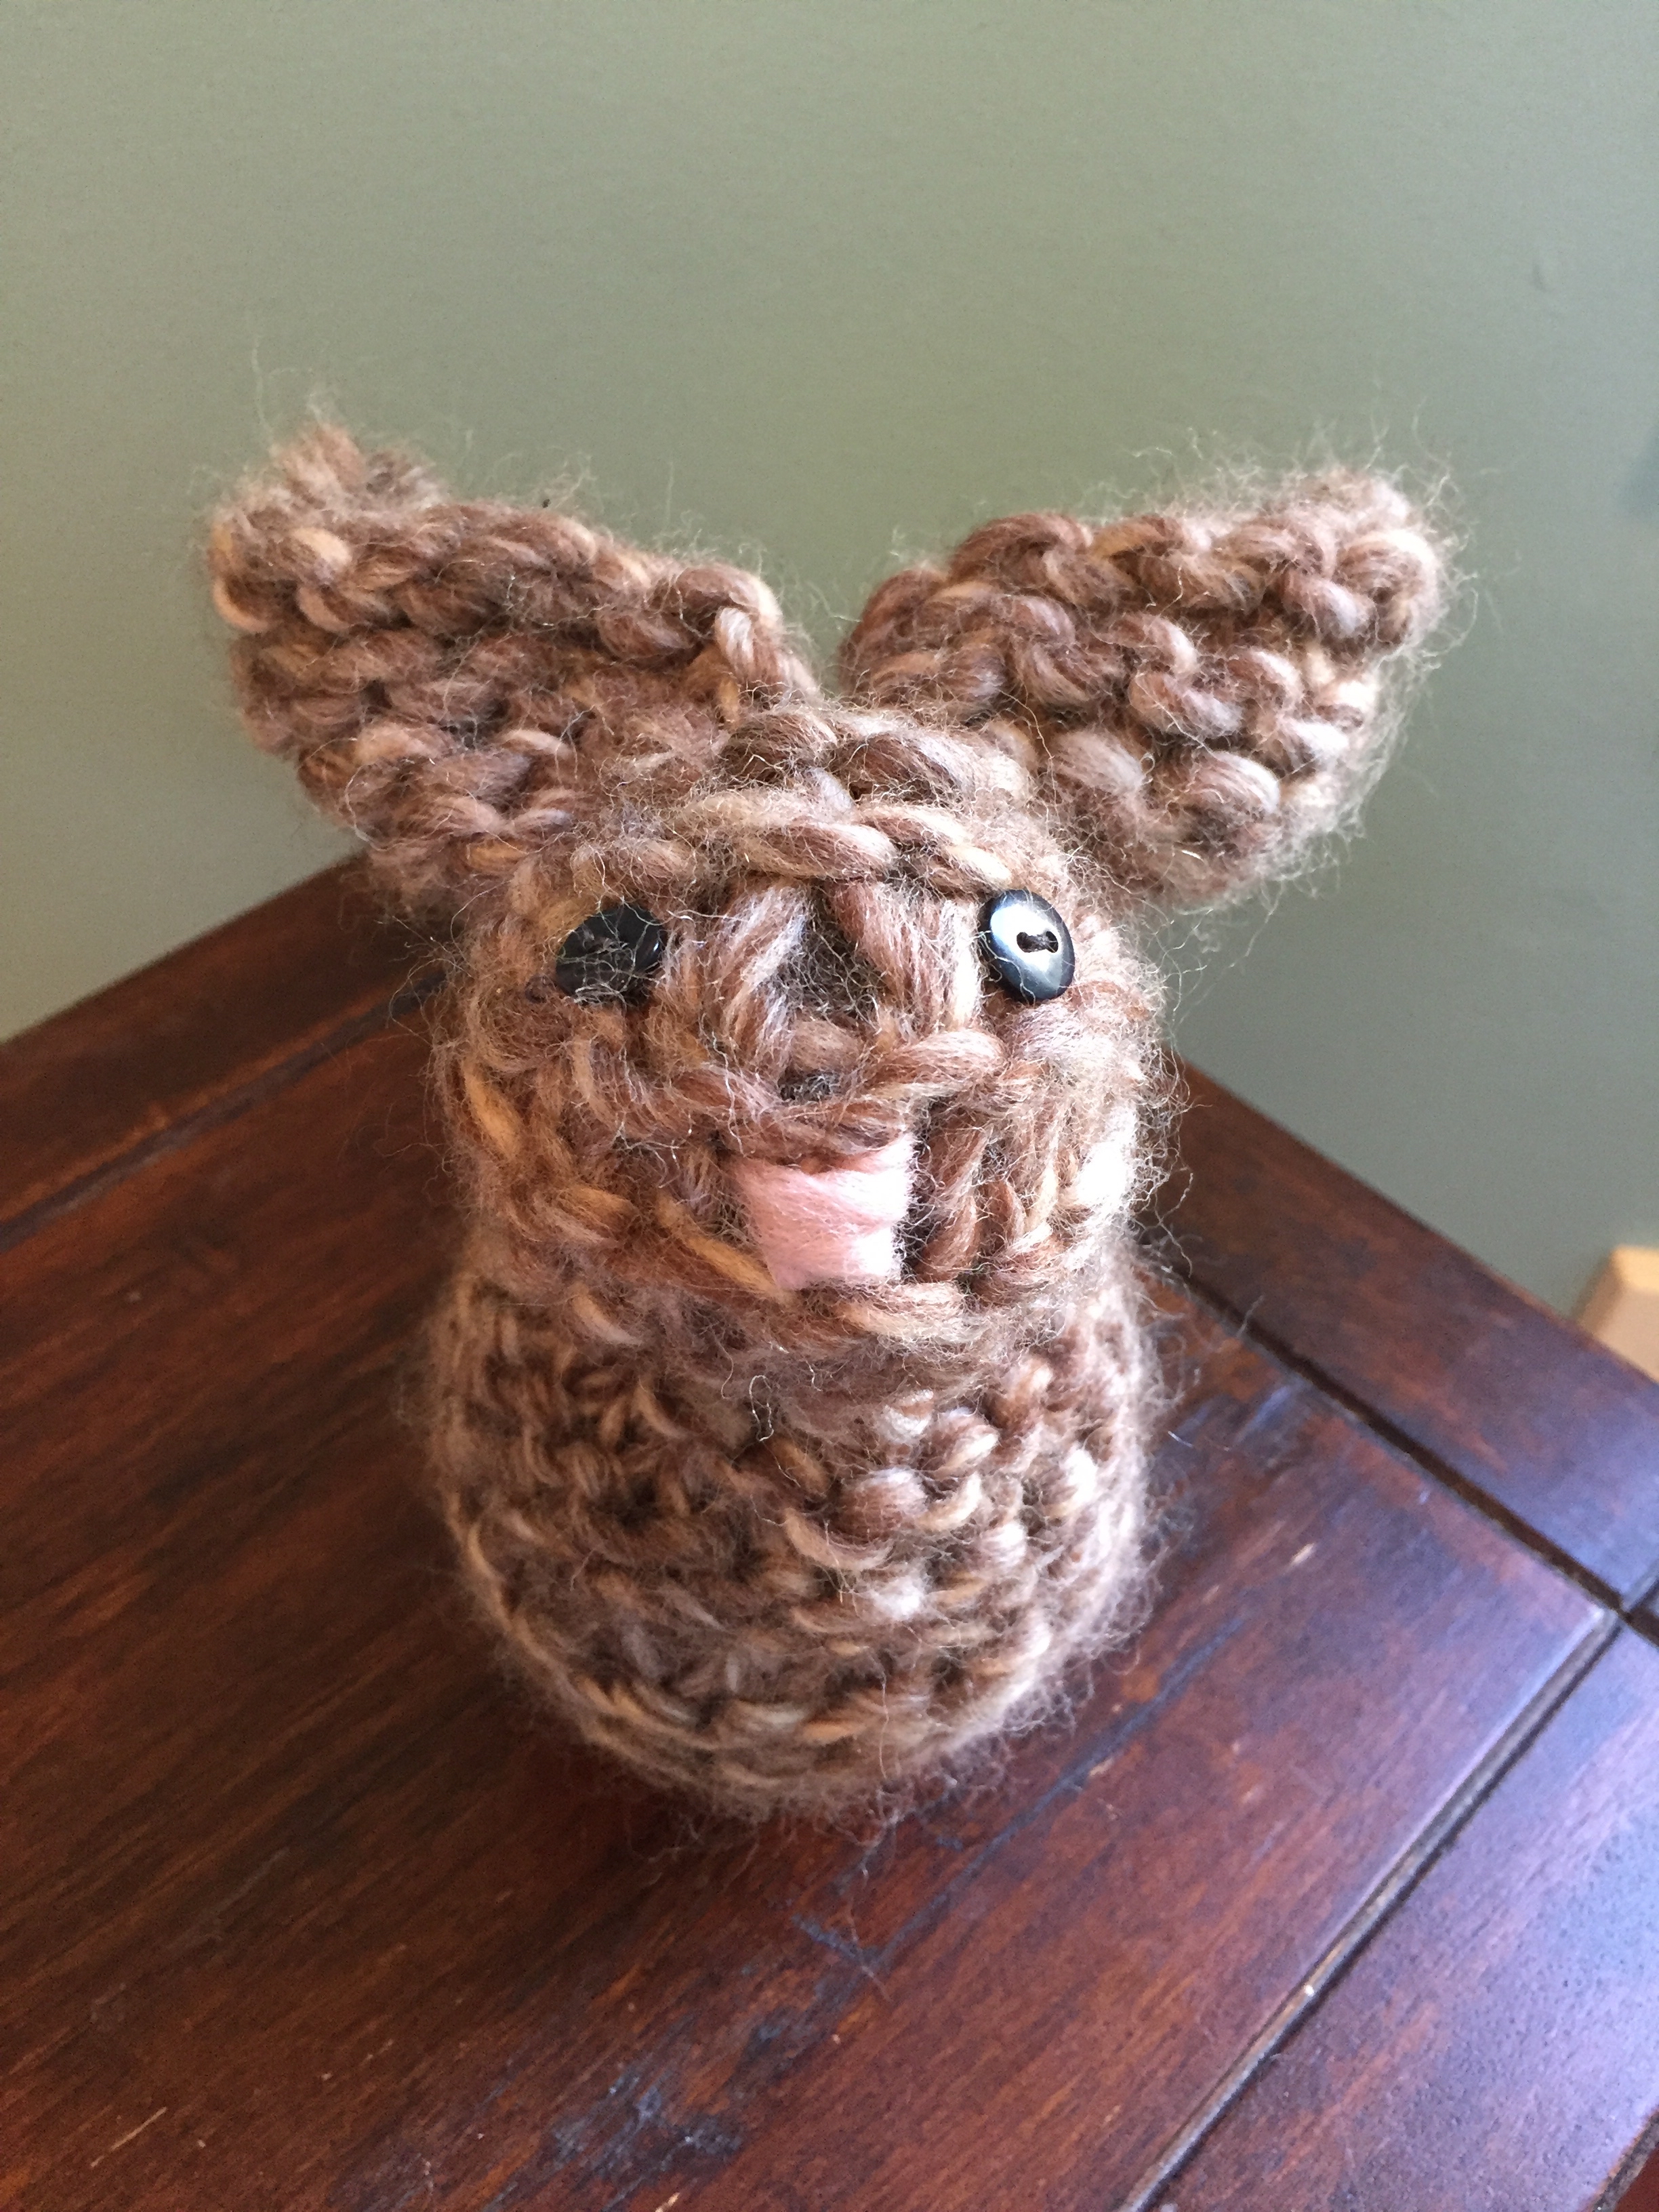
Weave in any loose ends and trim them. If you want, stitch on buttons for eyes and a little triangle for the nose.
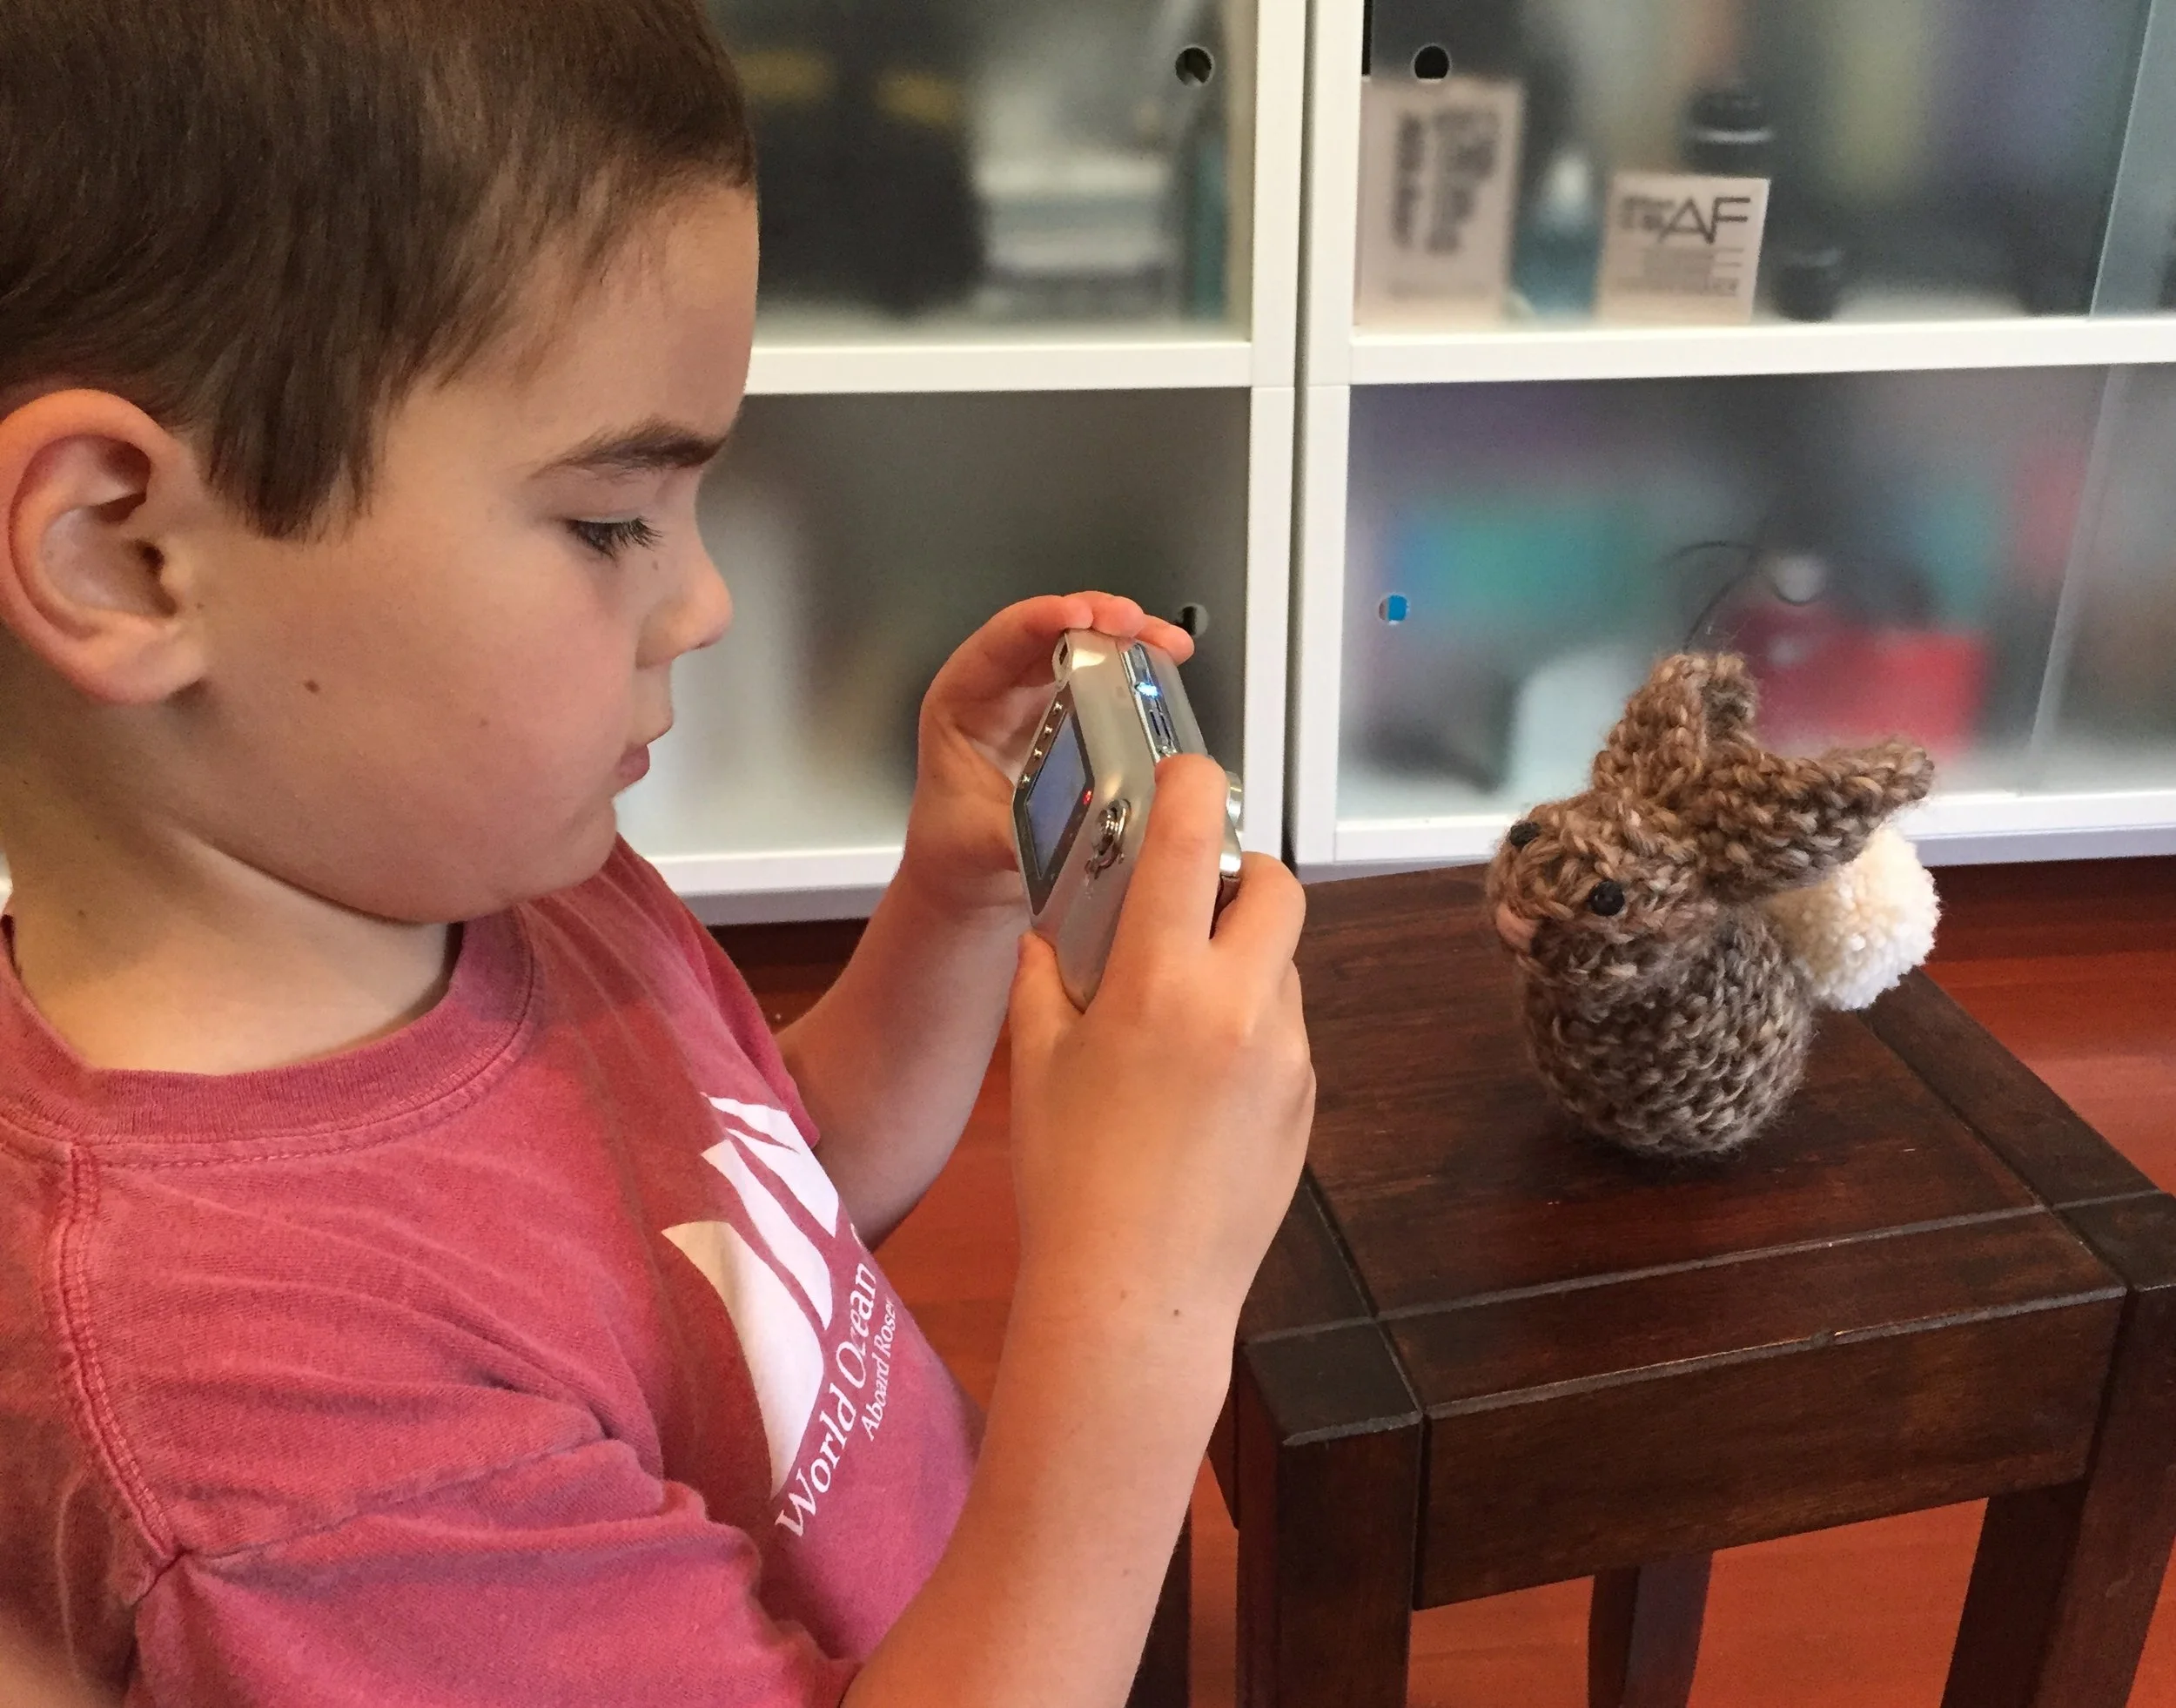
Take some pictures of your bunny before you send it to your friend. Finally, cast on a new square to start a bunny for yourself.