Last week didn't feel like a series of days for me. It felt like a bunch of fragments that never seemed to add up to anything useful. All fits and starts, with ten minutes here, twenty minutes there, and by Wednesday, I finally accepted that it was probably going to be one of those weeks where I'd get nothing real accomplished.
But I was wrong! First of all, I got some reading done.
Since October 2015, I have read exactly two books. Abysmal, I know. I used to read all the time, and now? Knitting fills my eyes while podcasts fill my ears. I know, I know—audio books!—but I have yet to warm to them.
The book I started in October and finished last week was Proof: The Science of Booze, by Adam Rogers. Don't let my many months of reading it fool you—it was an absolutely terrific read. I highly recommend it to anyone with any interest in alcoholic beverages or science.
The second book I read, I started on Thursday, neglected it over the weekend, and finished it on Monday. I could not stop reading it (and reporting the most interesting parts to Wyatt and Marc). The book is Unseen City: The Majesty of Pigeons, the Discreet Charm of Snails & Other Wonders of the Urban Wilderness, by Nathanael Johnson. I heard about it on one of my favorite podcasts, 99% Invisible.
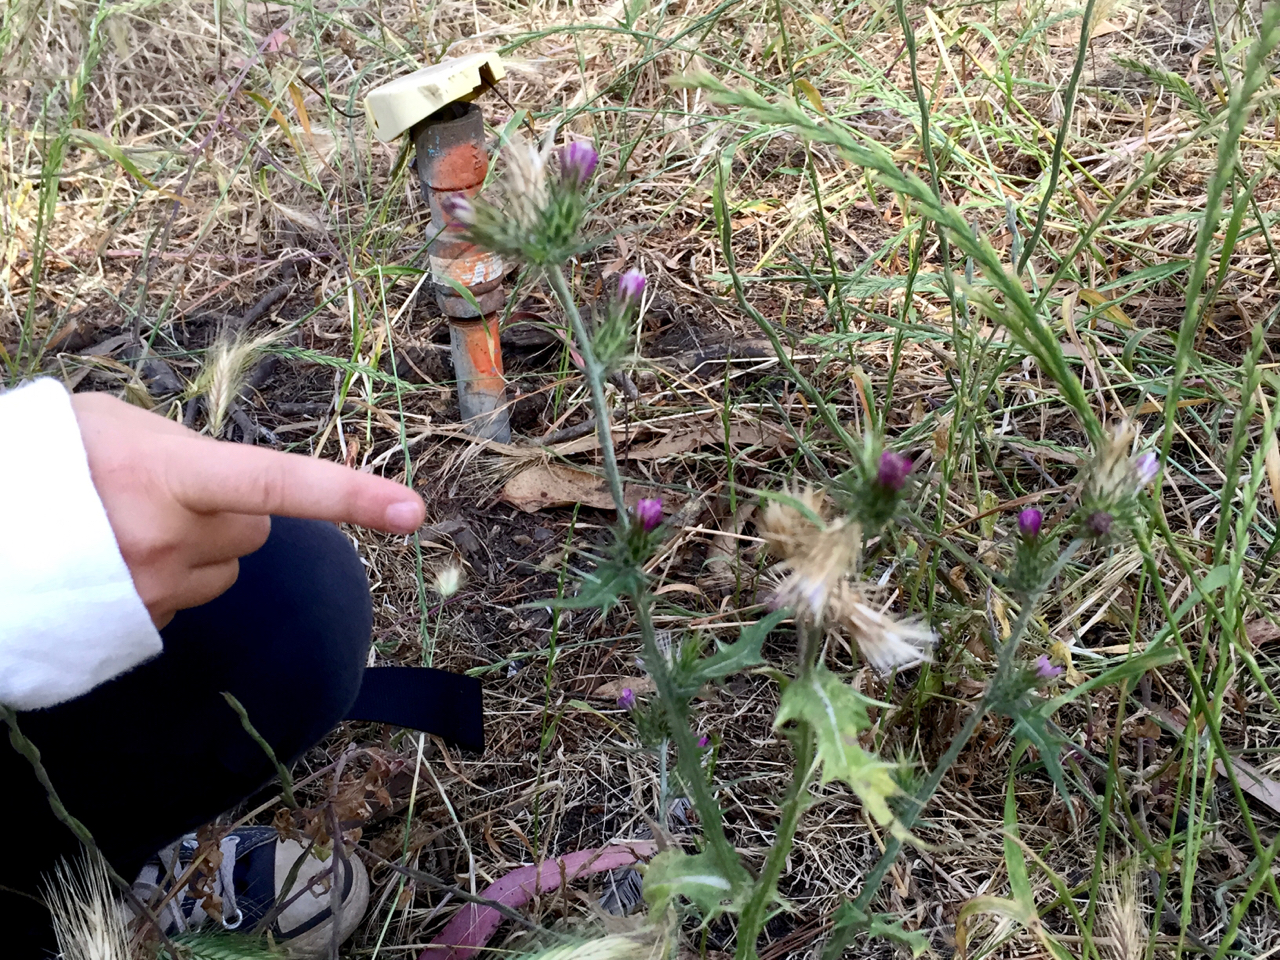
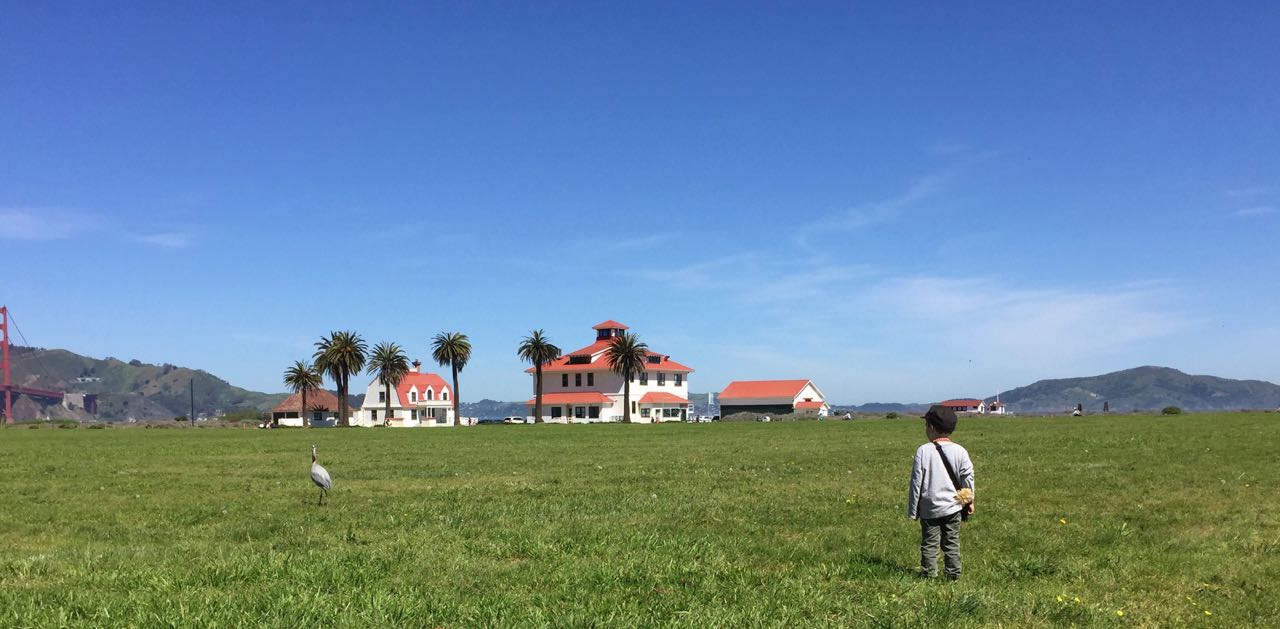
This is a book I wish I could have read during the years when I was walking around with baby (and later, toddler) Wyatt. Back then, I had a child who loathed his car seat and his stroller. His screaming was ear-splitting, and heartbreakingly frustrating. No loving words, kind pats or white-noise app on my phone could soothe him. As a result, I drove sparingly and spent hours walking with him in one baby carrier or another all around the neighborhood. As Wyatt became more aware of his surroundings, he'd start to point at things he noticed. "Tree!" I'd say. Or "Flower!" depending on where it looked like his chubby finger was directed. And as he grew older, he would hear a bird chirping and sign, "Bird." So I'd say "Bird!" But as the months rolled by and our urban nature walks continued, I became acutely aware of how few types of trees, plants, or birds I could identify. I went so far as to research whether there were urban nature walks where someone would identify things for you while you strolled, so I could learn. Sadly, all walks I found directly competed with nap time, so I never went, and I didn't pursue my curiosity further.
Nathanael Johnson, on the other hand, took a very similar experience with his daughter and turned it into a way of appreciating the "Urban Wilderness." He followed his curiosity, studying the "boring" or even "disgusting" plants and creatures we find everywhere in our urban landscapes. Then he wrote about them so engagingly and informatively that I finished his entire book in just two sittings.
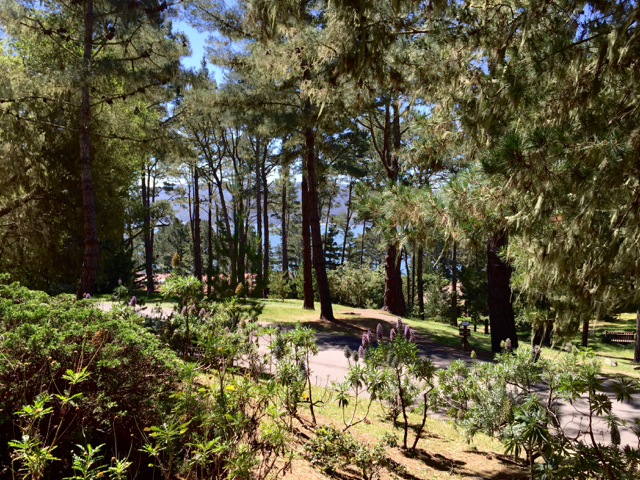
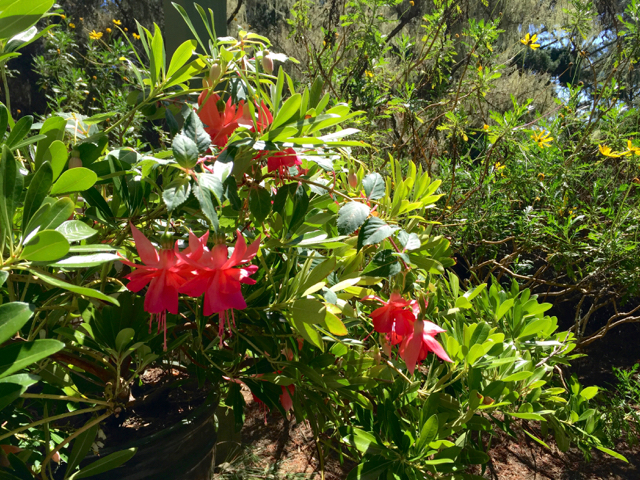
I think this book grabbed my attention because, in addition to my early urban nature walks with Wyatt and our ongoing fascination with bugs, slugs, and plants, I sometimes feel torn between city life and what I imagine country life must be like (thanks, Instagram!) I struggle with the whole "Be Here. Now." thing in our busy, tech-driven city. As it turns out, there doesn't need to be a struggle, you just have to start actually seeing things. Thanks to a narrative that's as informative and persuasive as it is funny, I followed Johnson on his own journey of learning about turkey vultures, snails, squirrels, ginkgo trees, crows, and more. As I saw how we can connect with the natural world, I felt more compelled than ever to start exploring. Cities (with green spaces) are teeming with nature, and believing that I have to go out to the wilderness to experience nature is just silly.
As Johnson wrote on pages 63-64,
We see what we expect to, what we have a name for, what pops immediately into our heads. But confirmation of the expected is boring, and false. Life only becomes interesting when you watch it closely enough to see something surprising, and with that surprise come a little closer to the real thing. That, I suppose, is the point of this book: to allow people to see past their expectations. When actual seeing pierces the skin of habituation, if only for a moment, it permits a bit of wonder to bleed through.
Marc, Wyatt and I have decided to follow Johnson's helpful and remarkably practical recommendations for becoming "Neighborhood Naturalists." We have binoculars and can easily find a magnifying glass. It will be fun to keep a journal and identify one species a month. And Wyatt already determined in preschool the rampant weed he loves to eat (sour grass), so he's ahead of us in that regard.
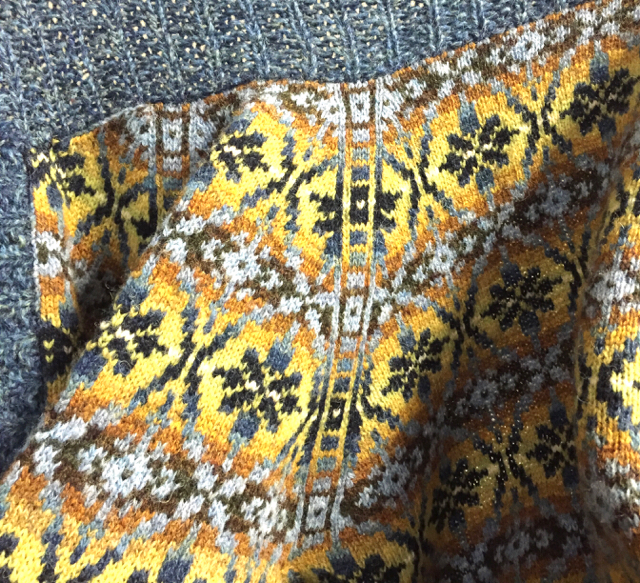
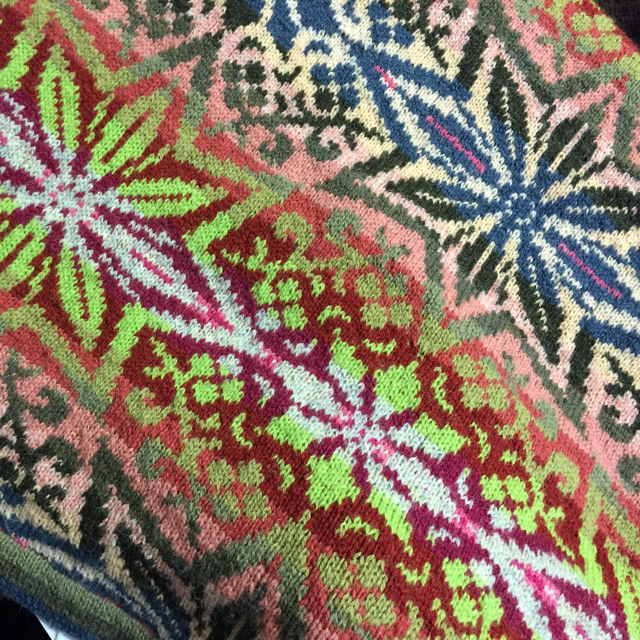
But I didn't only get reading done this week! I also had the most amazing Saturday at Kira K Design's knitting retreat at the Marconi Conference Center. I received the most inspiring introduction to Fair Isle knitting from Janine Bajus (The Feral Knitter, and photos of some of her amazing designs appear below), learned all about pattern adjustment from Kira, and connected with some other truly wonderful entrepreneurs, including Sunni Scrivner, who owns the the shop Yarn, in Eureka, and designs her own patterns, Maria Isabel, who owns A Needle Runs Through It and makes terrific project bags, and Brooke Sinnes, the woman behind Sincere Sheep and the yarns I love so much. The setting was beautiful, and the company was the best.