I hope that if you celebrate Thanksgiving, you had a wonderful holiday where you basked in gratitude among people you love.
And even though on Thanksgiving, you might have sworn you’d never eat again, that feeling has probably worn off by now. Maybe not for pie, but possibly for cake. Or maybe for quick bread?
I love Smitten Kitchen’s recipes. I have saved so many of them in my Paprika recipe box, knowing I’ll need to revise them in one way or another to accommodate various dietary restrictions when I try them. Sometimes I remember to note my changes, but more often, I don’t.
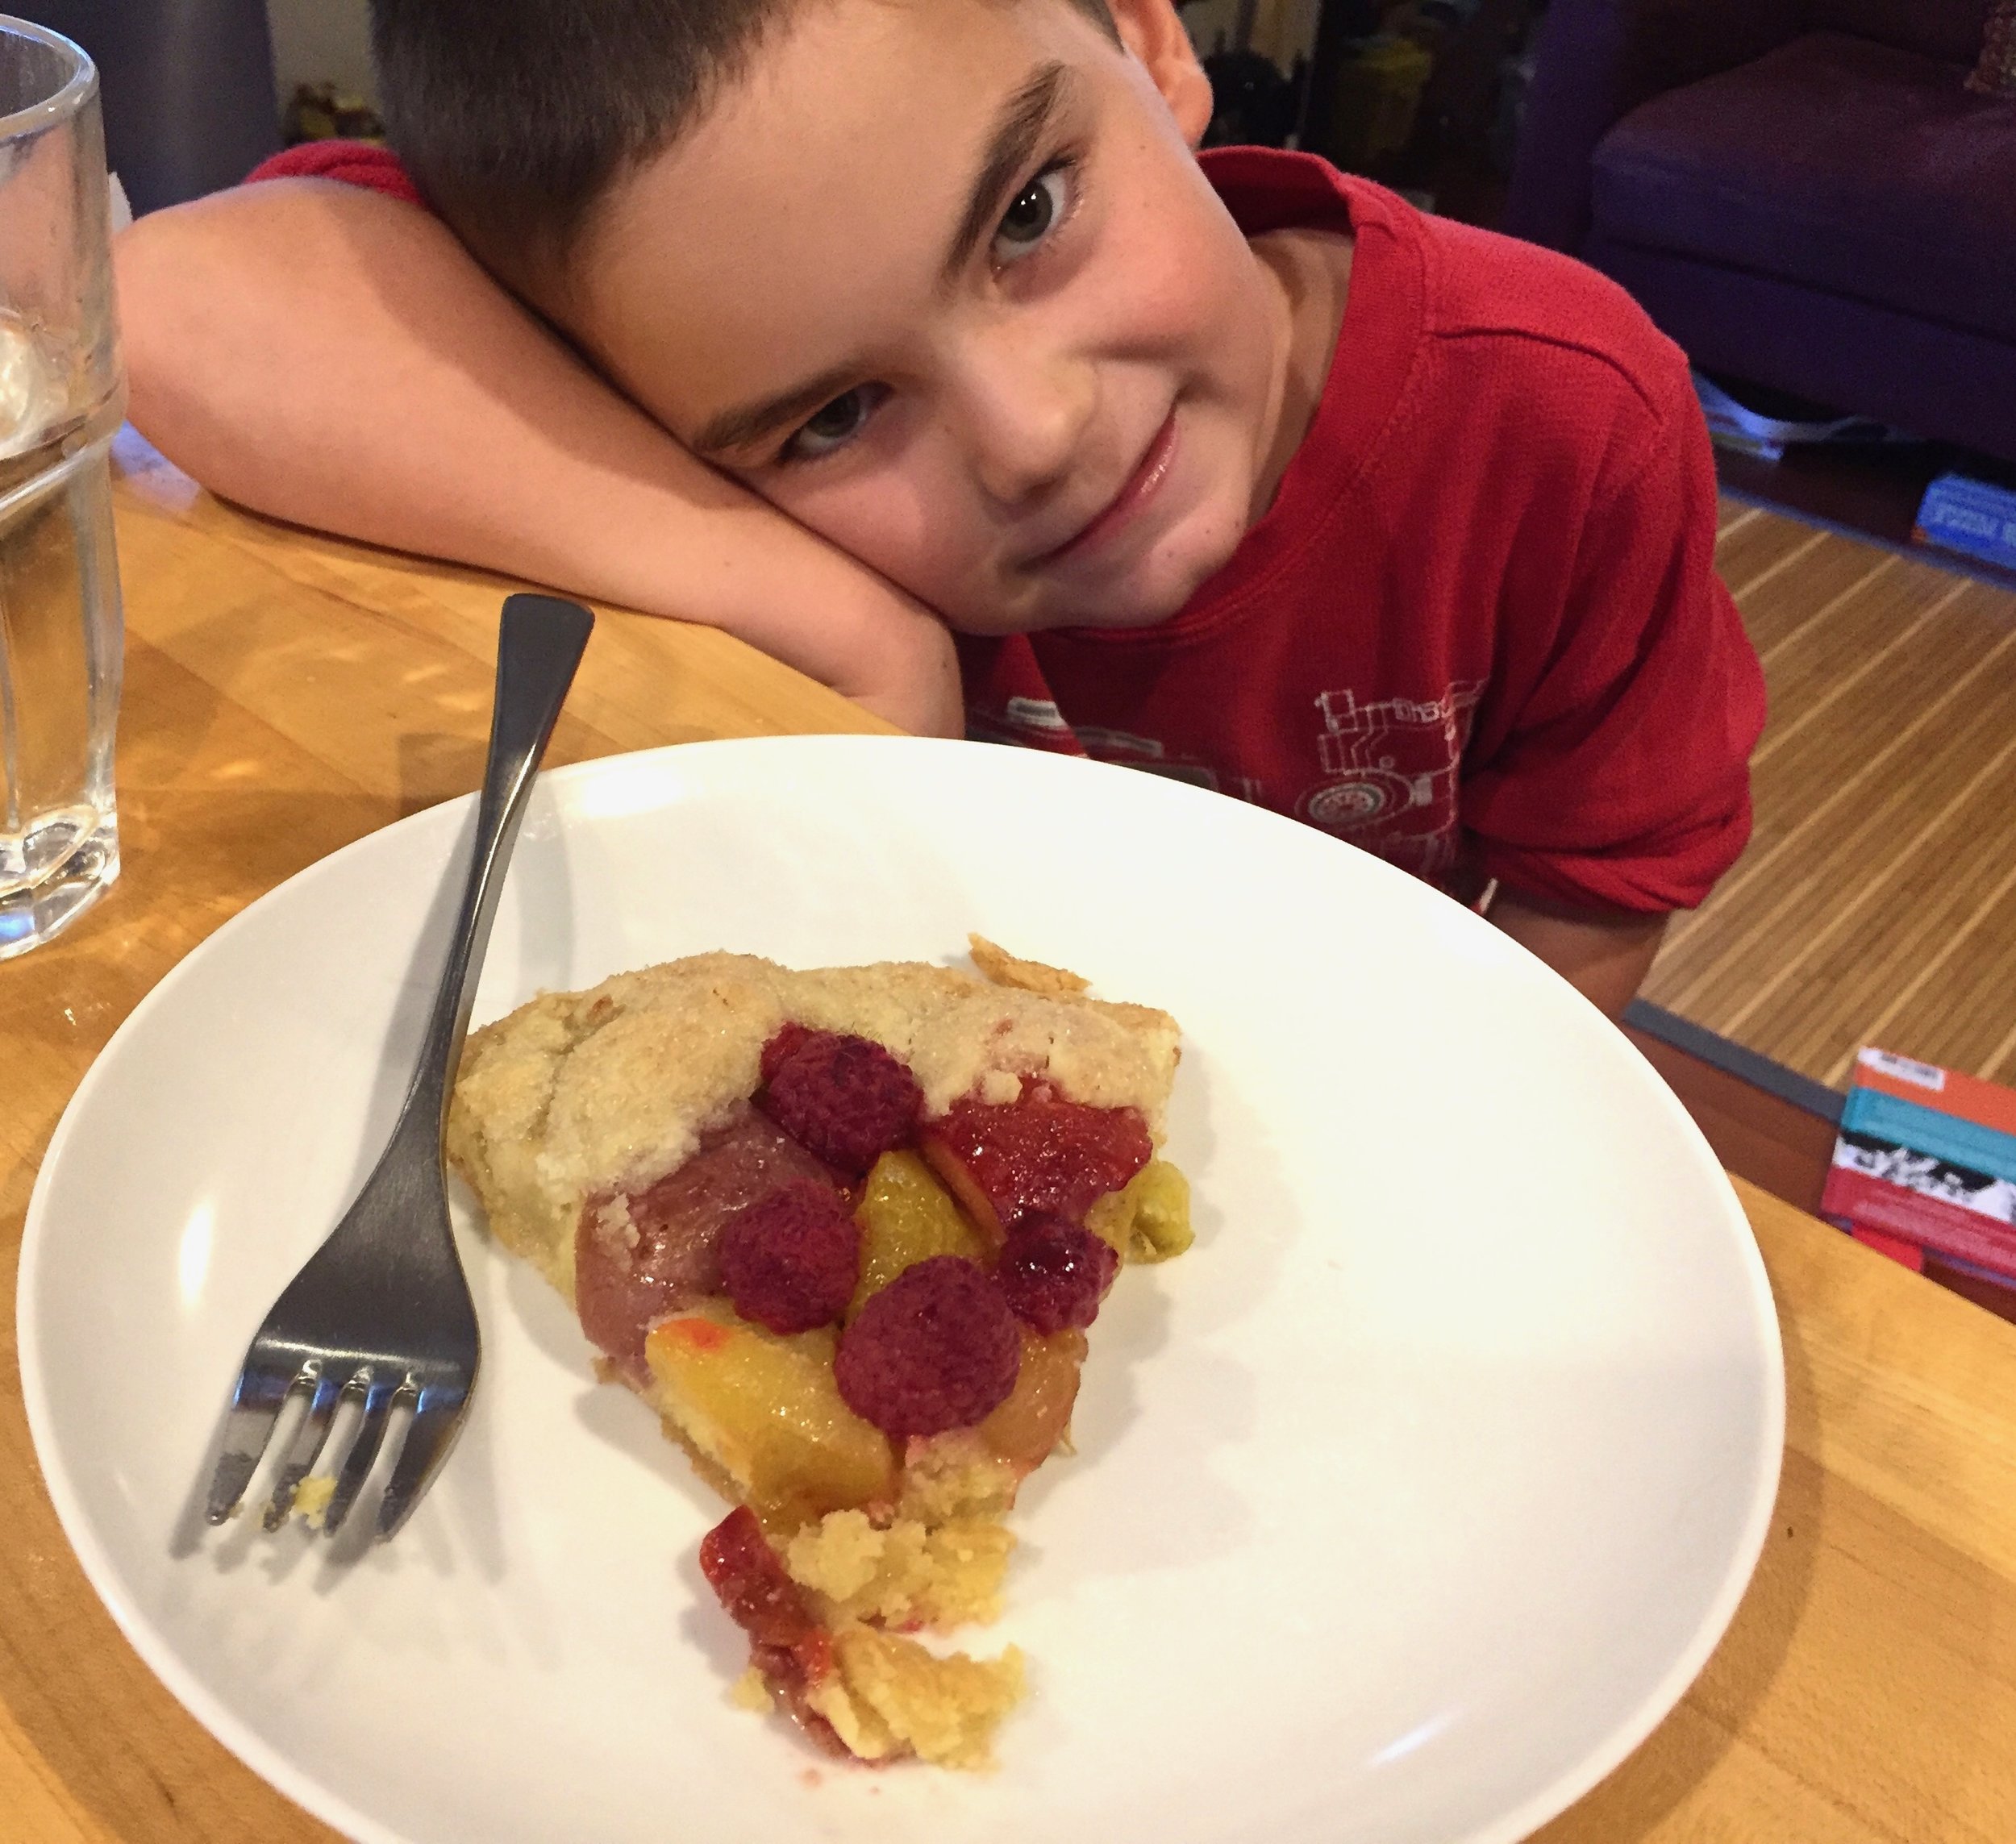
Wyatt recently remembered one our favorites recipes from this time last year: Mom’s Apple Cake. It’s so good. He didn’t have to remind me twice to add the ingredients to my grocery list so we could bake it over the weekend. I forgot the orange juice, though.
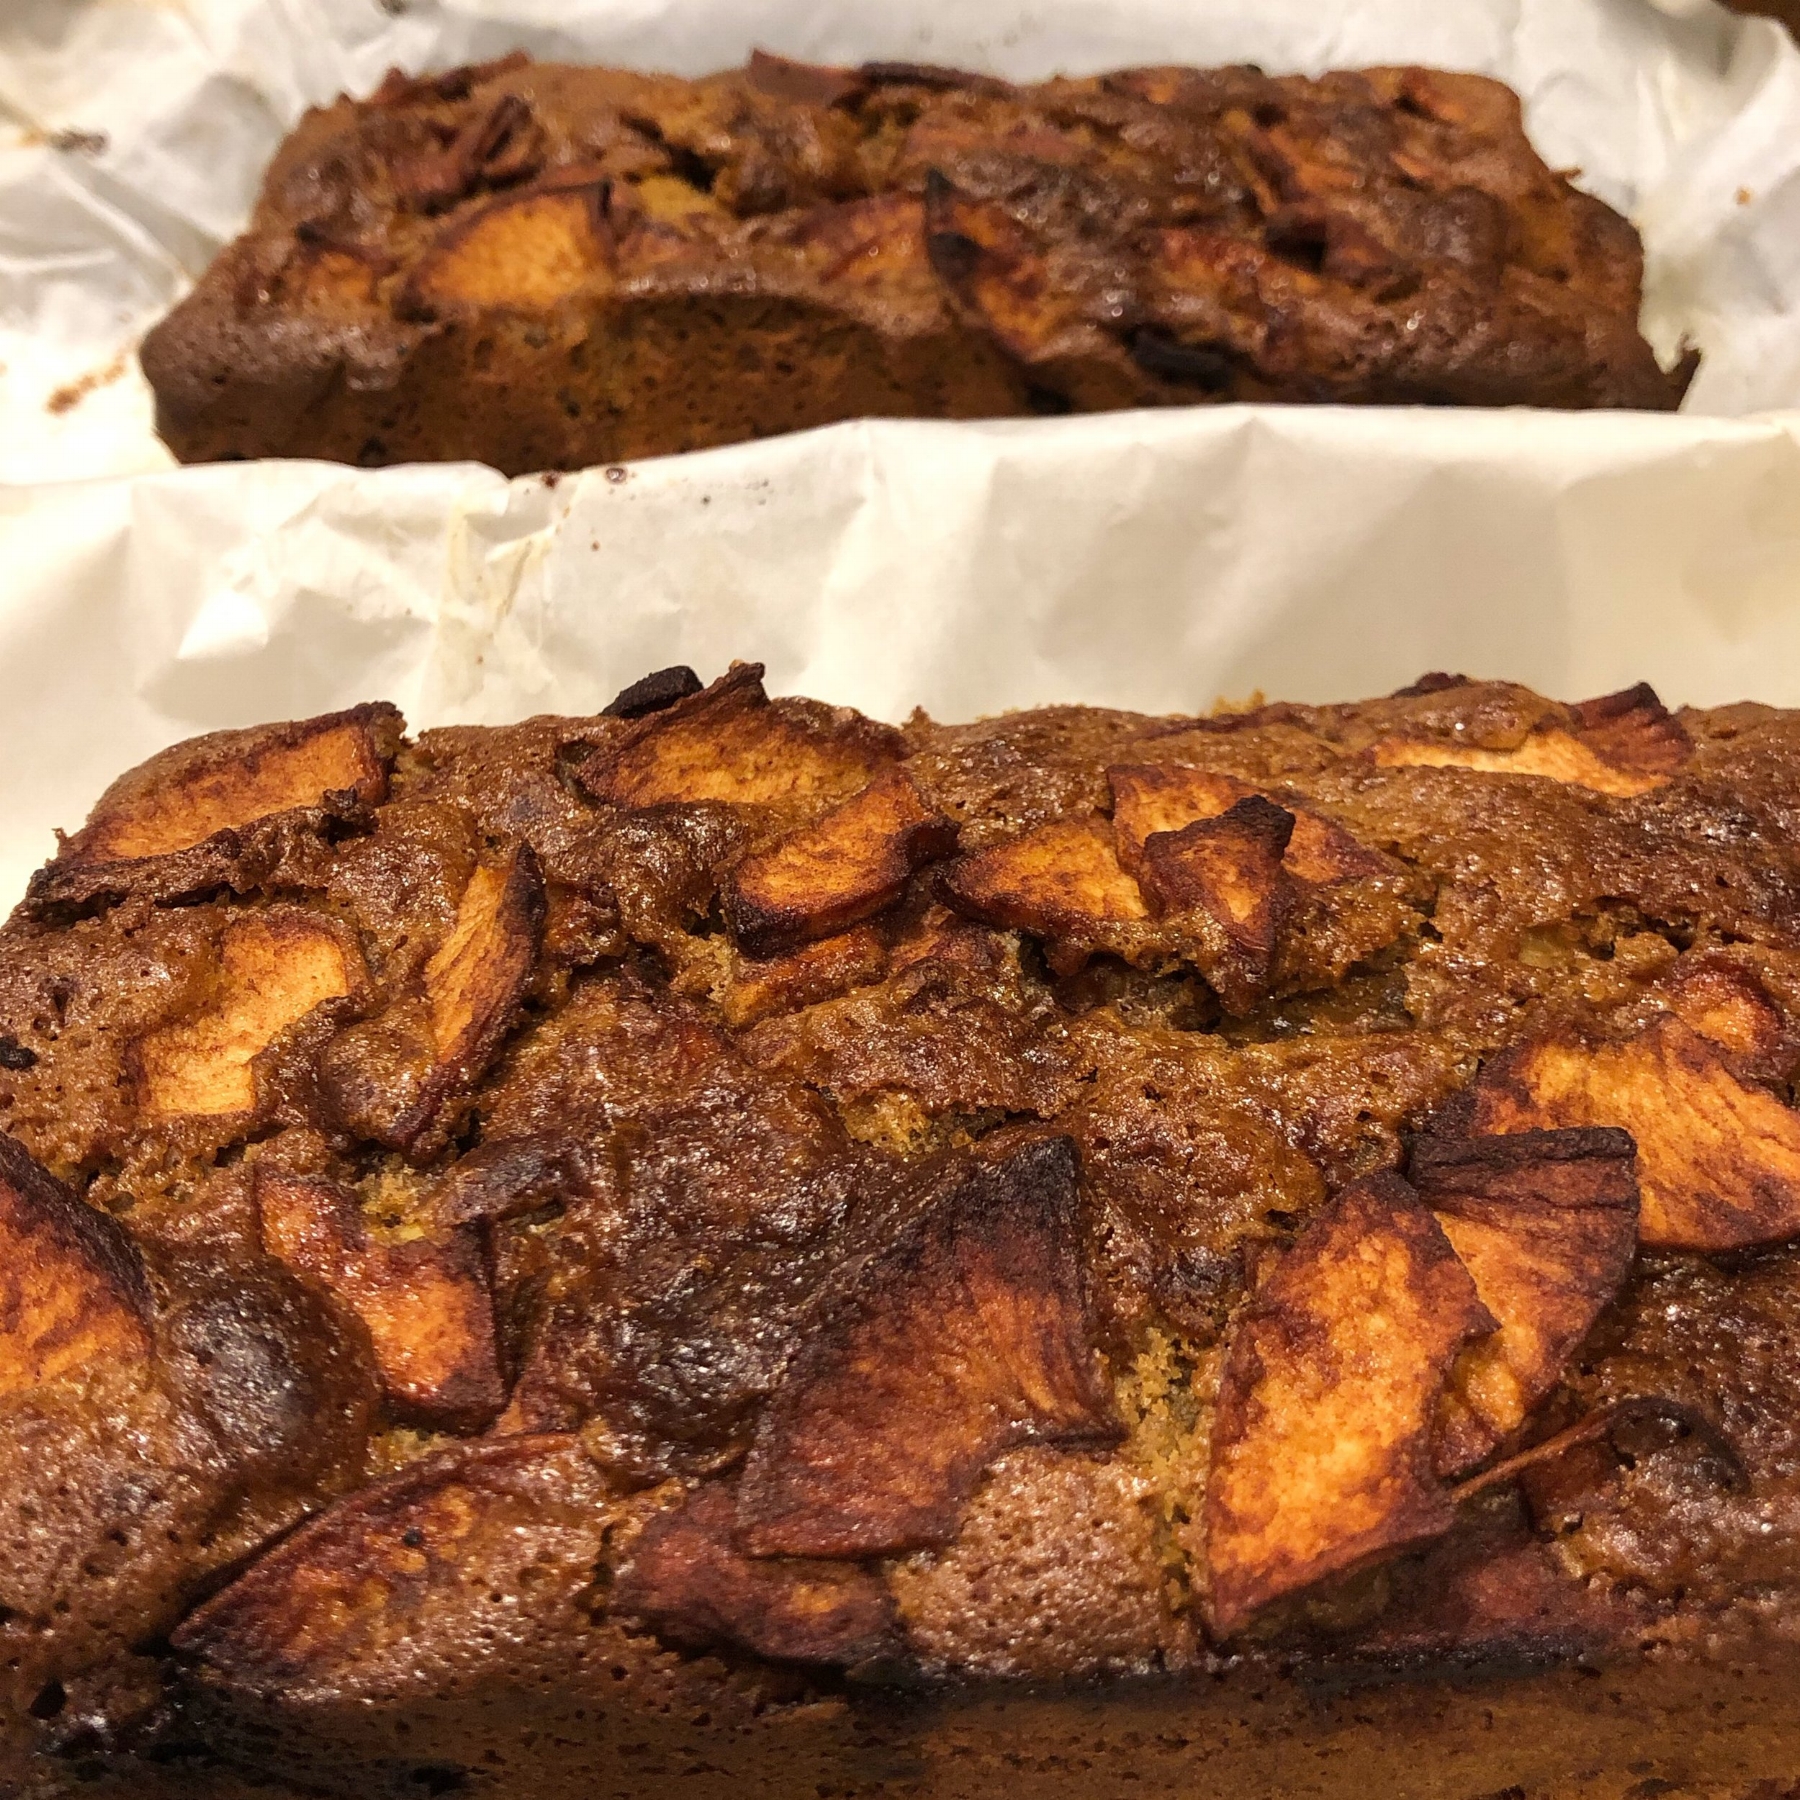
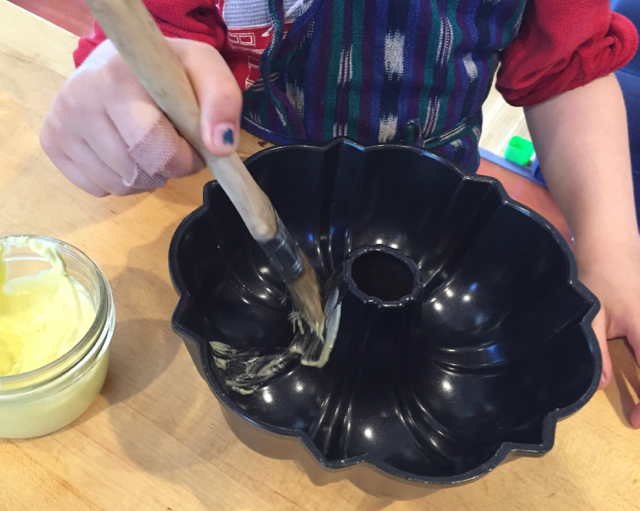
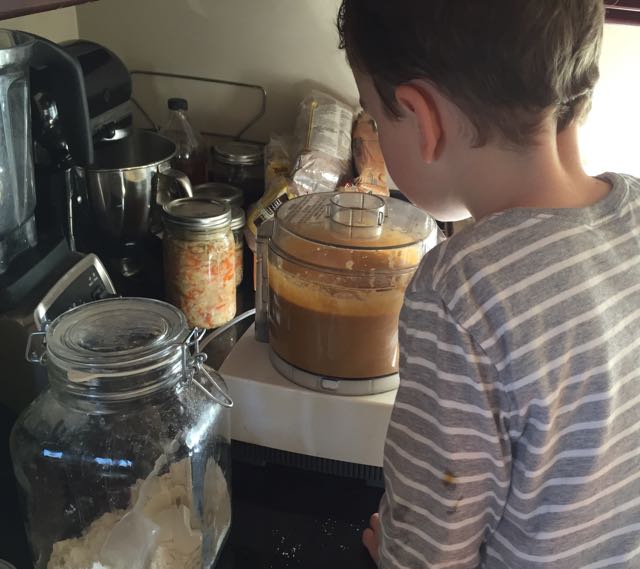
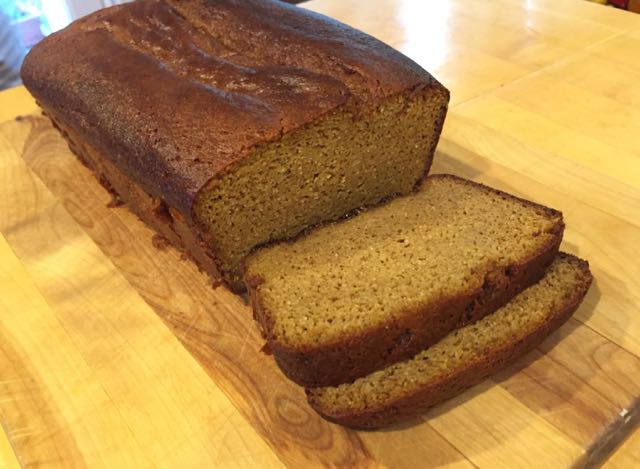
I had also forgotten that we don’t own a tube-shaped cake pan. As I pulled out all the ingredients we’d need (minus the orange juice), I thought, “Shouldn’t we HAVE a tube pan?” and soon concluded (for at least the third time) that if we had one, and I used it, I’d also need a cake plate or appropriately large thing to put the cake on and some kind of dome to put the cake under, and probably that wouldn’t be good enough anyway, because gluten-free goods just do not have the staying power that traditional wheat flour-based goods have. I pulled two loaf pans out of the cabinet instead. Bread-shaped cake where we could freeze one of the loaves would be a better choice anyway.
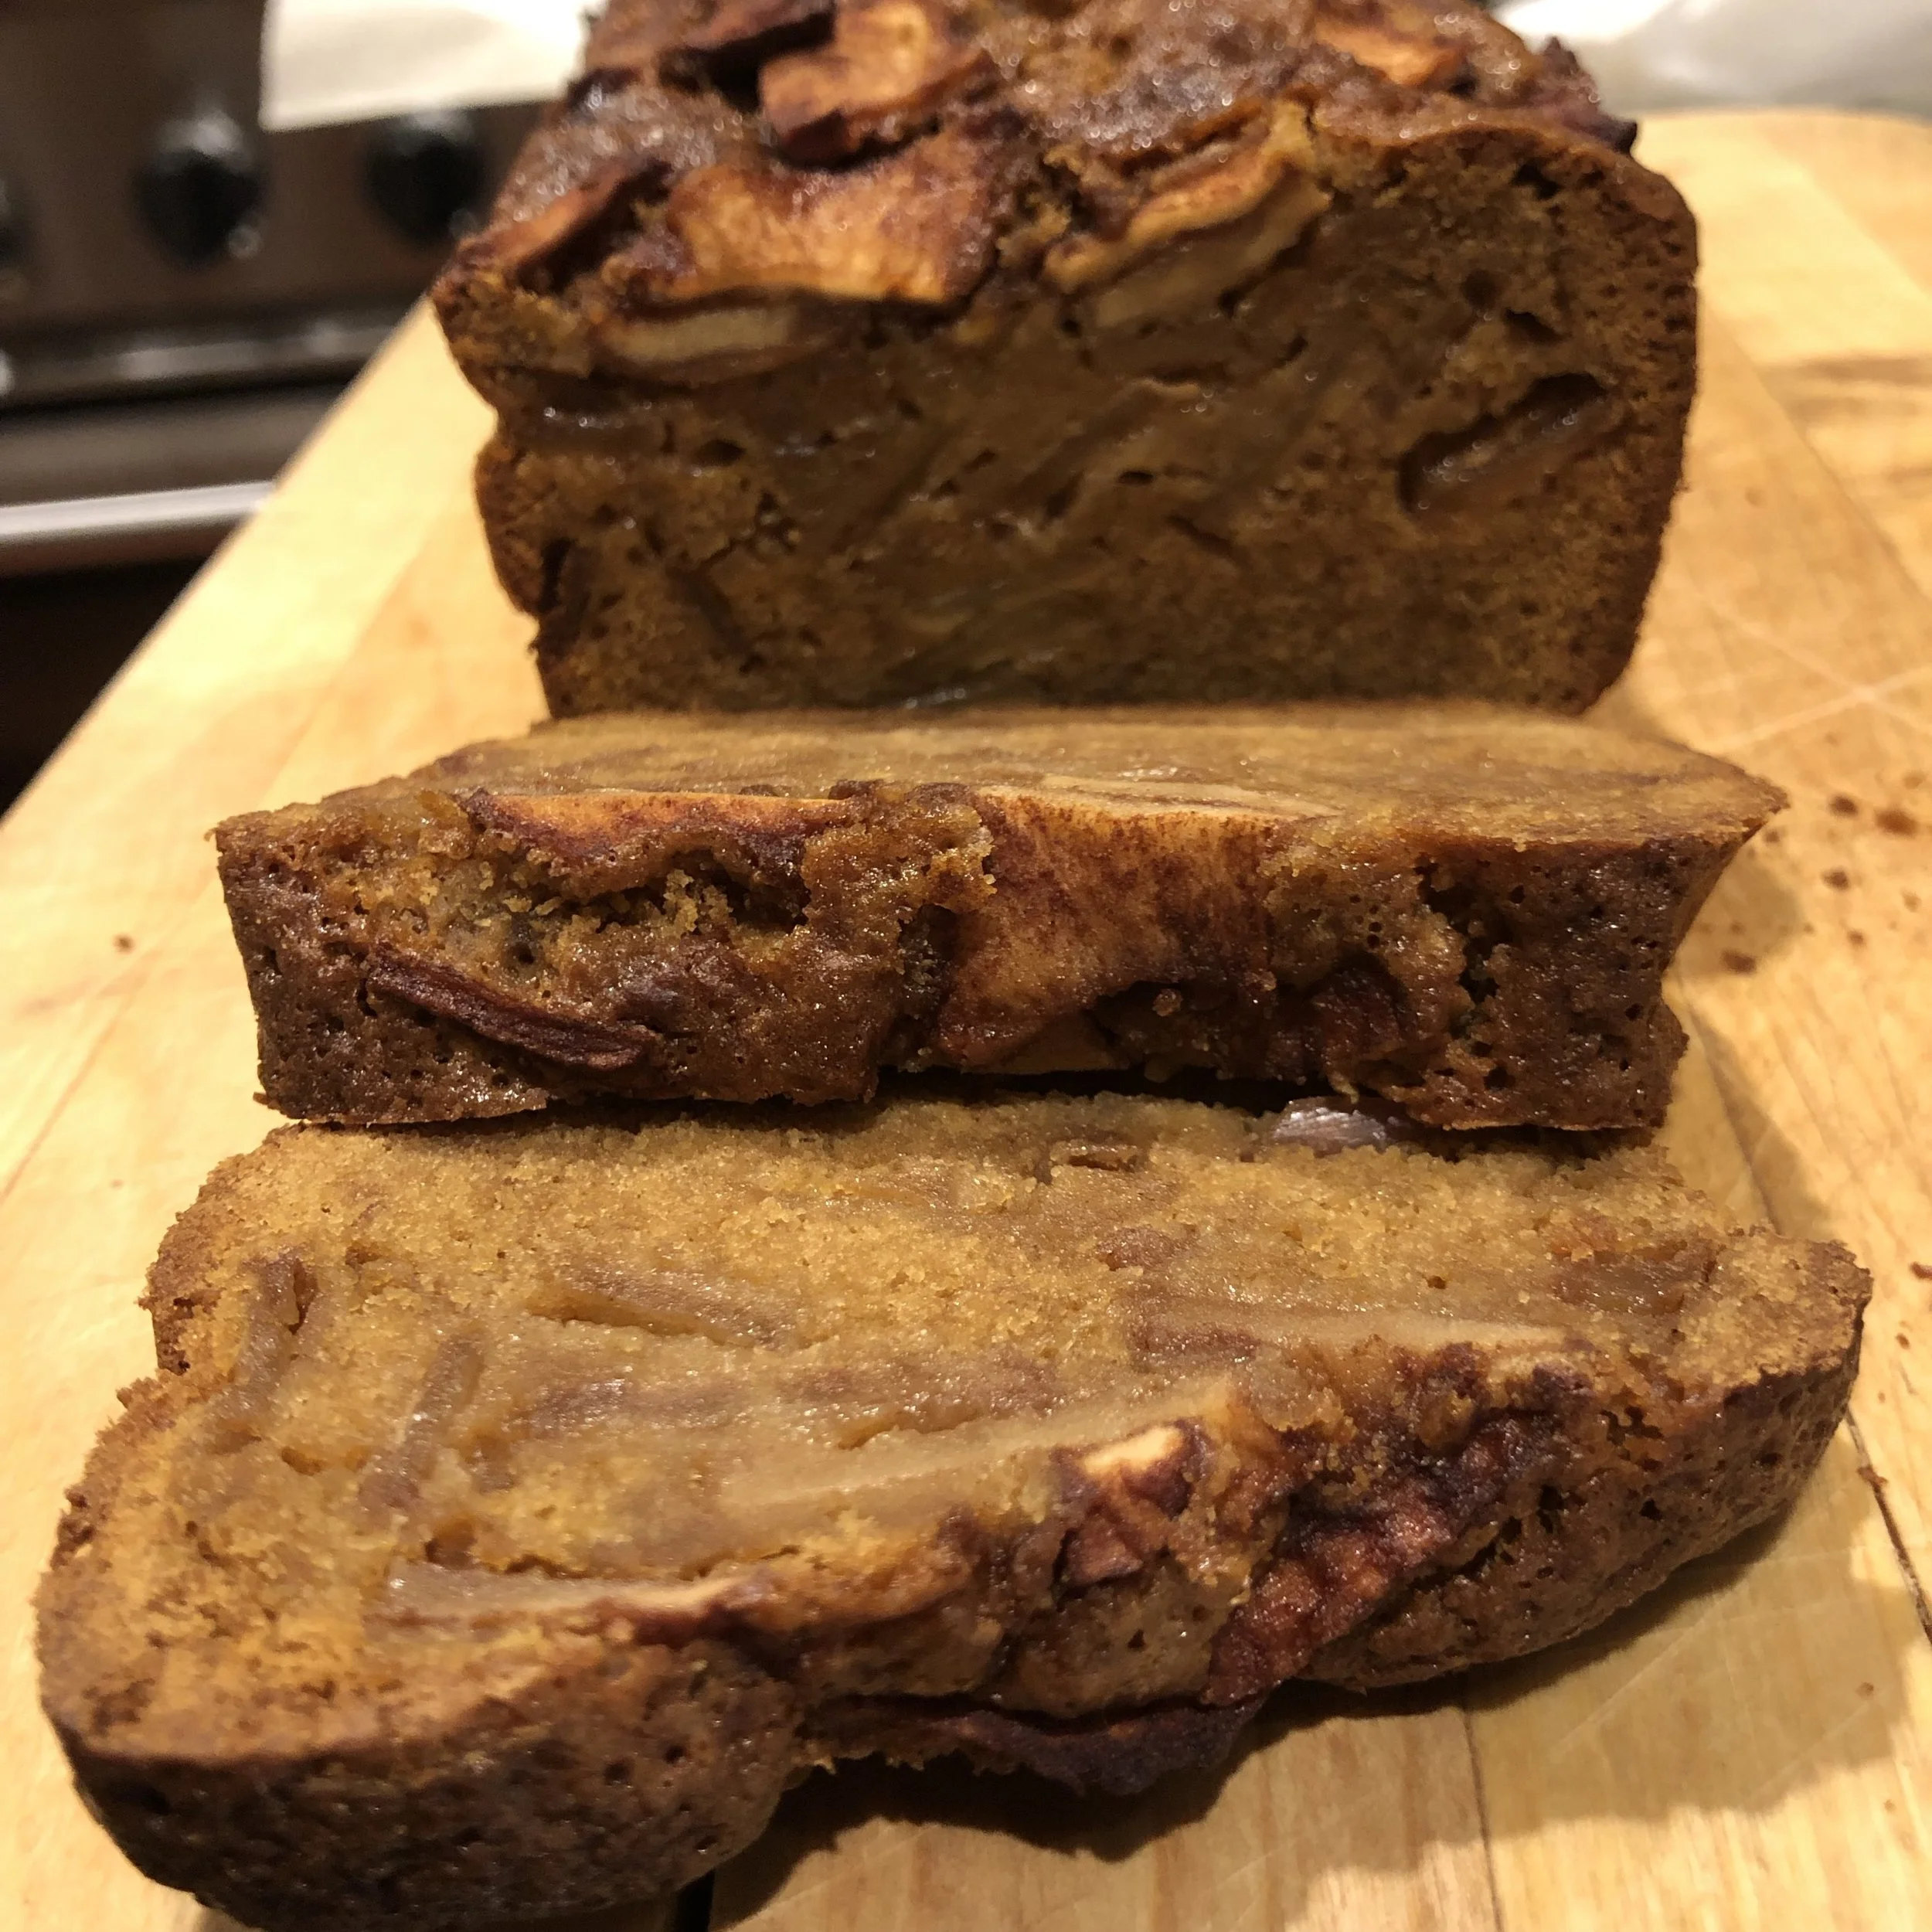
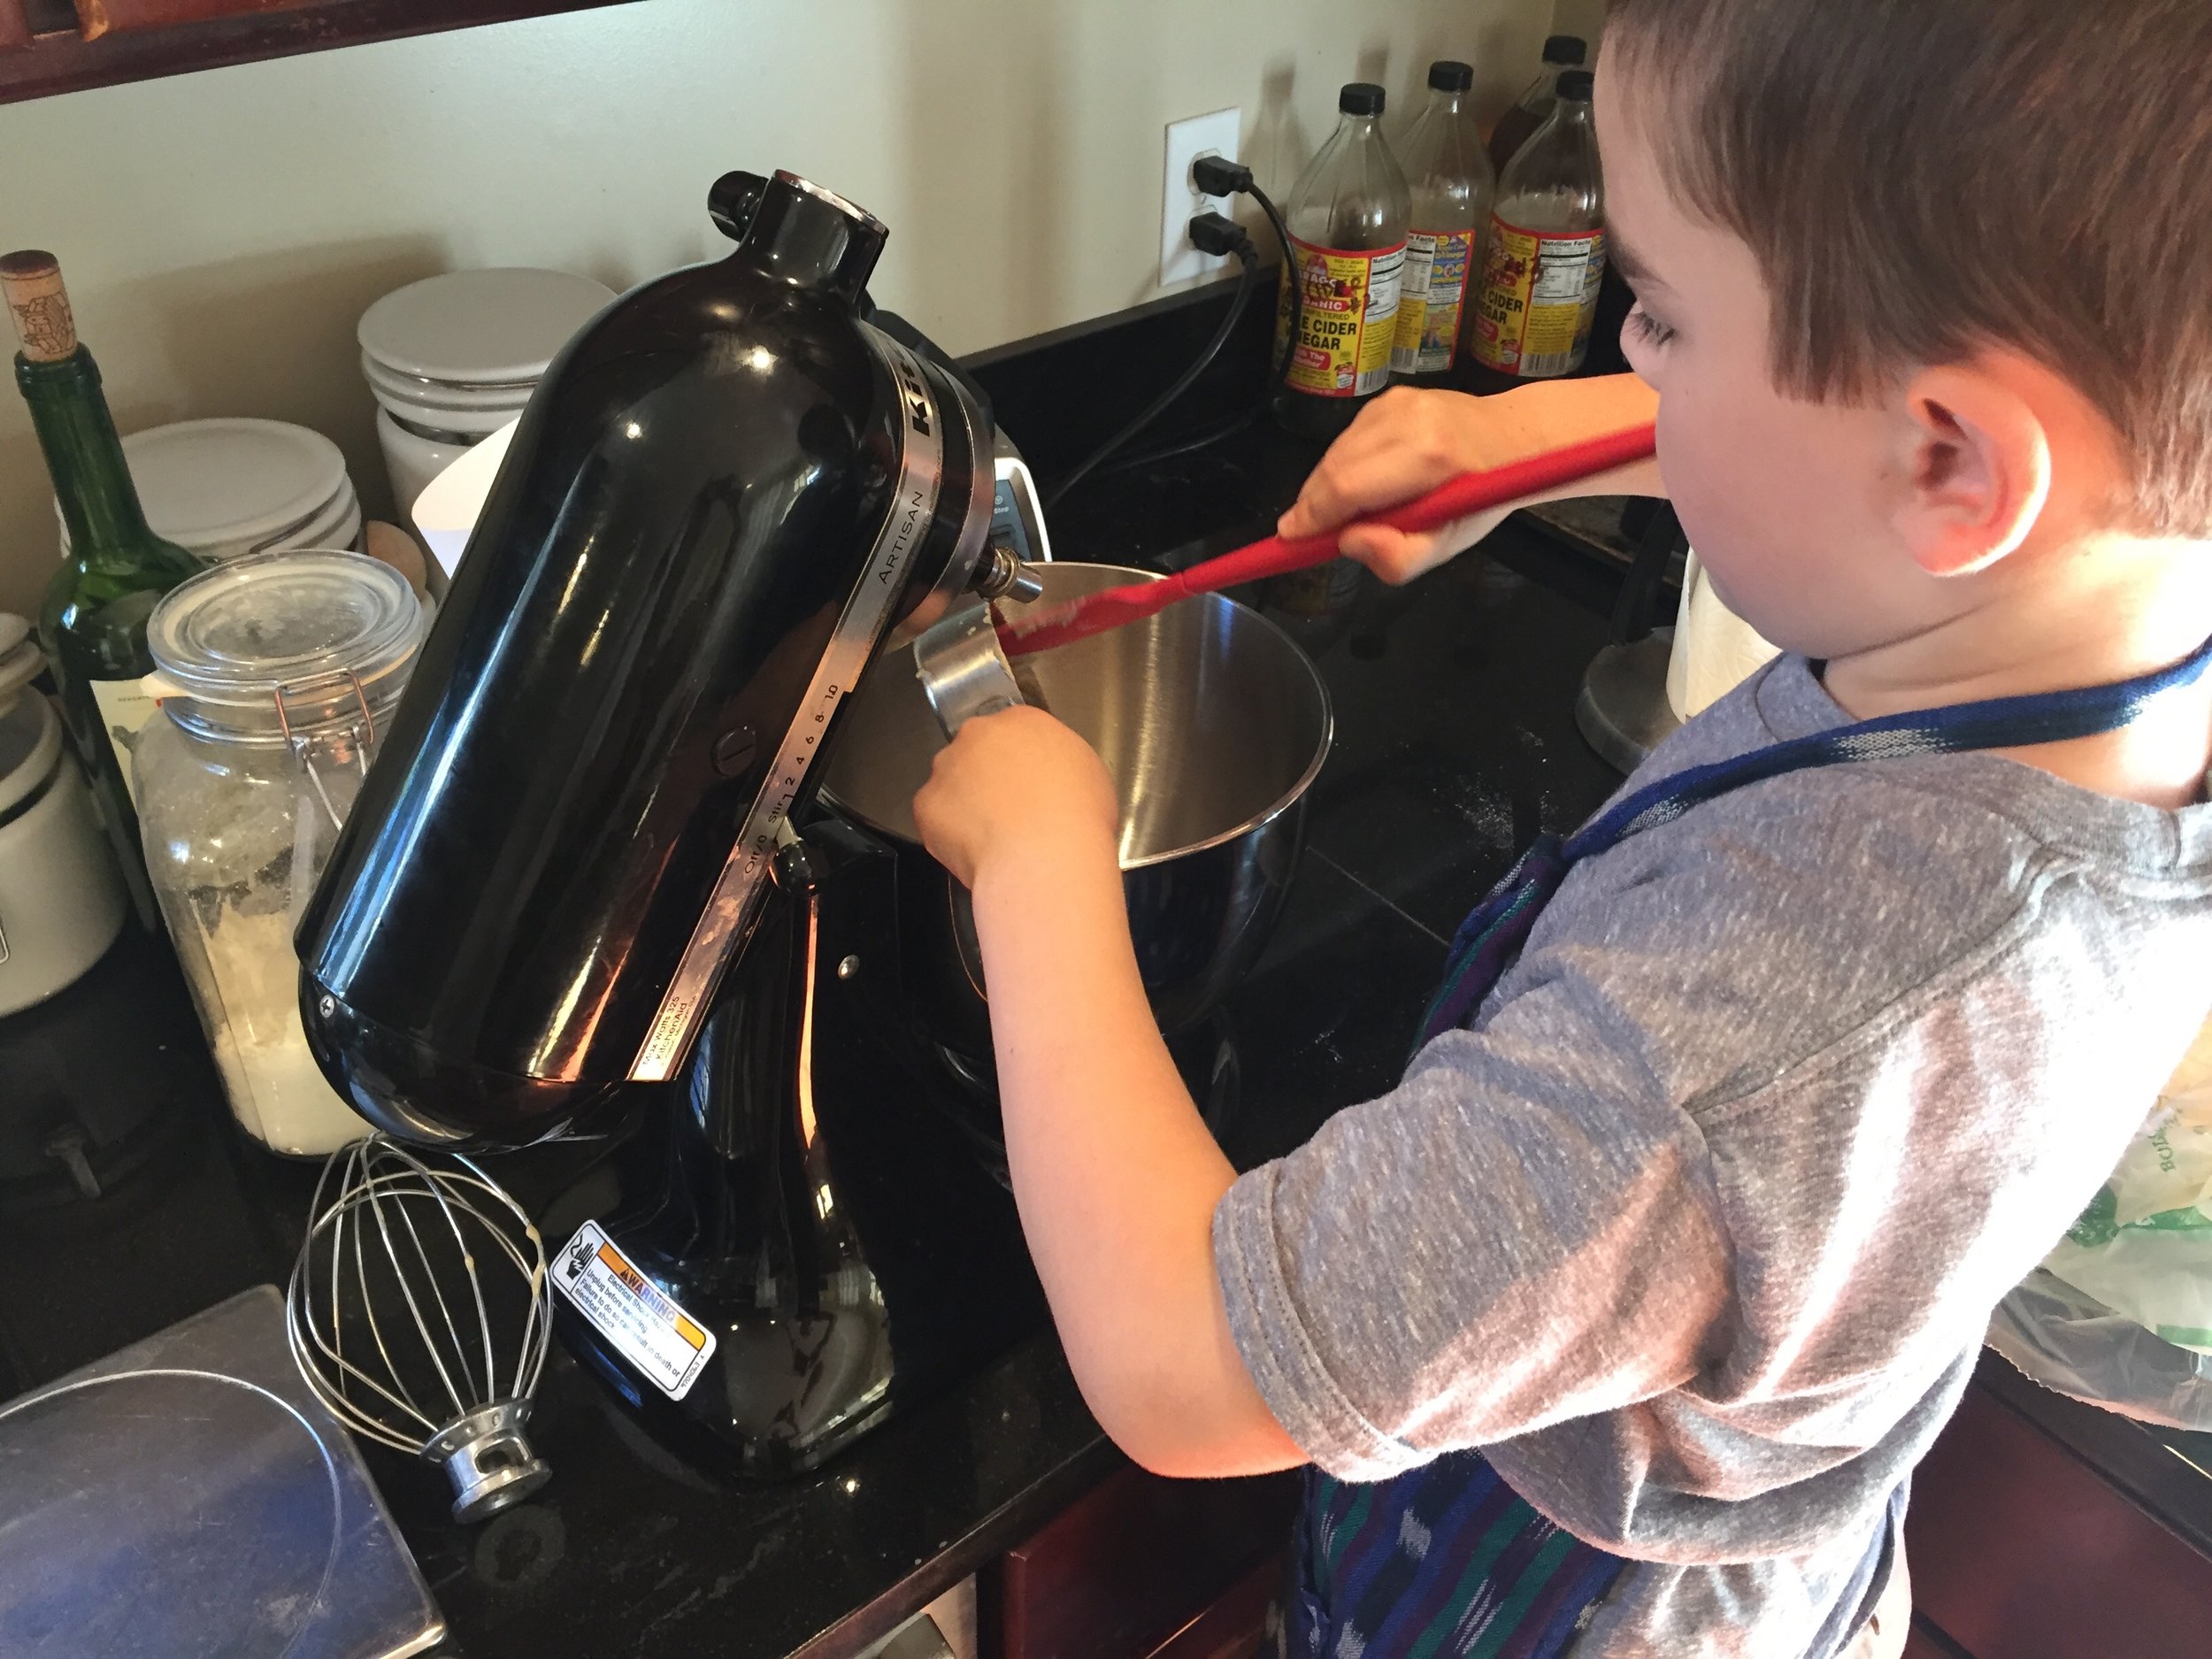
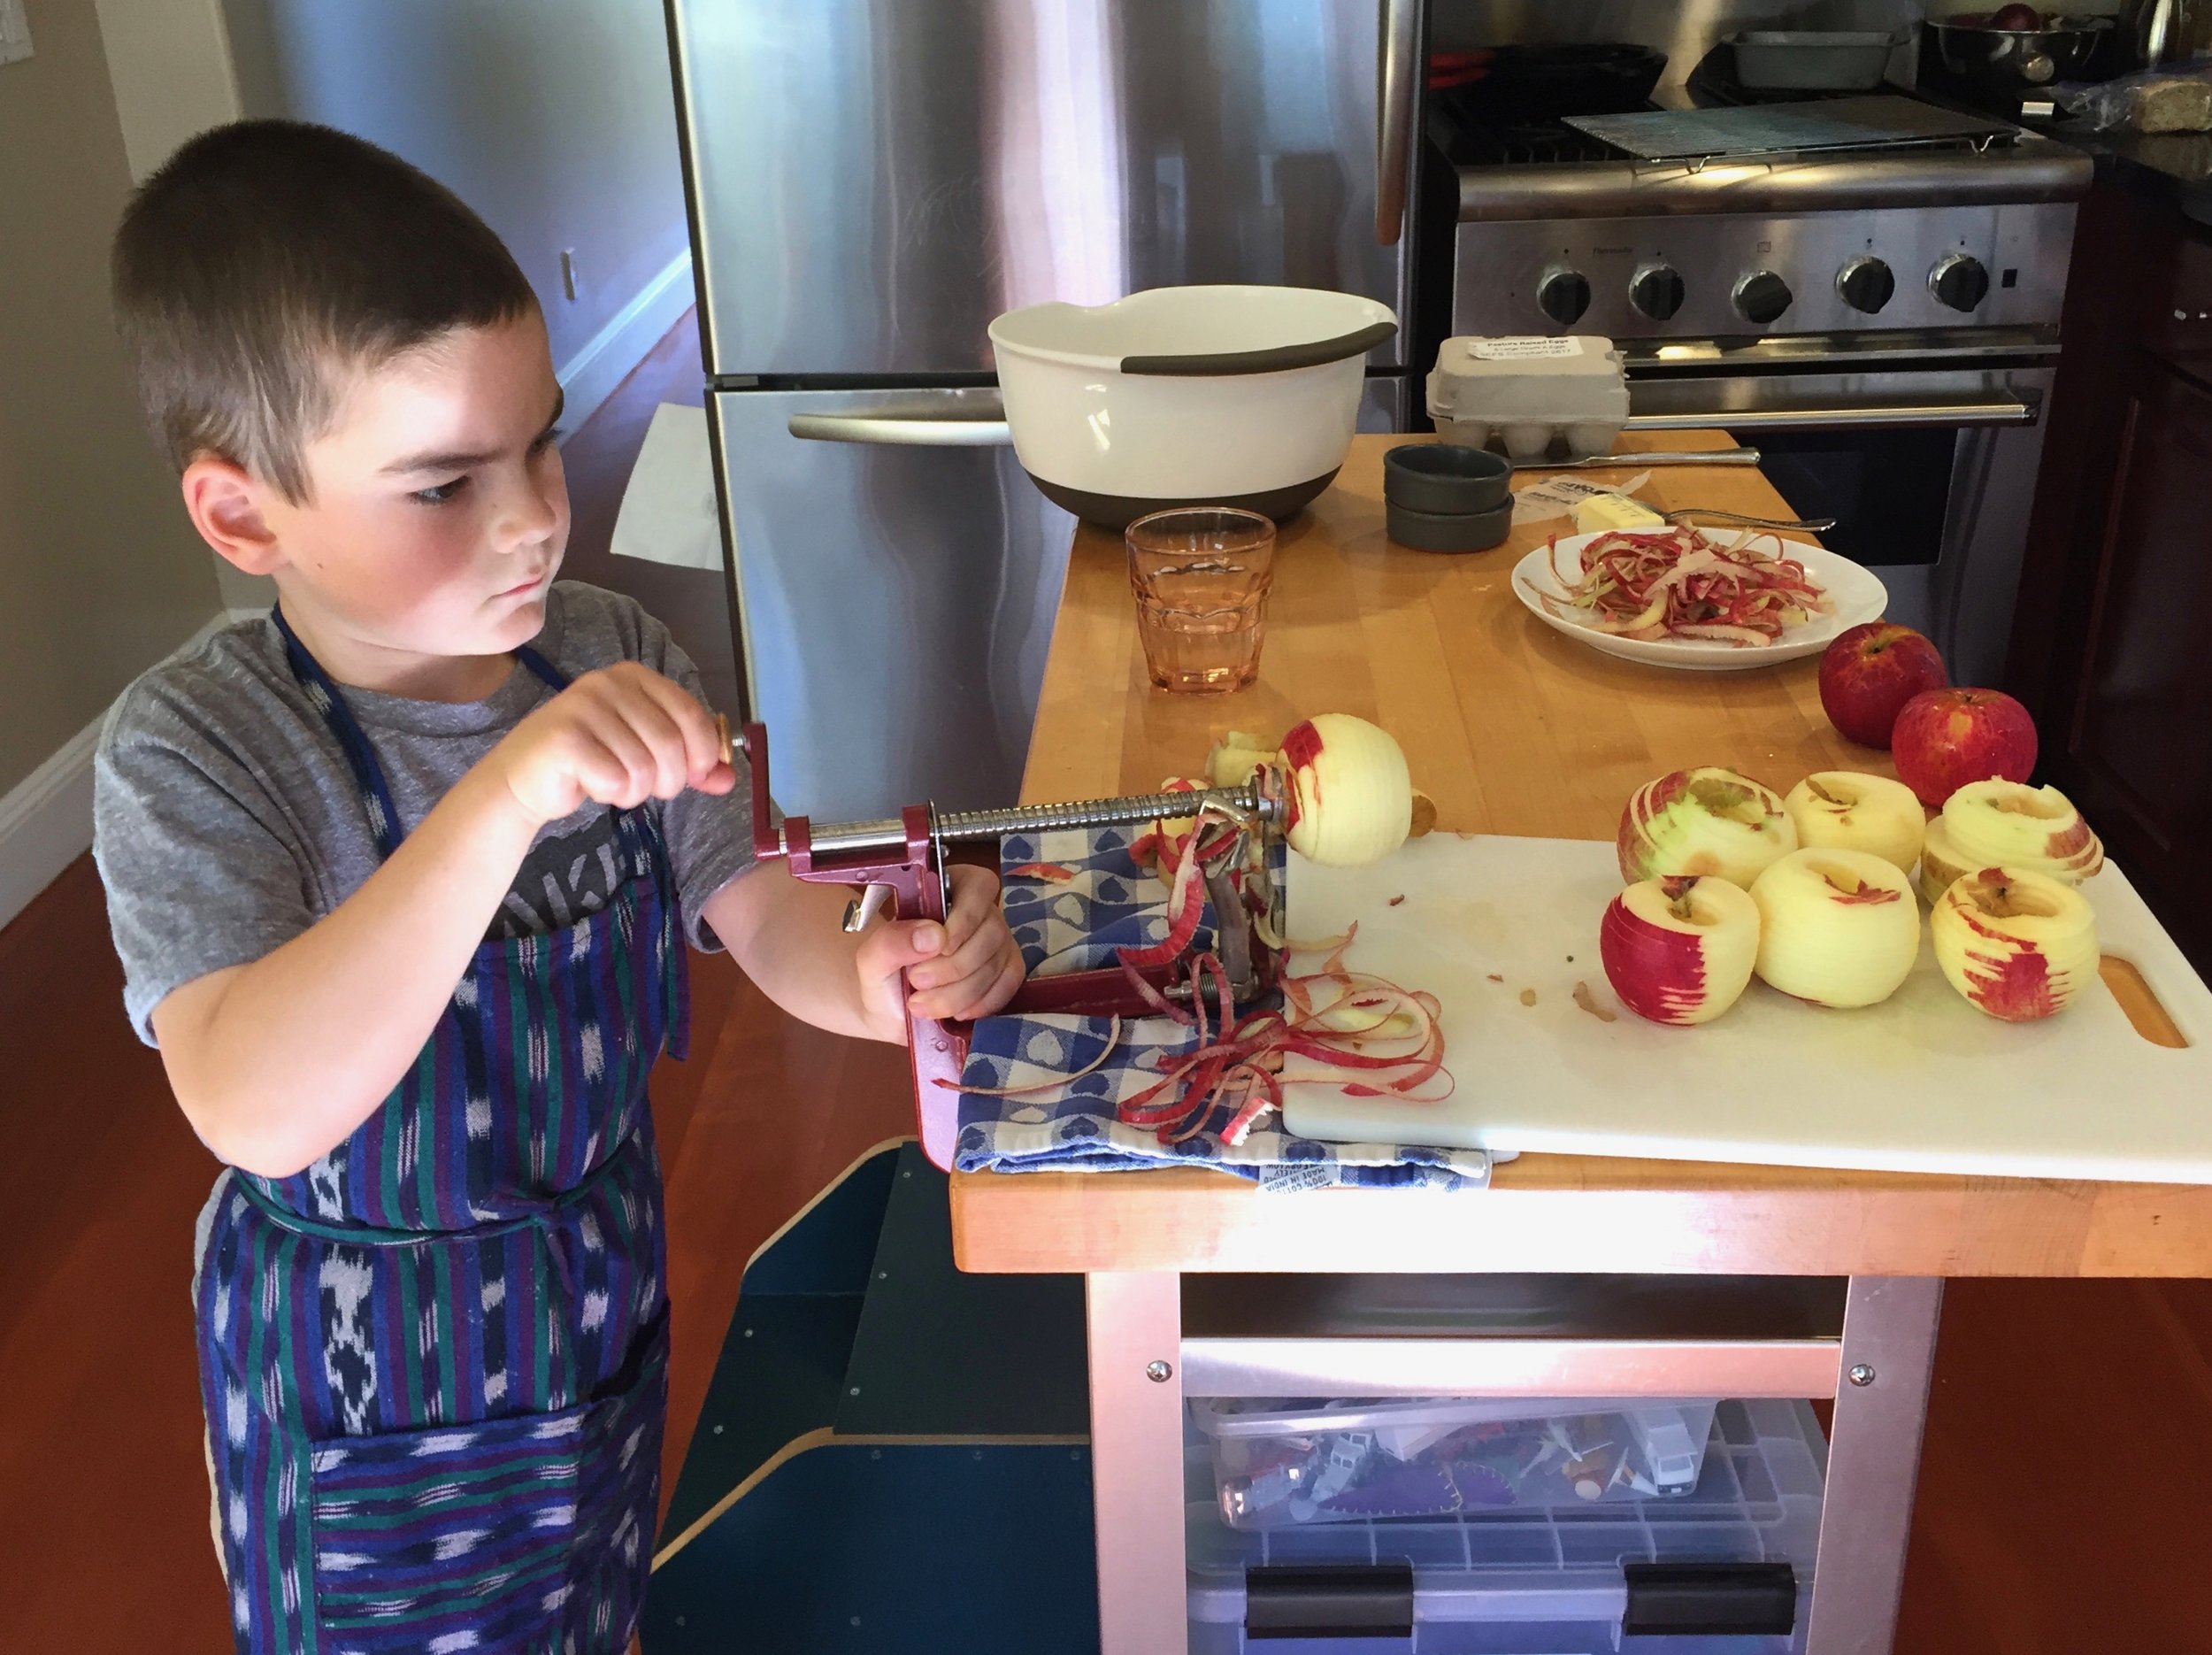
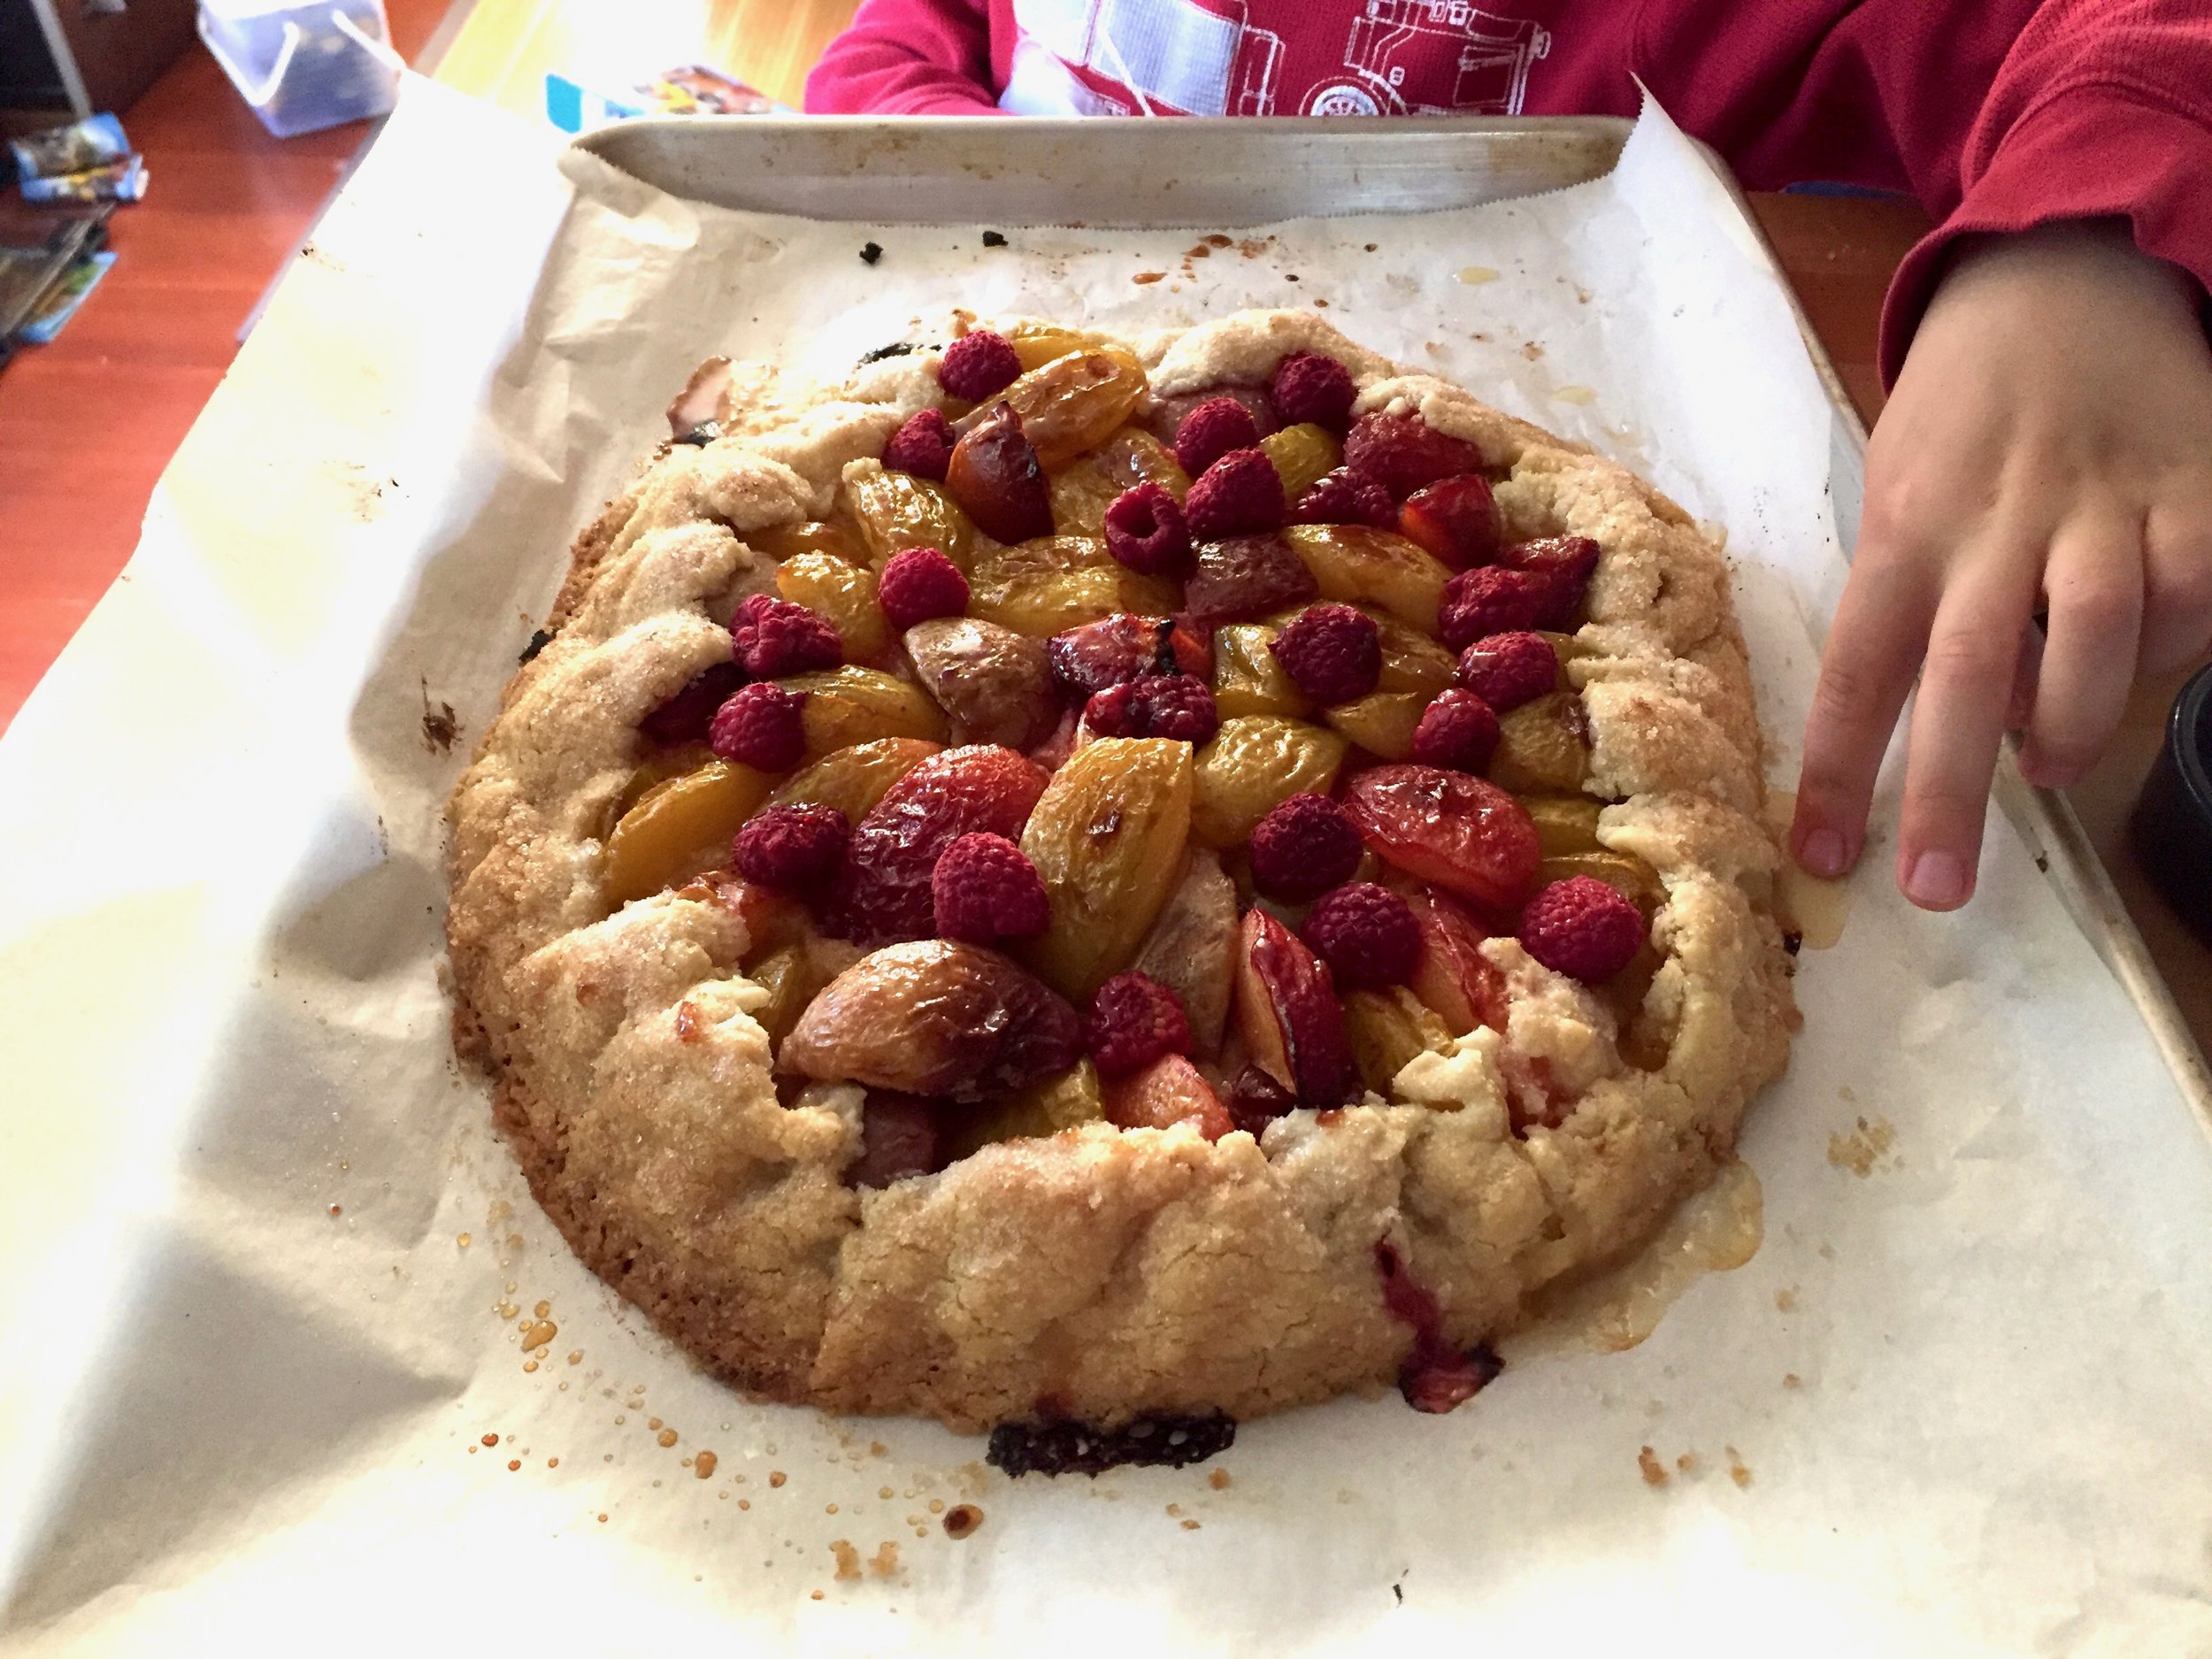
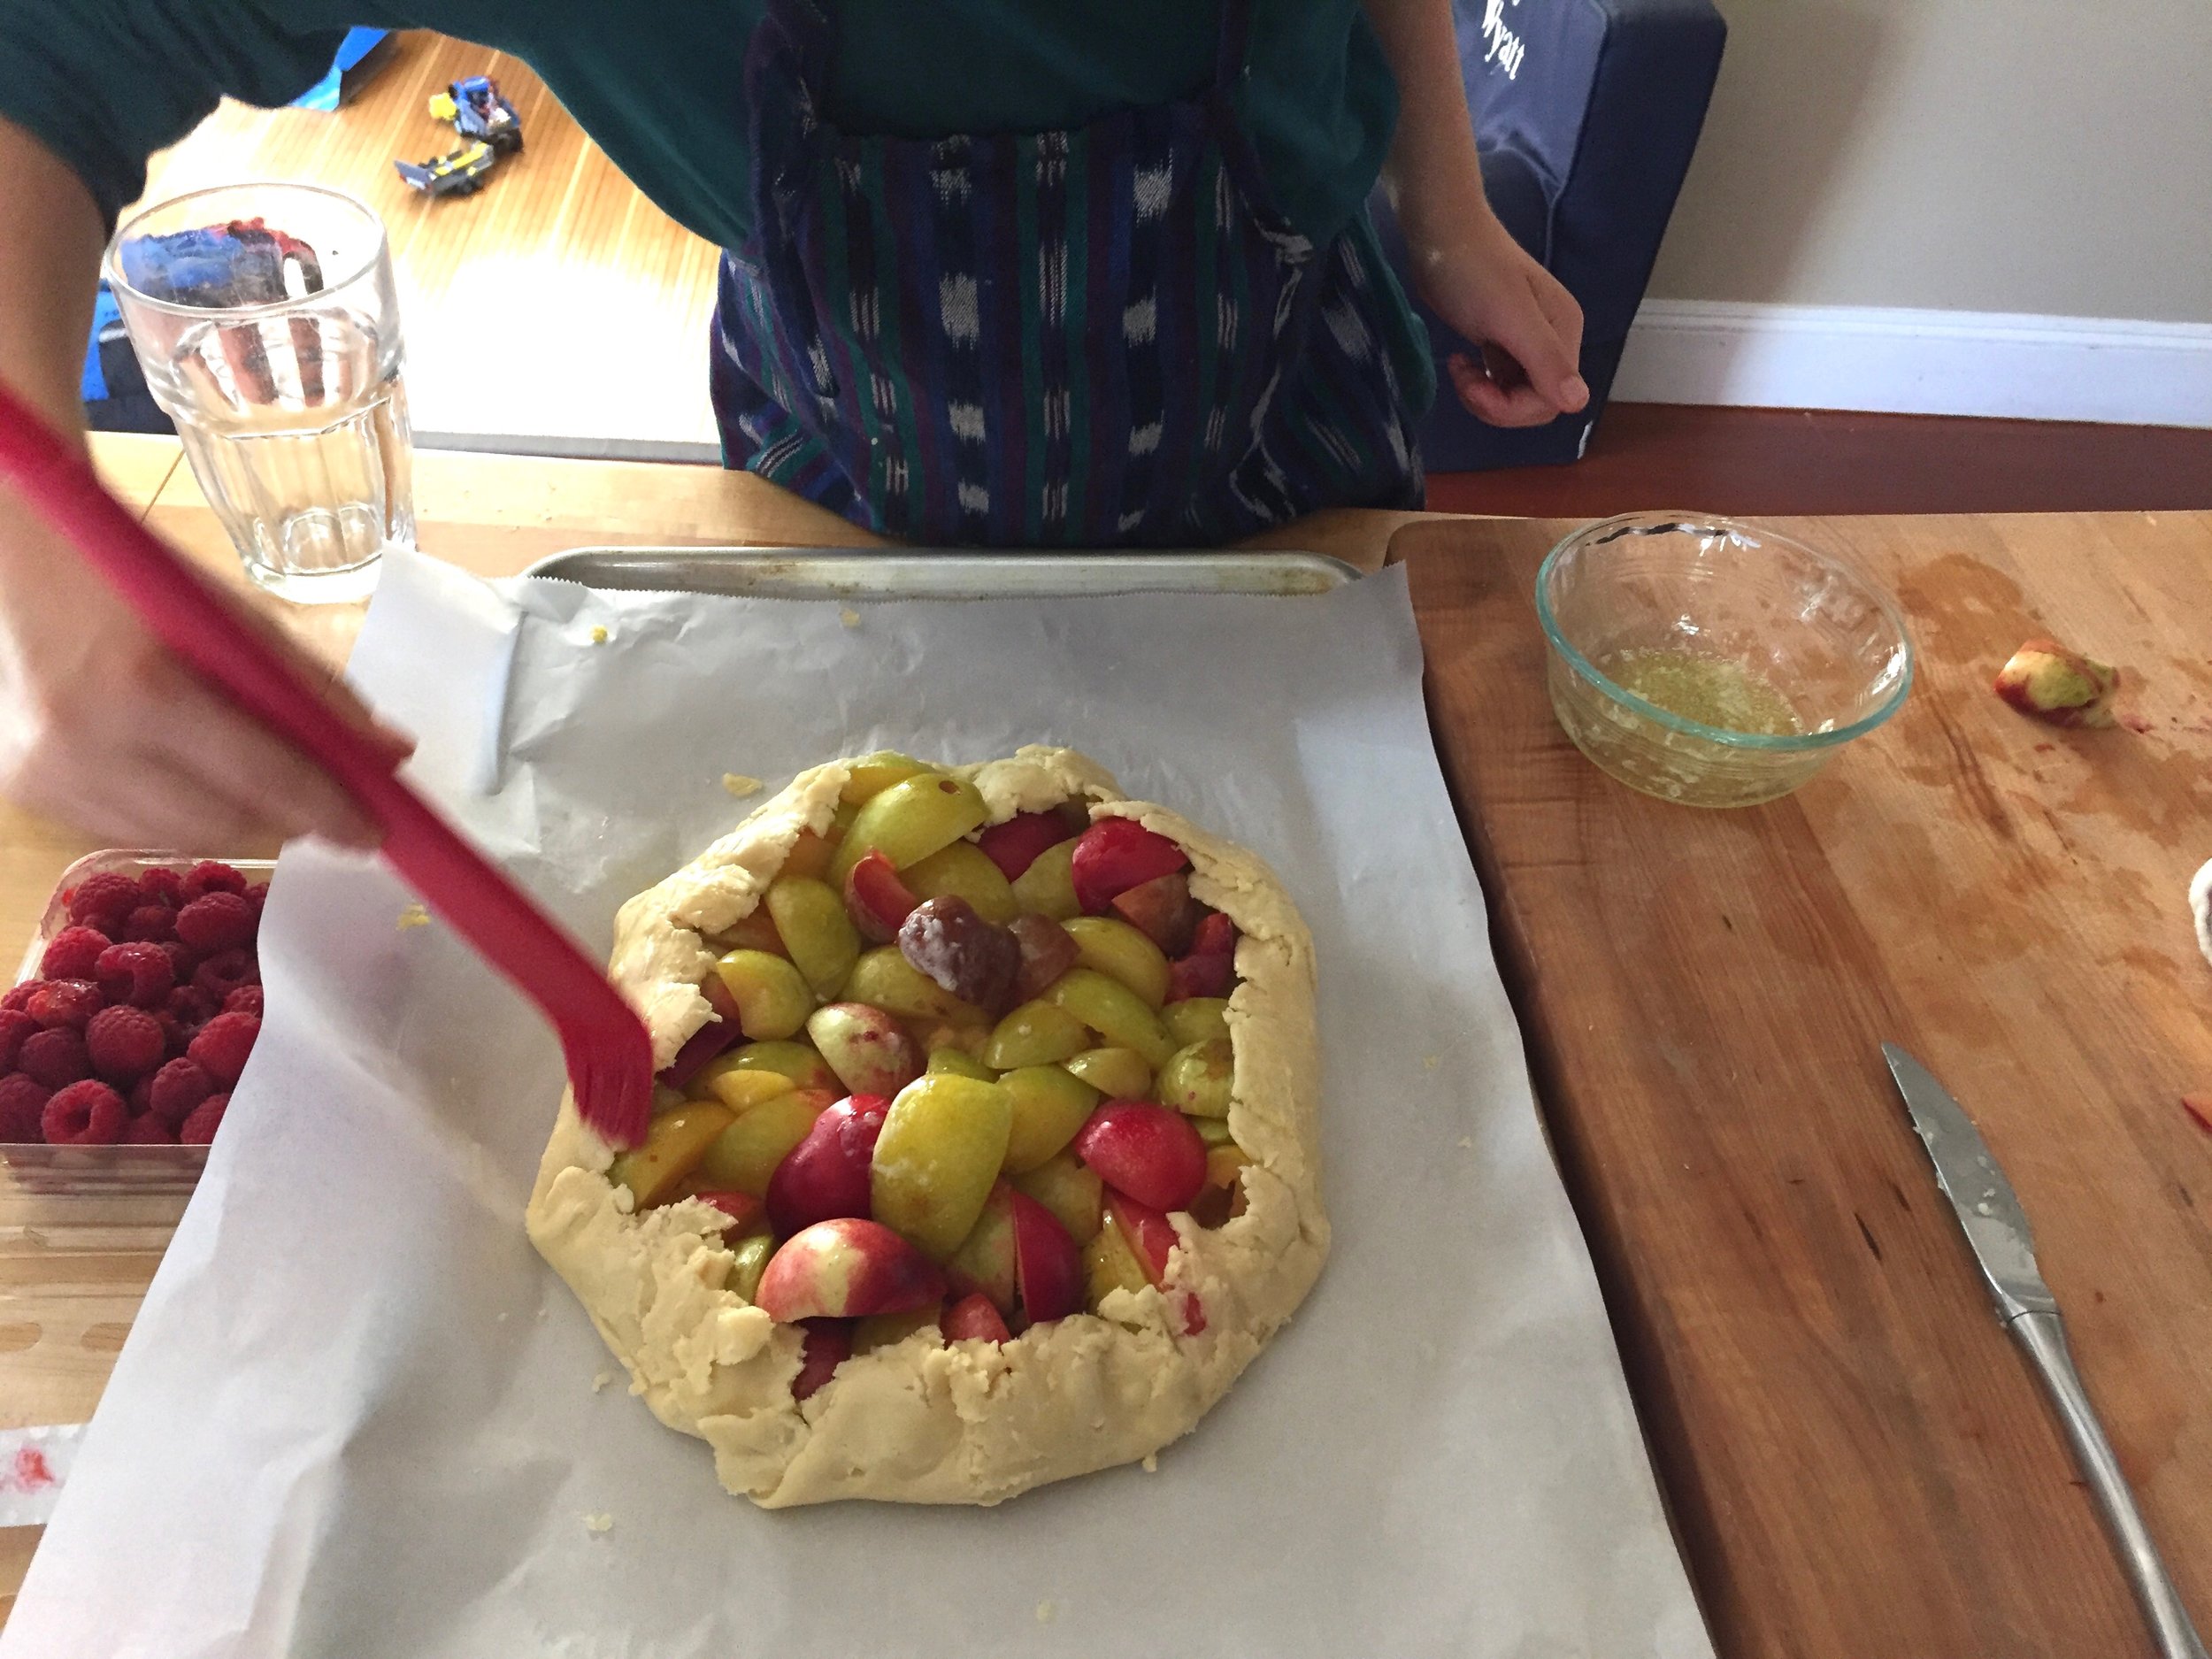
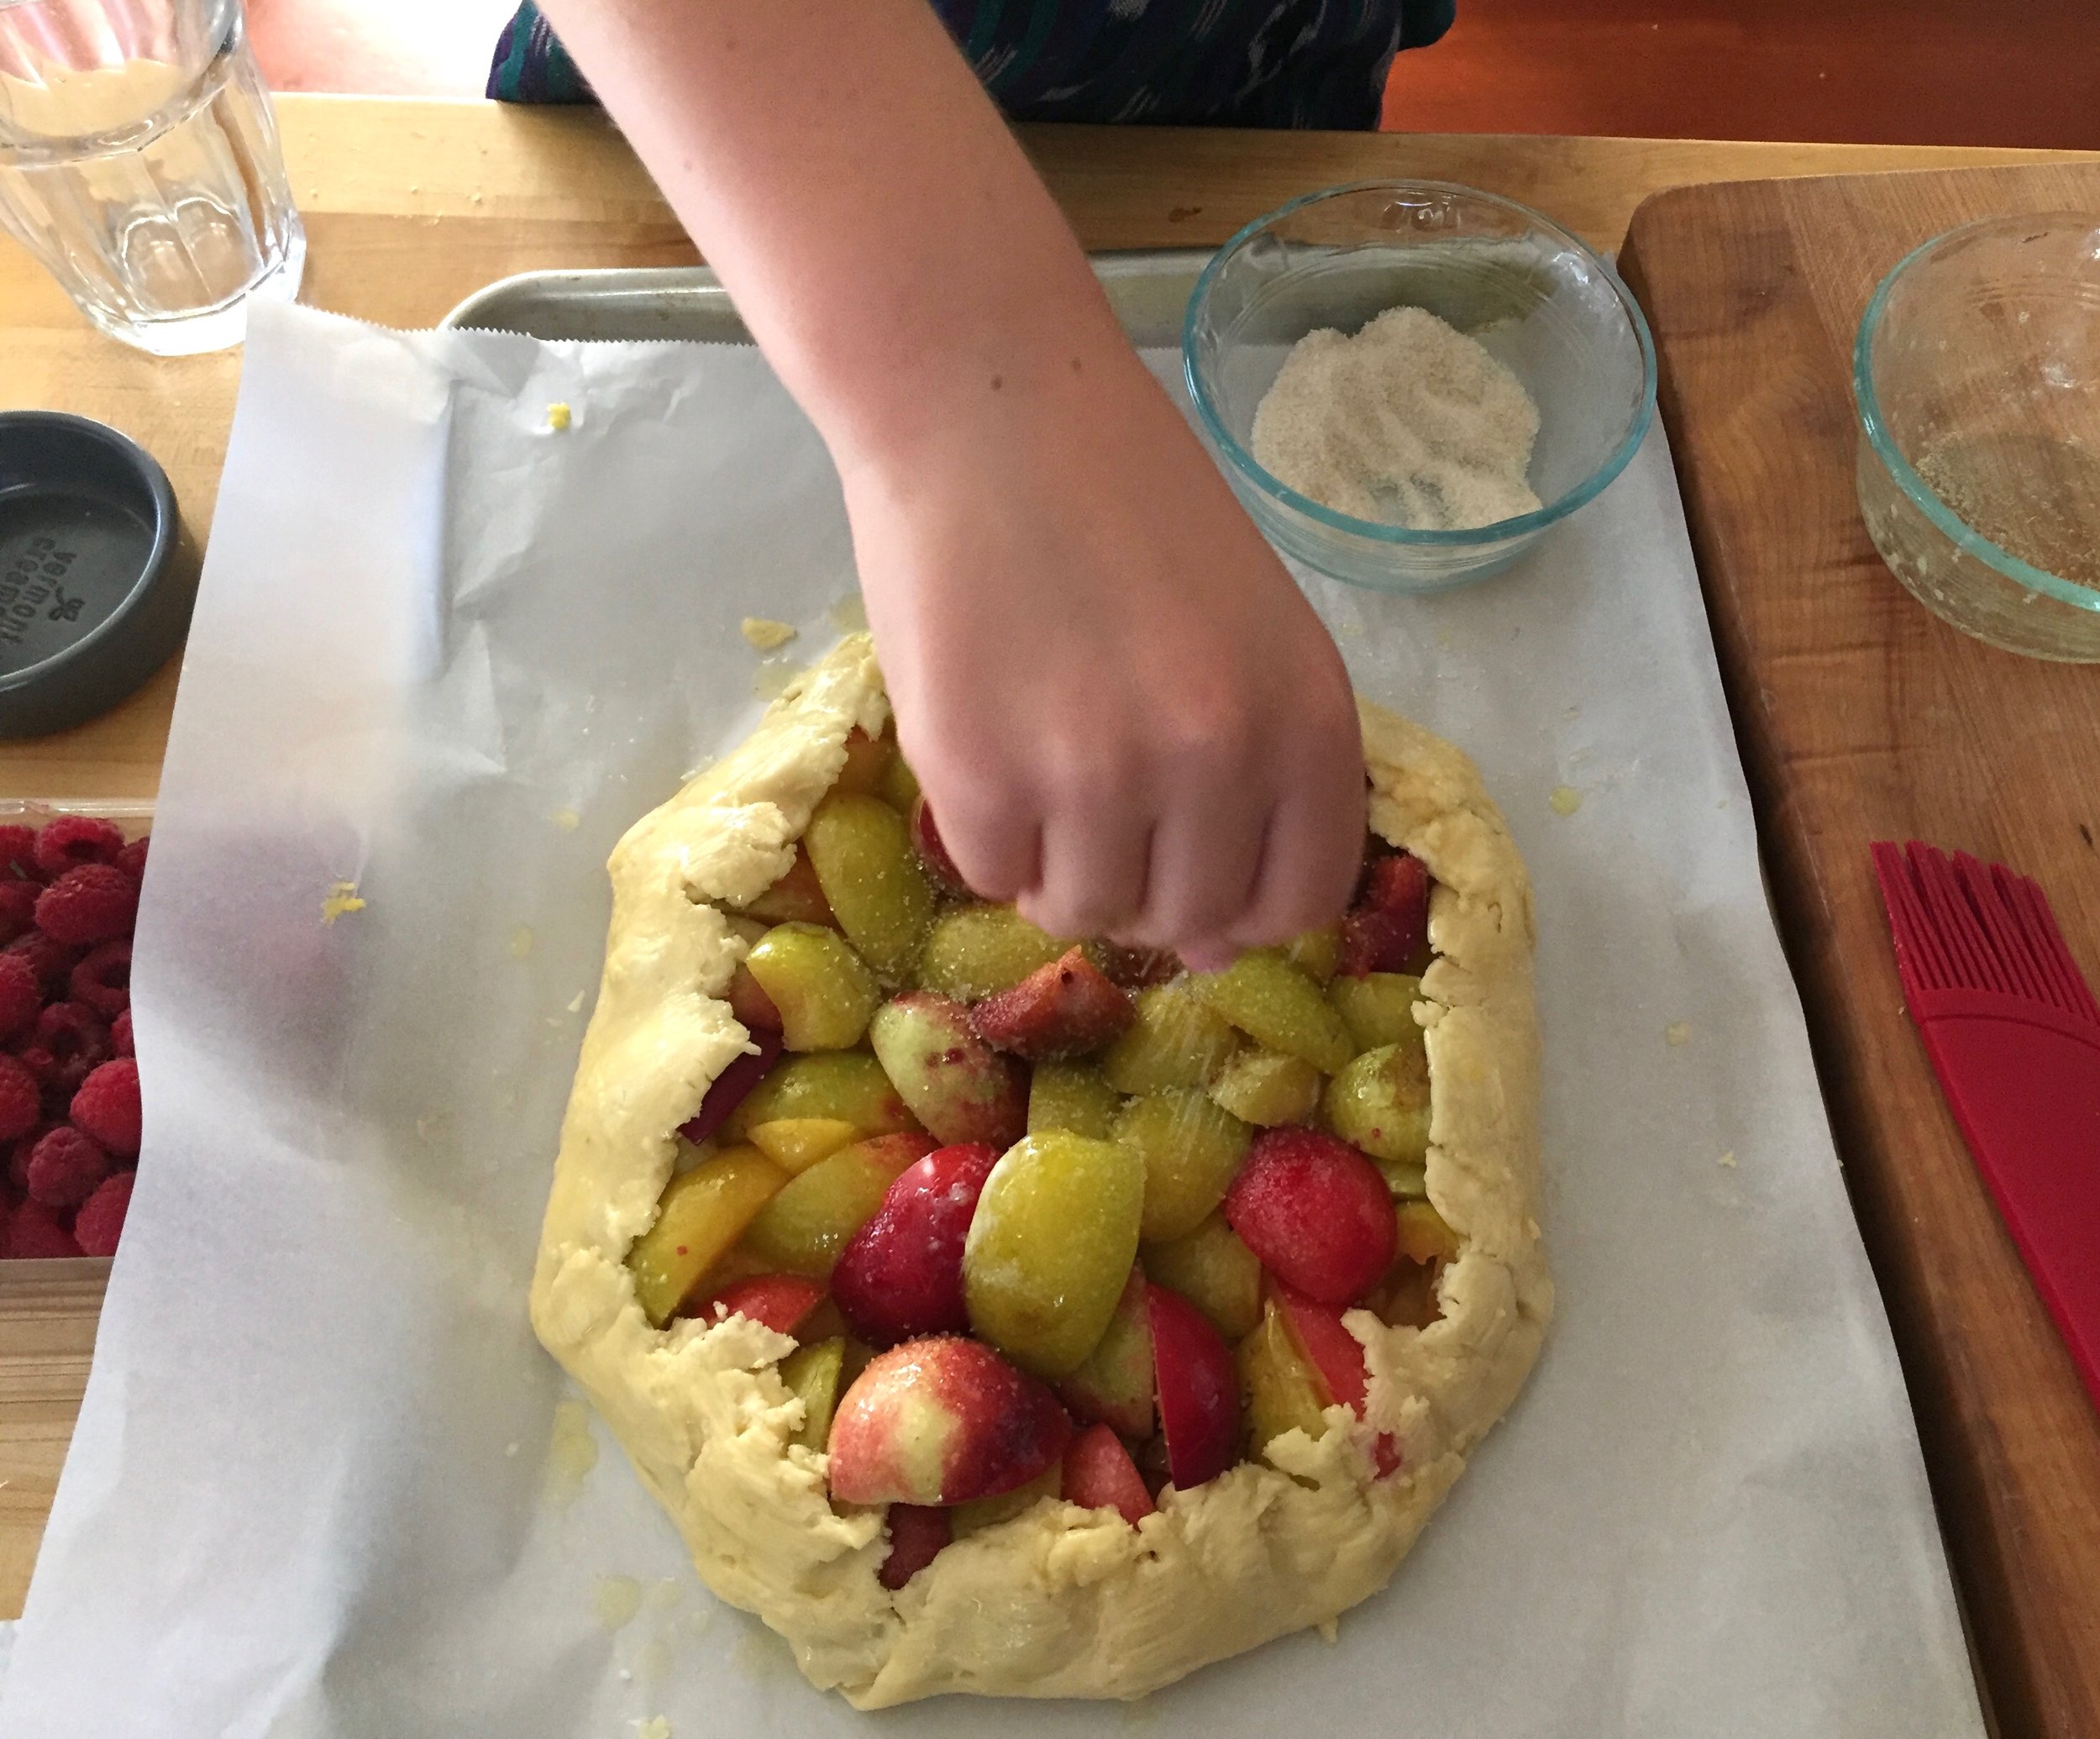
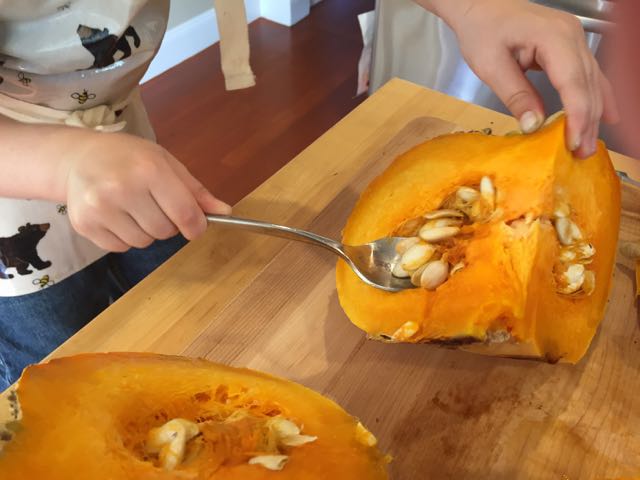
For this, our first Apple Cake of the season, Wyatt argued strongly in favor of using the apple-corer-peeler to prepare the apples. Why? Because it’s fun. I figured we had nothing to lose—the apple chunks called for in the recipe weren’t so great when it came to slicing the bread-shaped cake last year. Also, it’s not like we’d be maintaining the integrity of this recipe in any other way, so why be a stickler about the apples? It was a good call, as it turns out.
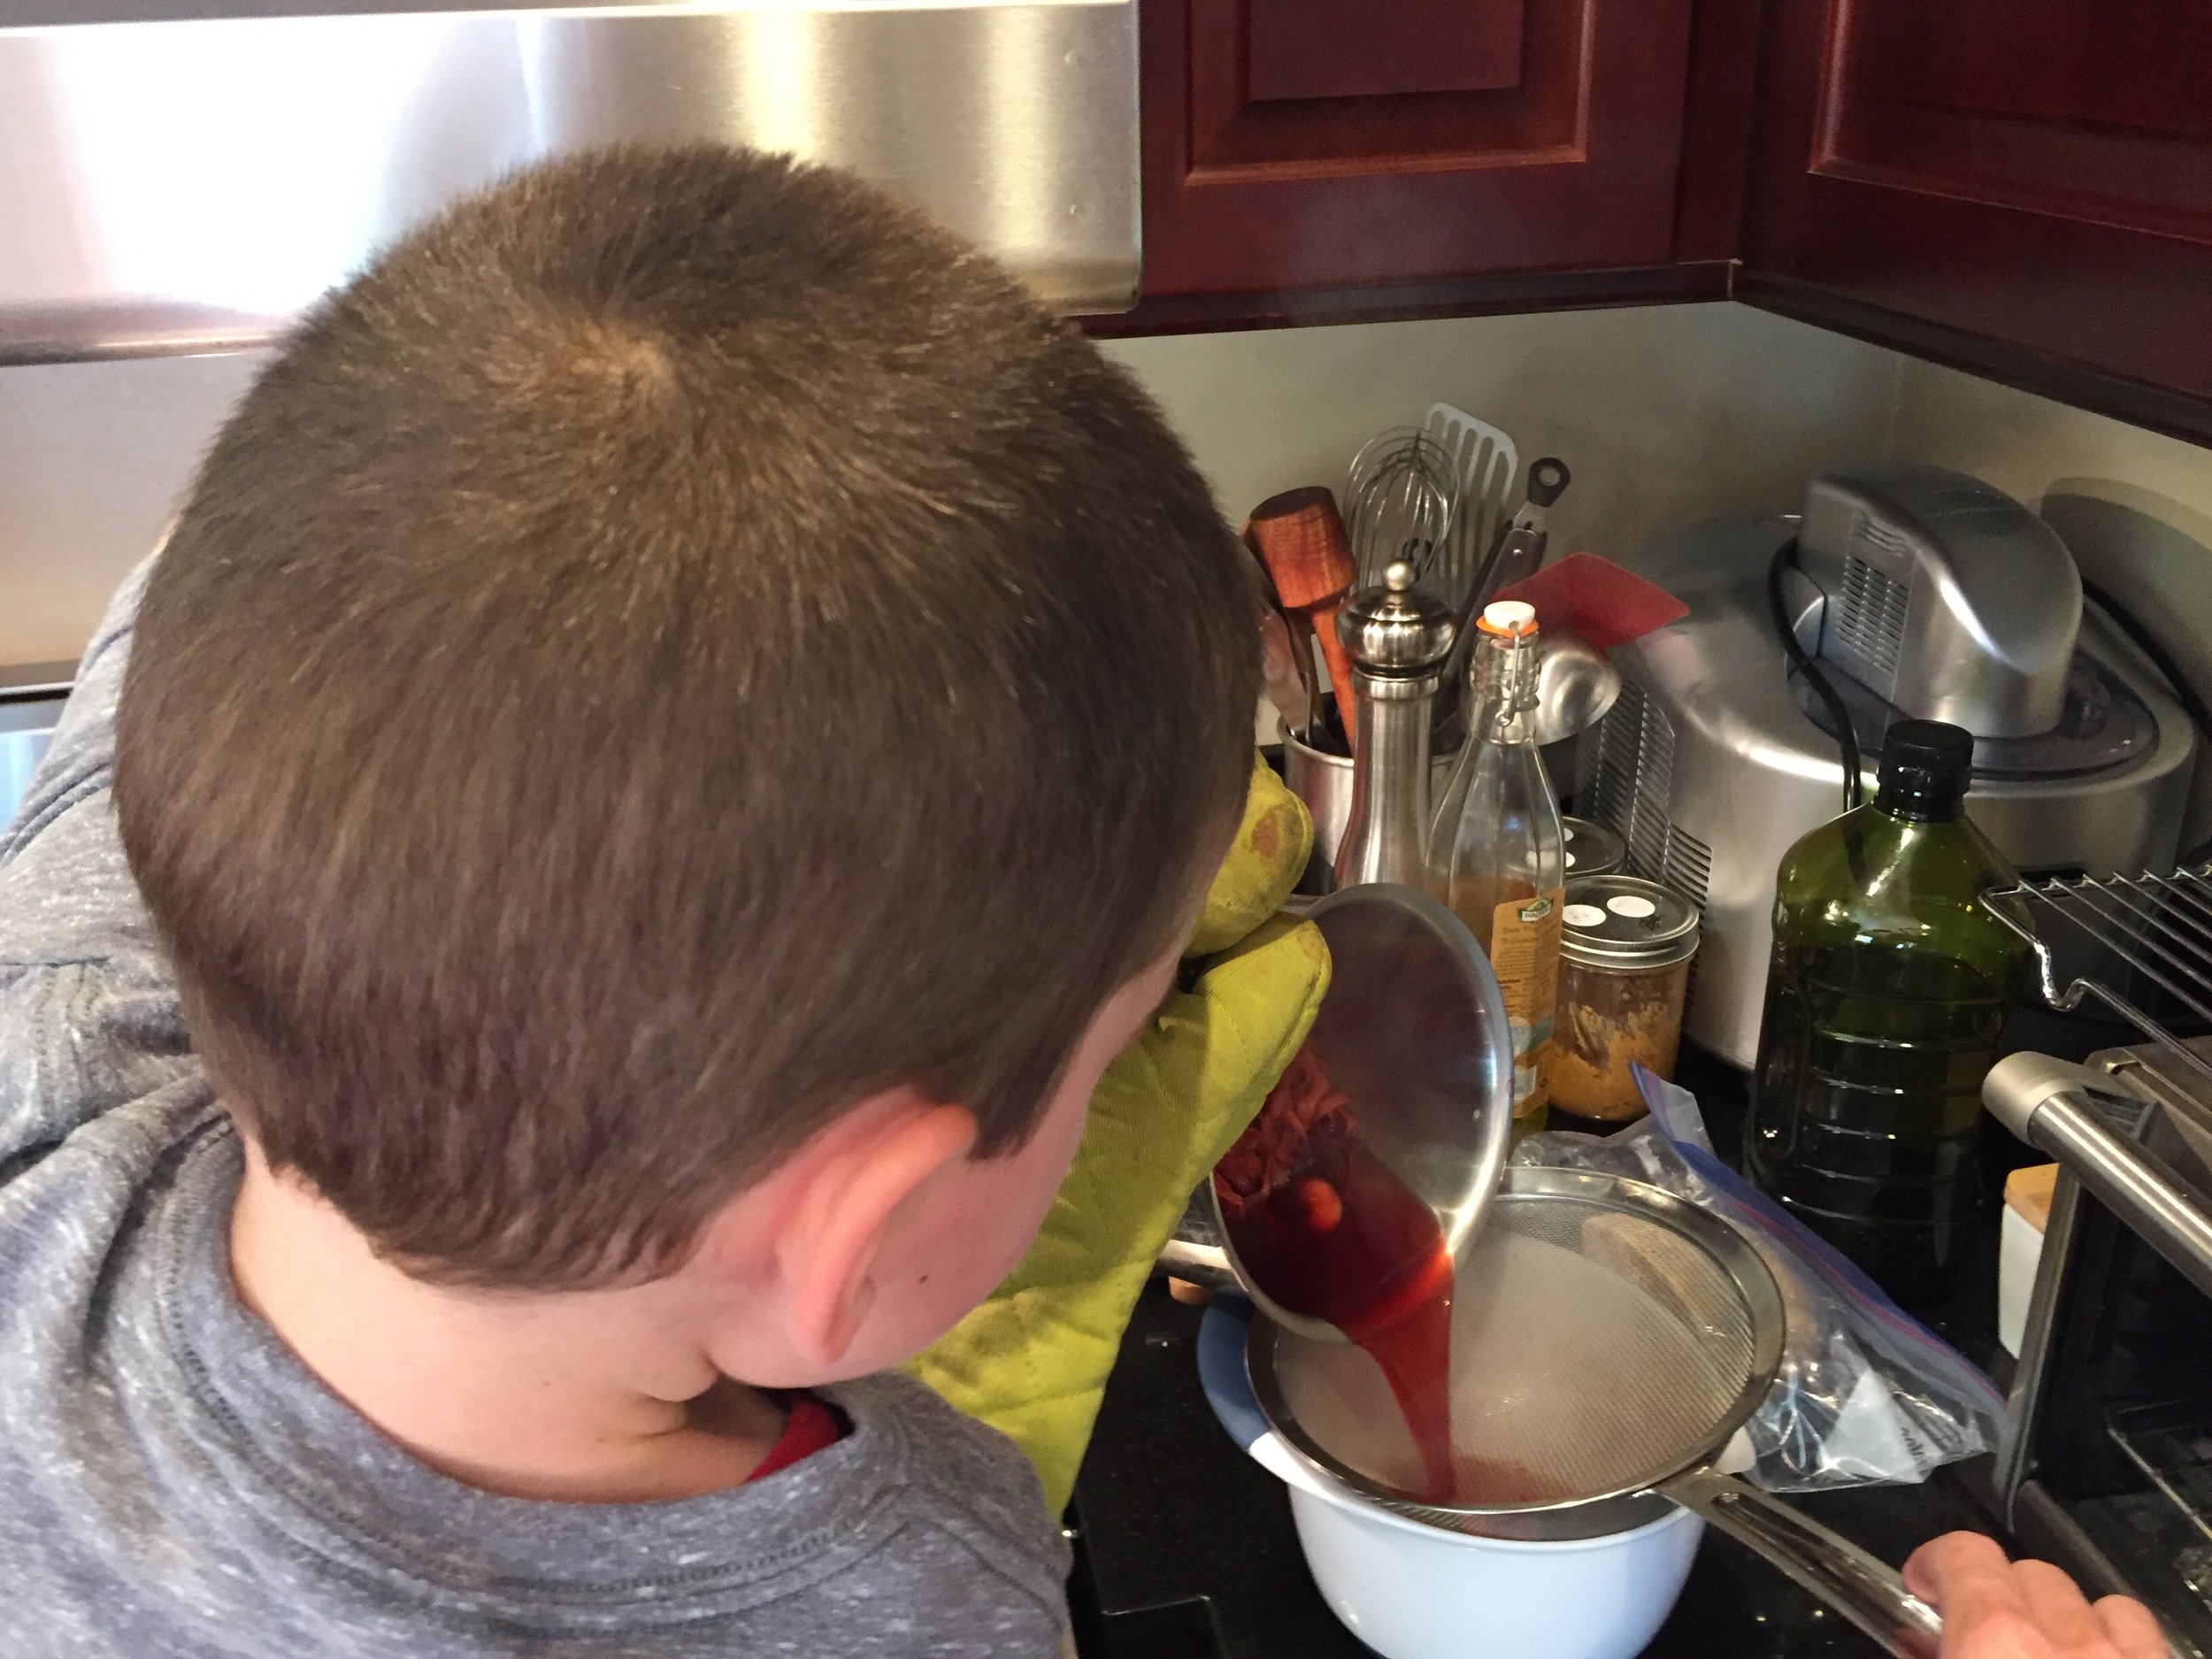
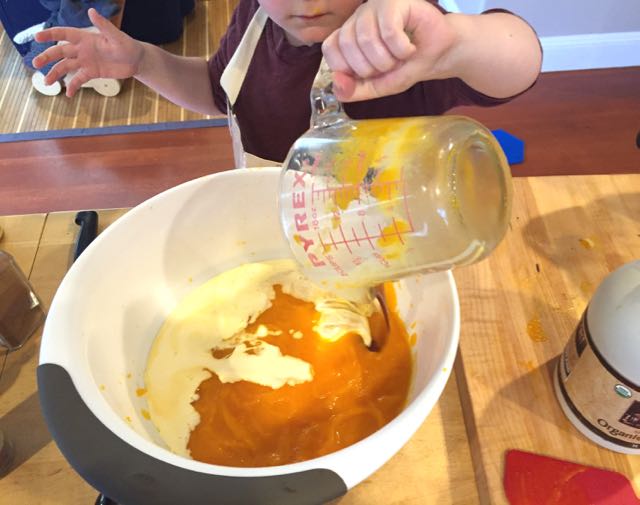
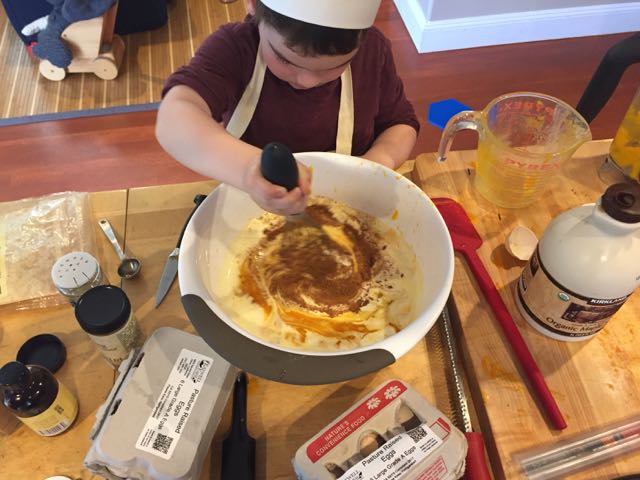
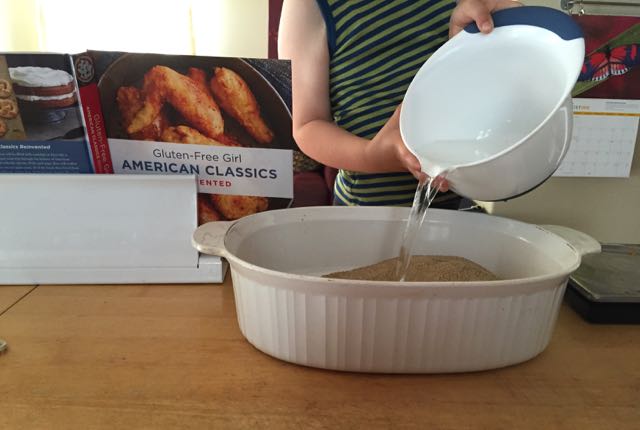
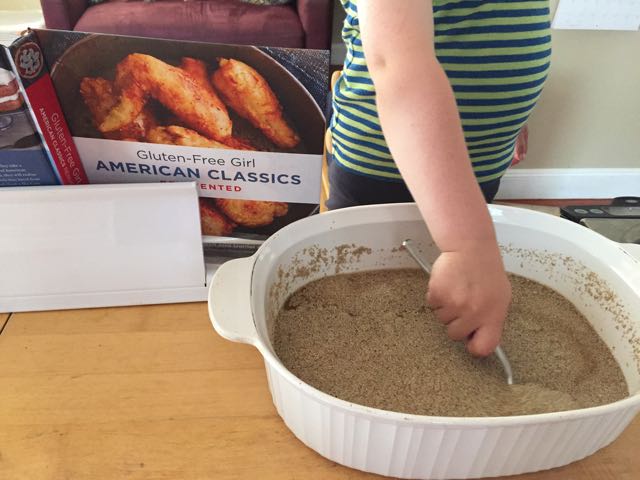
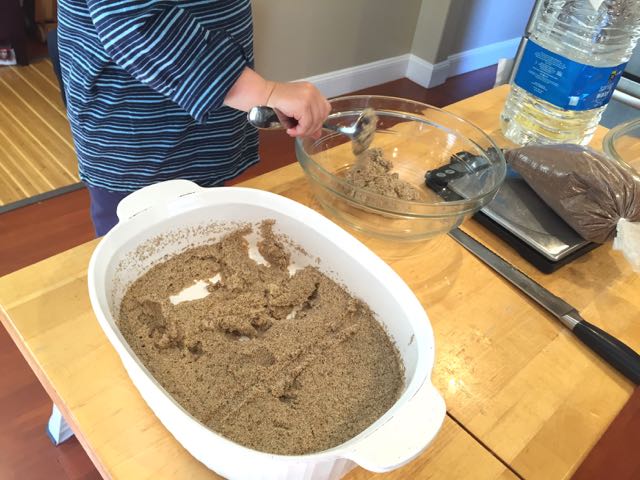
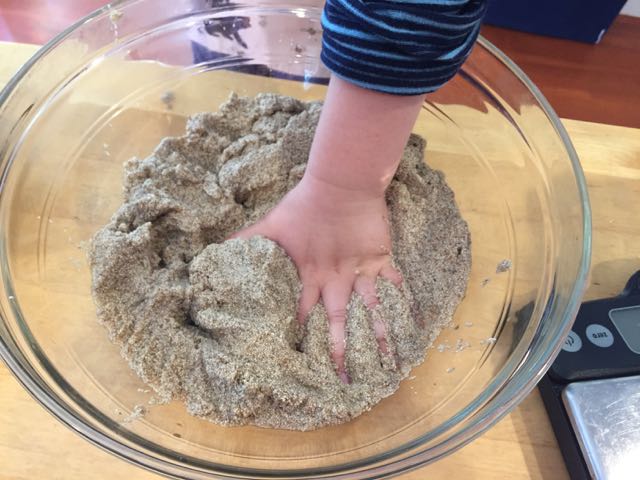
We substituted the Gluten-Free Girl flour blend for the flour (1-for-1). Because I’m currently dairy-free, we aren’t baking with butter. We chose to use coconut oil because we thought the flavor profile would work with the rest of our changes, and we used 2/3 of the amount called for in the recipe. My friend, Molly, who has more gluten-free baking experience than anyone else I know in real life, taught me that trick when it came to converting a traditional recipe for cookies. It works here, too, likely because gluten-free flours are often not as good at absorbing fats as wheat flour is. We also needed to trade out the granulated sugar because I have verified in real life the blood test result that told me I’m “highly reactive” to cane sugar. I went with 1-for-1 replacement with coconut sugar. And for the orange juice? I grabbed the bottle of Laird’s Apple Jack we use for Chicken Calvados, figuring if booze works so well in Smitten Kitchen’s recipe for Jacked-Up Banana Bread, it would probably be amazing in apple cake.
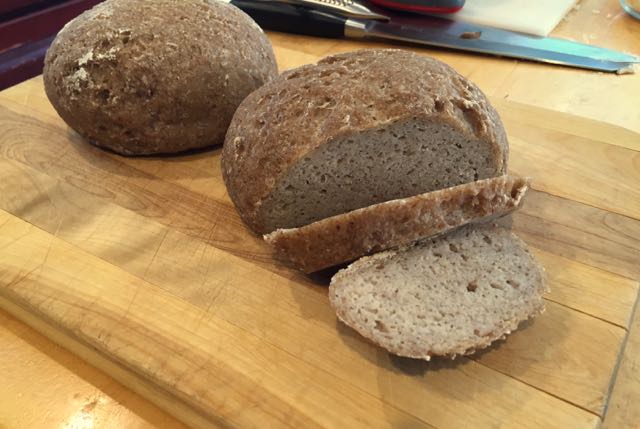
The Apple Cake-ish turned out great. You should definitely try it, with or without the modifications. And I know some of you are also egg-free. I’ve never tried baking gluten-free without eggs, so please leave your tips in the comments so I can learn from you.
Apple Cake-ish (as inspired by Smitten Kitchen)
For the apples
6 apples (I used Pink Lady)
1 tablespoon ground cinnamon
5 tablespoons coconut sugar
For the cake
2 3/4 cups gluten-free flour blend
1 tablespoon baking powder (you can also add an extra teaspoon or so for more lift)
1 teaspoon fine sea or table salt
2/3 cup melted coconut oil
2 cups coconut sugar
1/4 cup apple jack brandy
2 1/2 (13 ml) teaspoons vanilla extract
4 large eggs
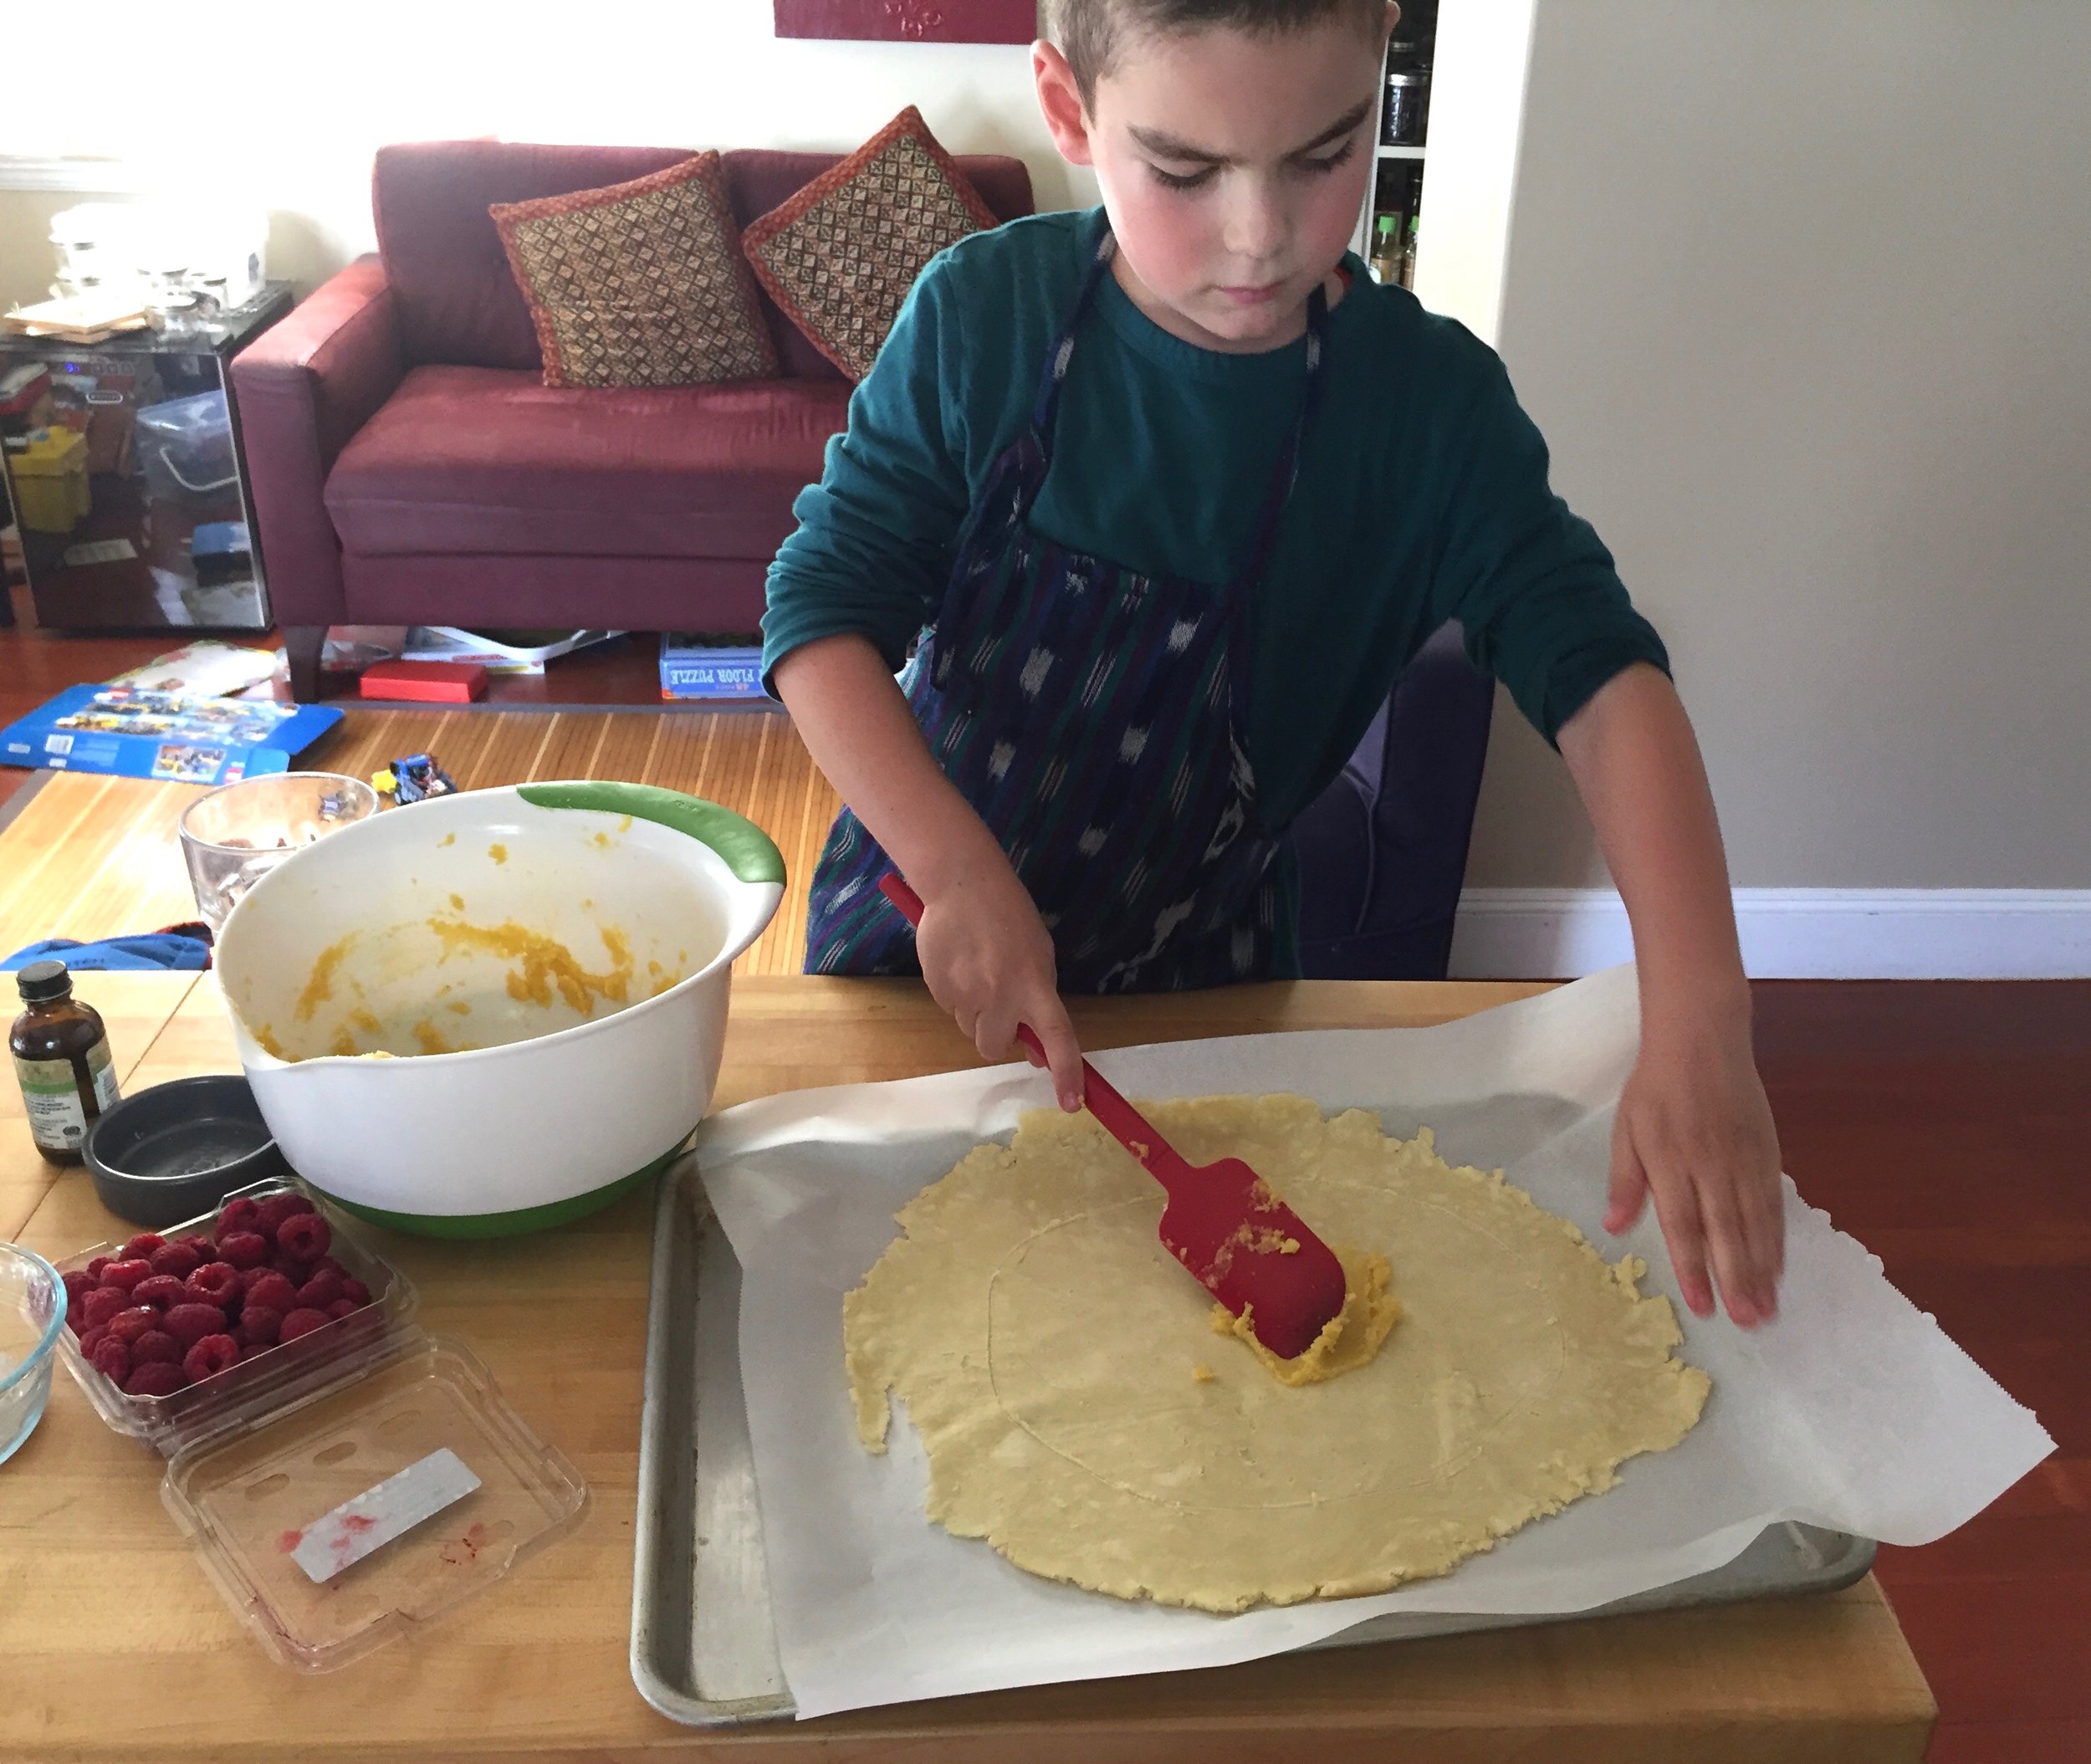
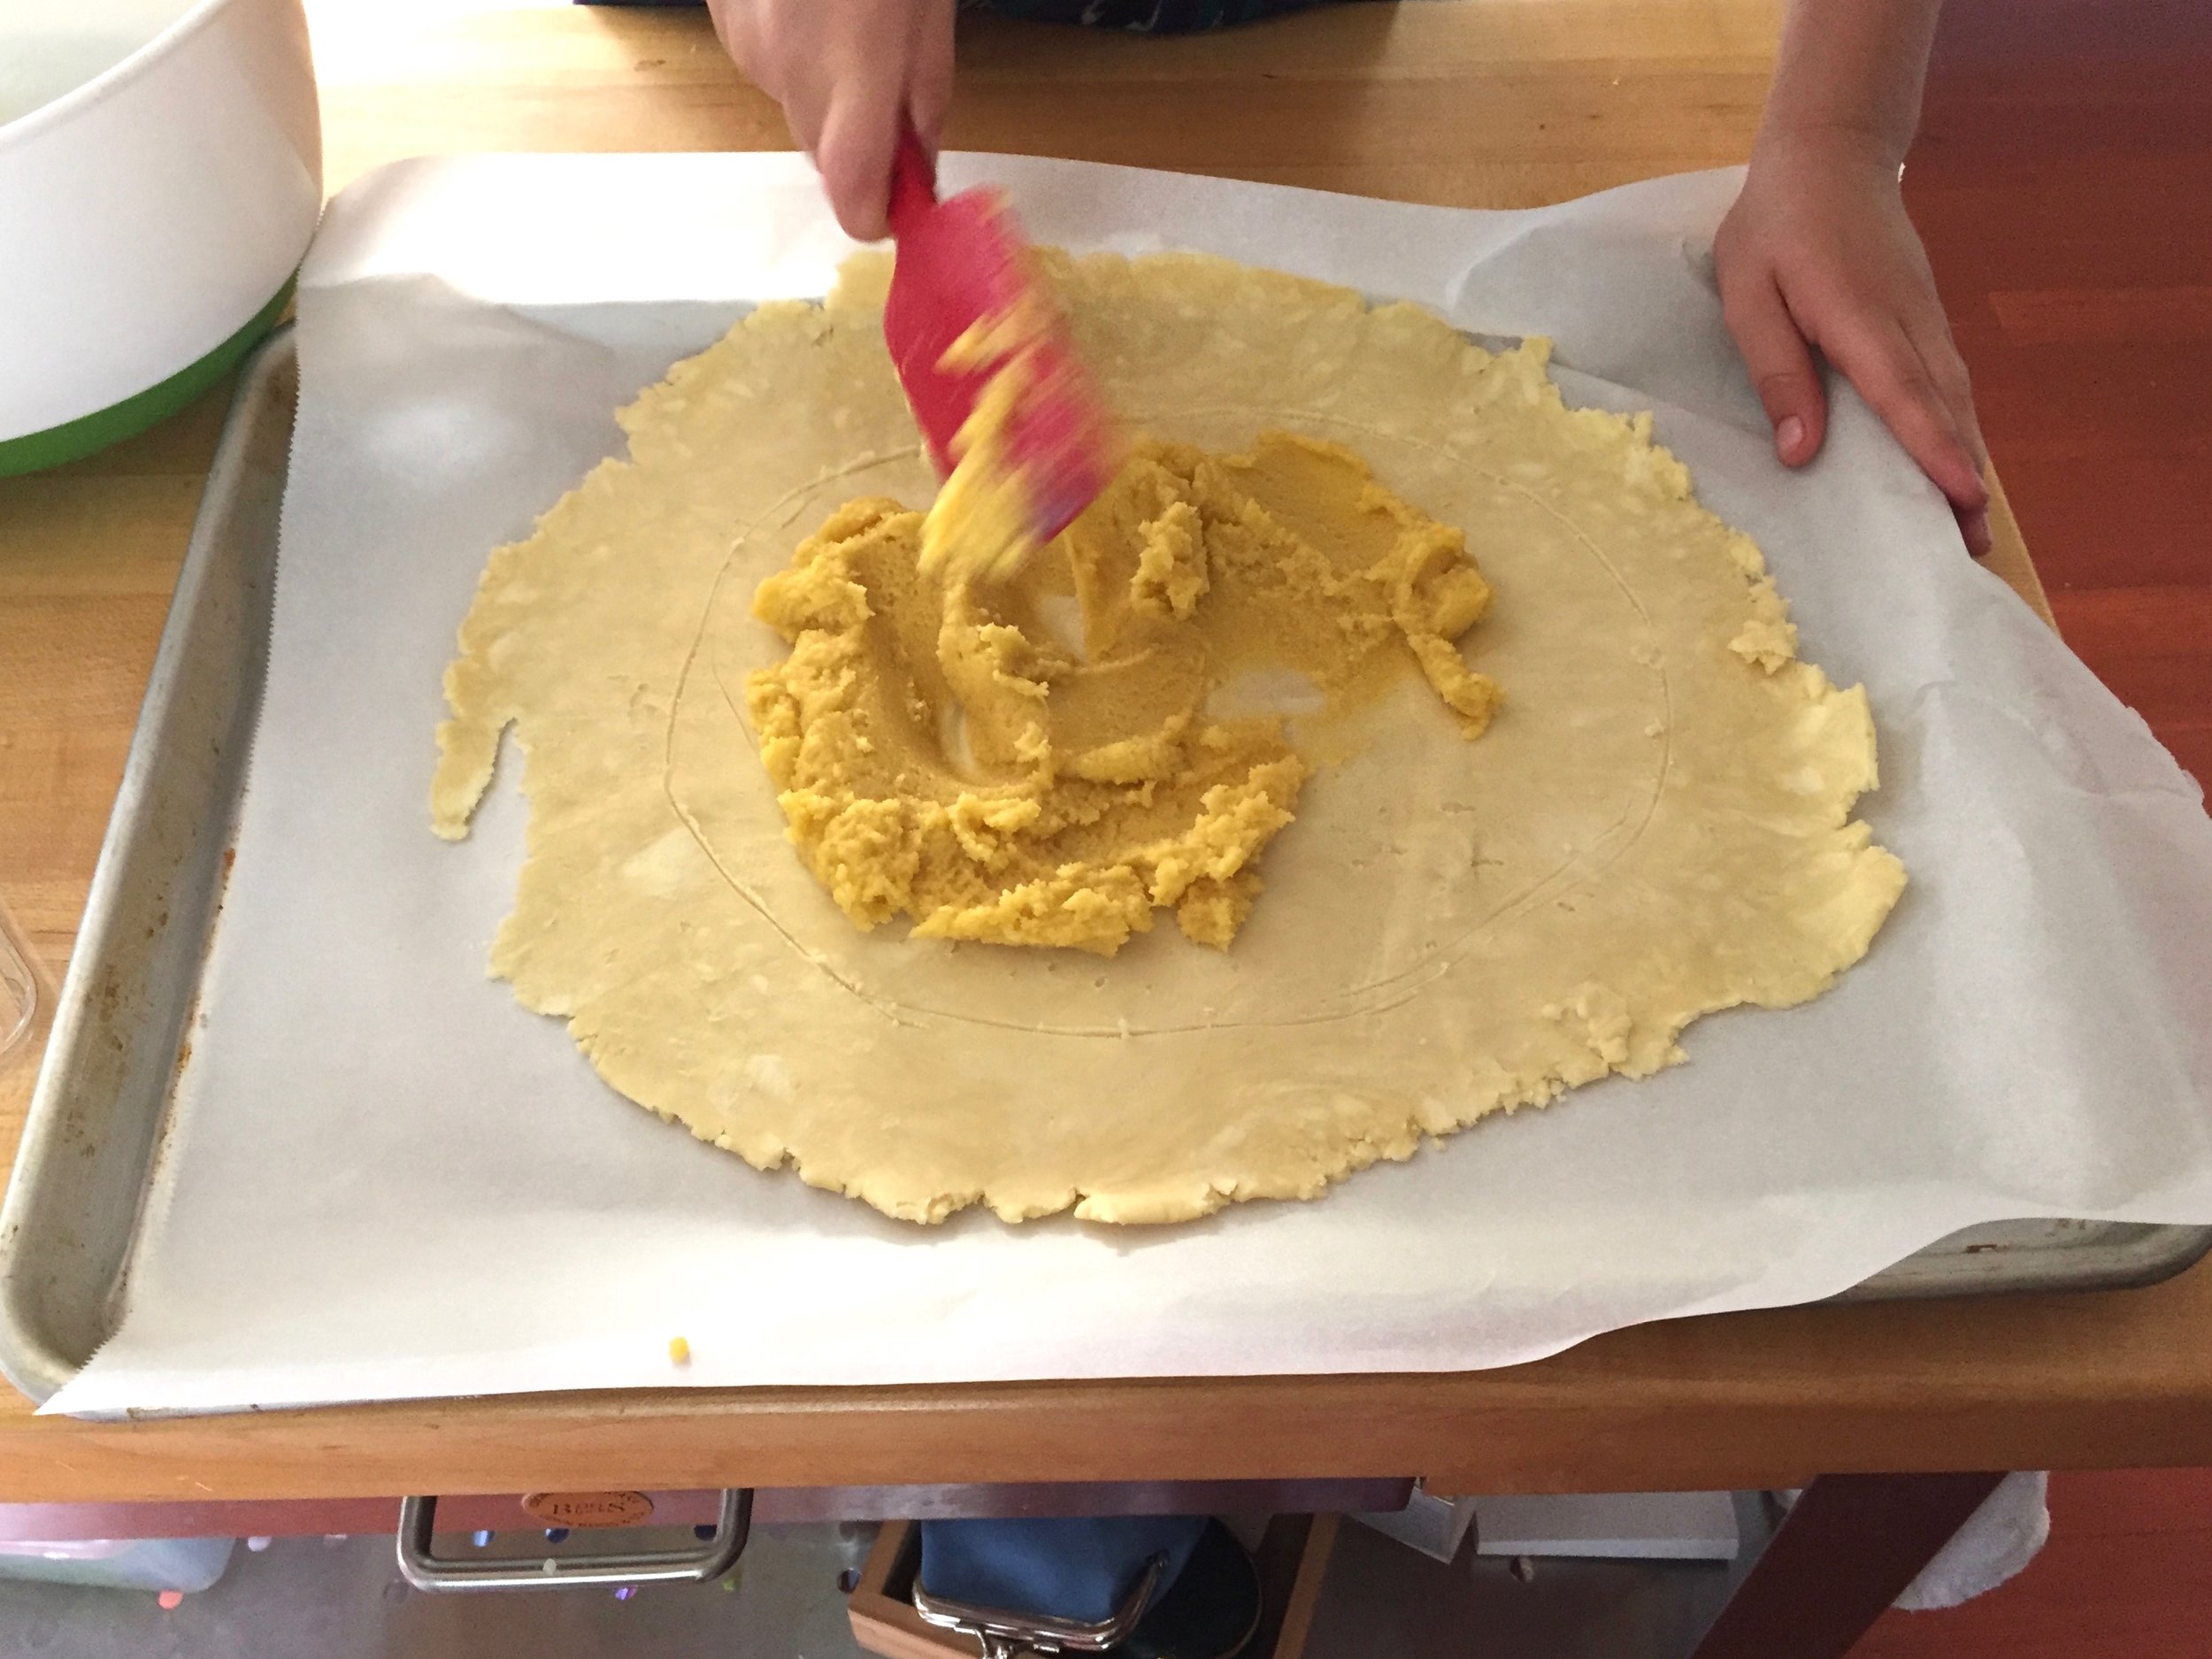
Heat oven to 350°F (175°C). Grease two loaf pans. If you’re worried about sticking like I am, use coconut-oil greased parchment paper to line the pans. Peel, core and slice the apples 1/8 - 1/4” thick moons. Toss with cinnamon and 5 tablespoons sugar and set aside.
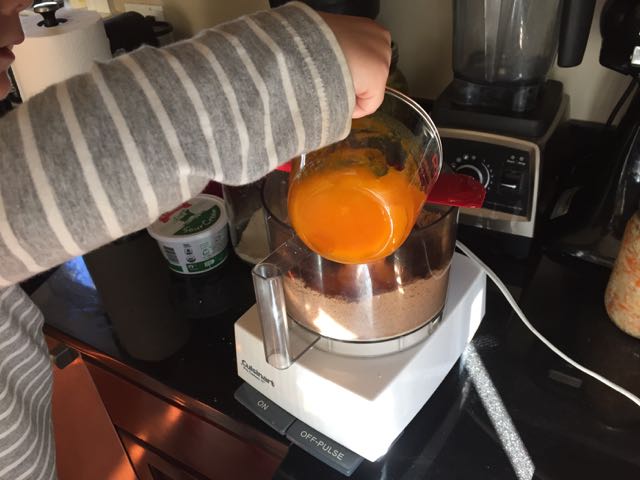
Whisk together flour, baking powder and salt in a large mixing bowl. In a separate bowl, whisk together oil, brandy, sugar, vanilla and eggs. Mix wet ingredients into dry ones; scrape down the bowl to ensure all ingredients are incorporated.
Pour a quarter of the batter into each of the prepared pans. Spread a quarter of the apples (and their juices) over in each pan. Pour half of the remaining batter over the apples in each pan and then arrange the remaining apples on top. Bake for about 1 1/2 hours, or until a tester comes out clean.*
Cool completely before running knife between cake and pan, and unmolding onto a platter. Or if you used parchment paper, just lift the loaves out and let them cool on a baking rack.
* Tip: The apples love to hide uncooked pockets of batter, especially near the top. Make sure your testing skewer or toothpick does a shallow dip below the top layer of apples to make sure it comes out batter-free. Should your cake be browning too fast, before the center is baked through, cover it with foil for all but the last few minutes in the oven.