The Complaint Challenge: Christmas Edition
Our holiday season was festive and low-key. We went on a nighttime adventure to Filoli Gardens to check out their lights, which were impressive and beautiful. Wyatt and I went ice skating enough days in a row over the break that my right butt cheek was more tired than my left because of always going clockwise.
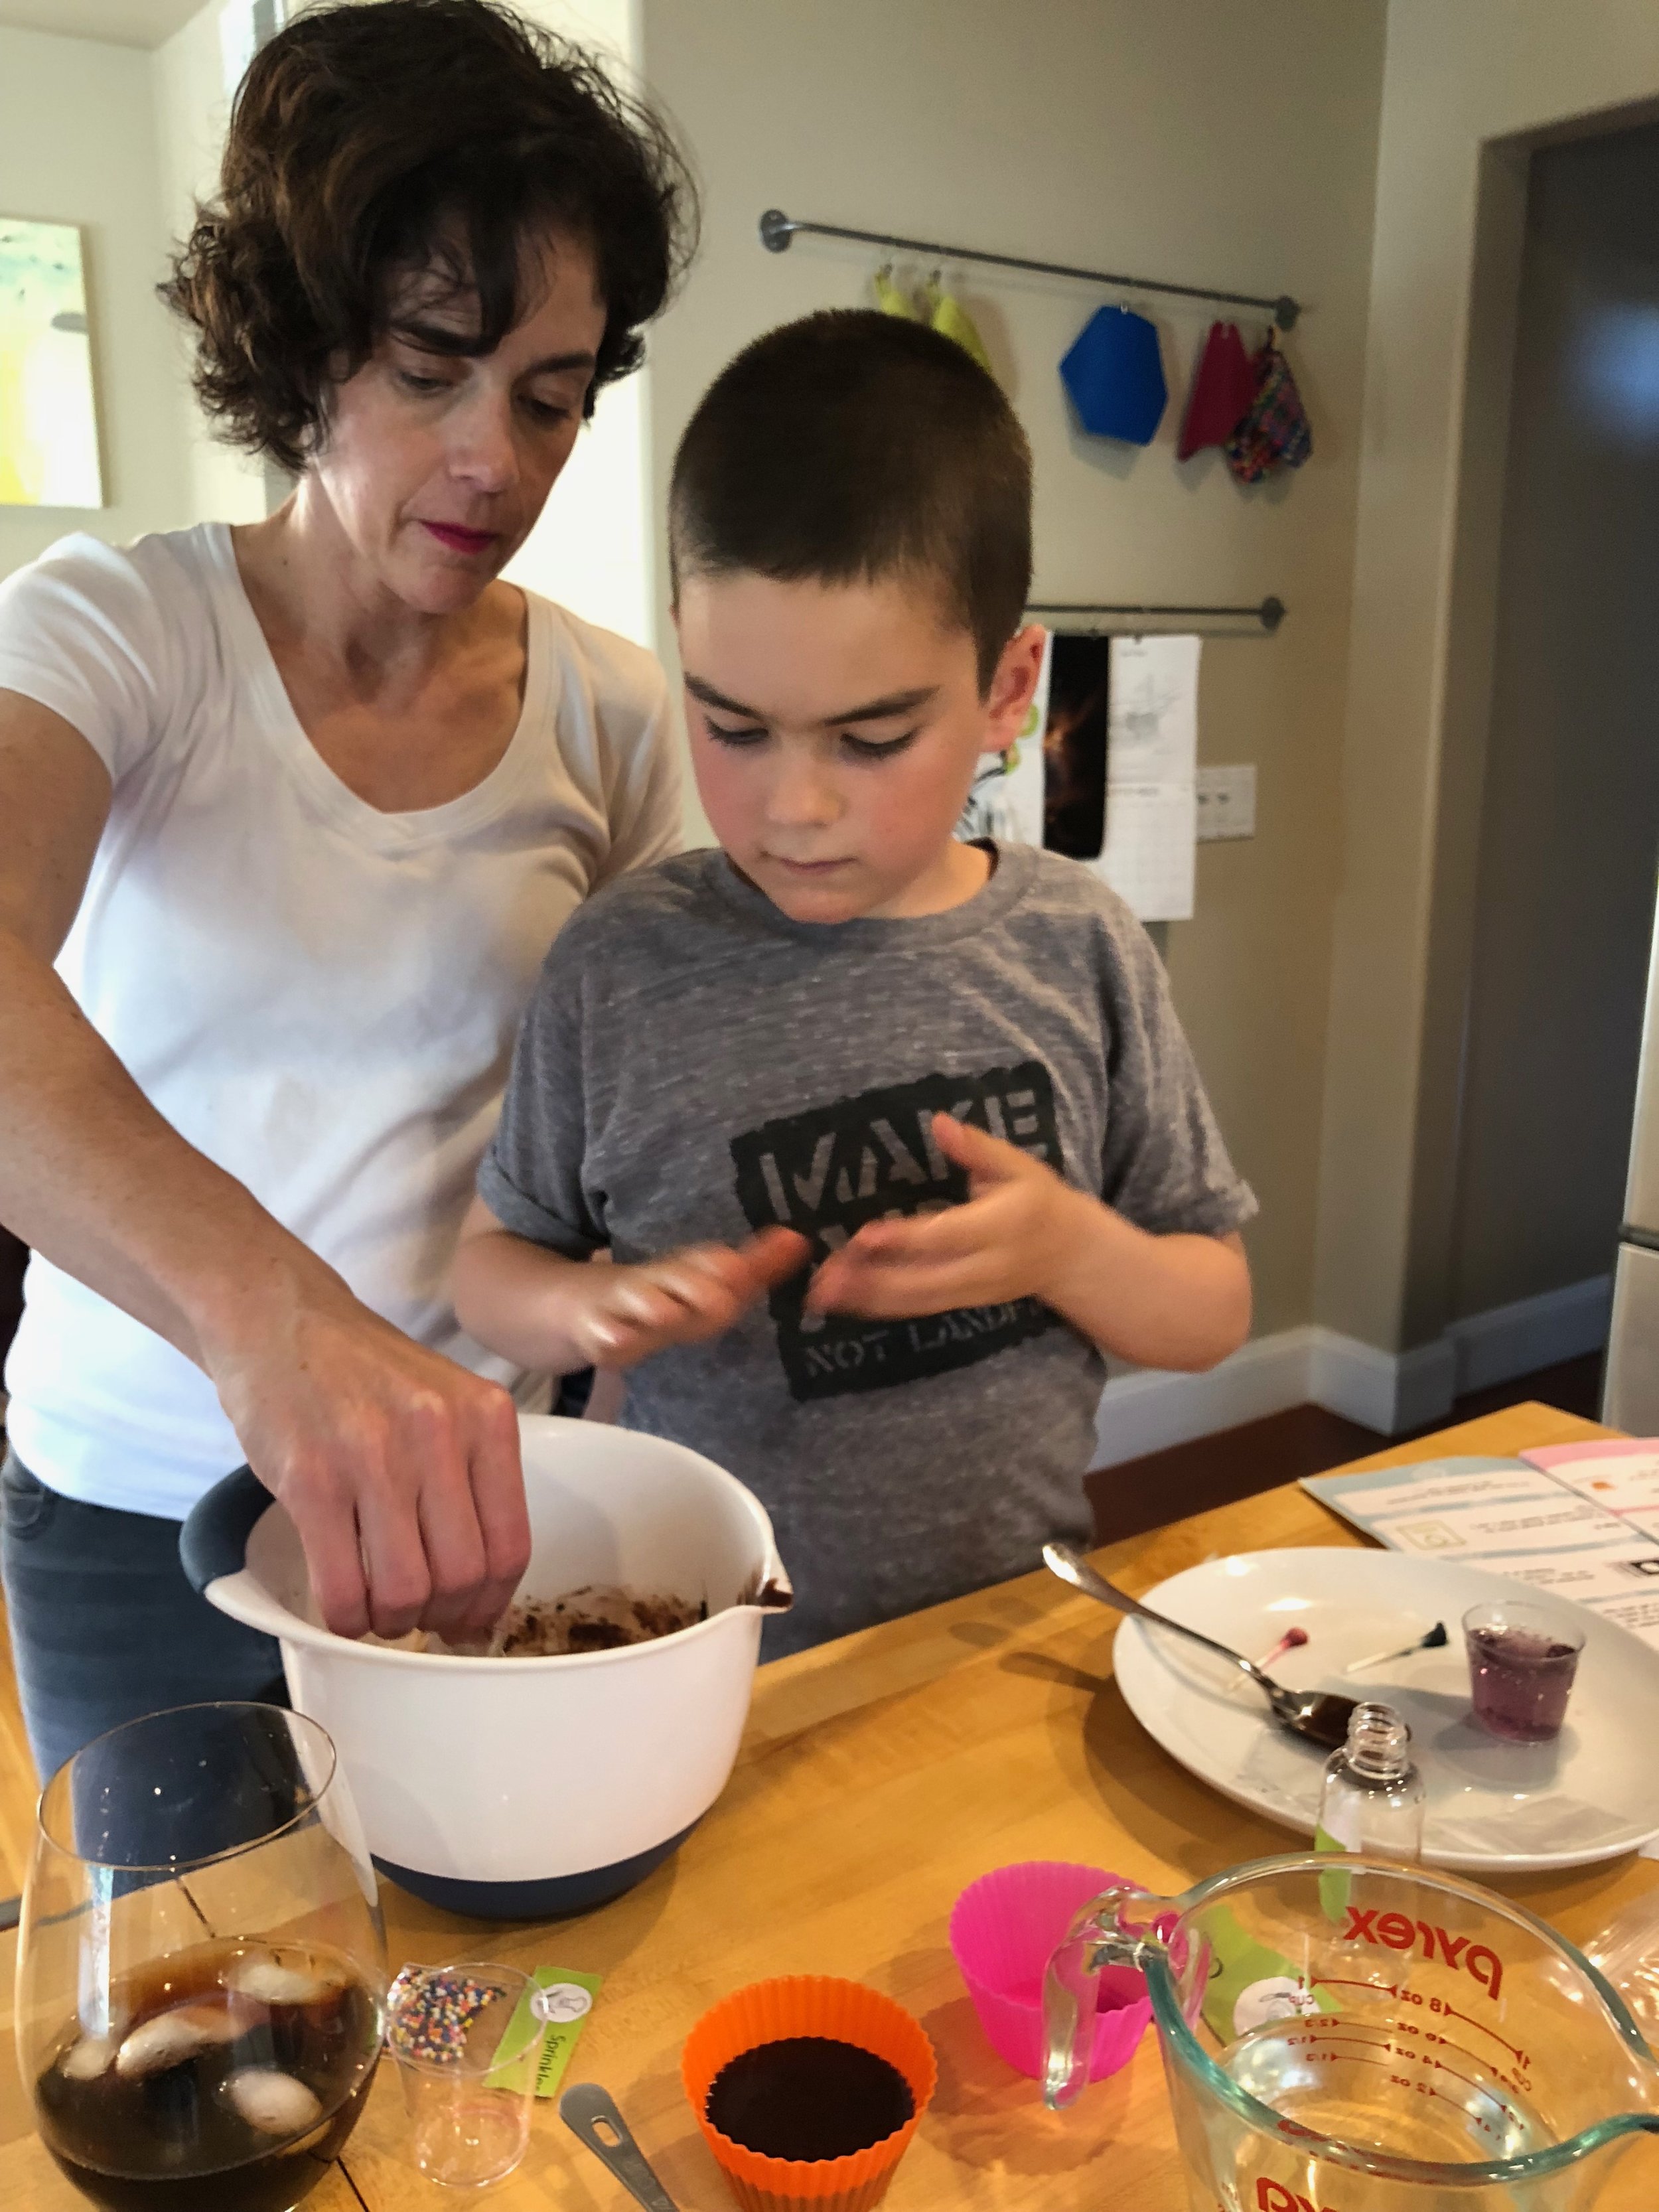
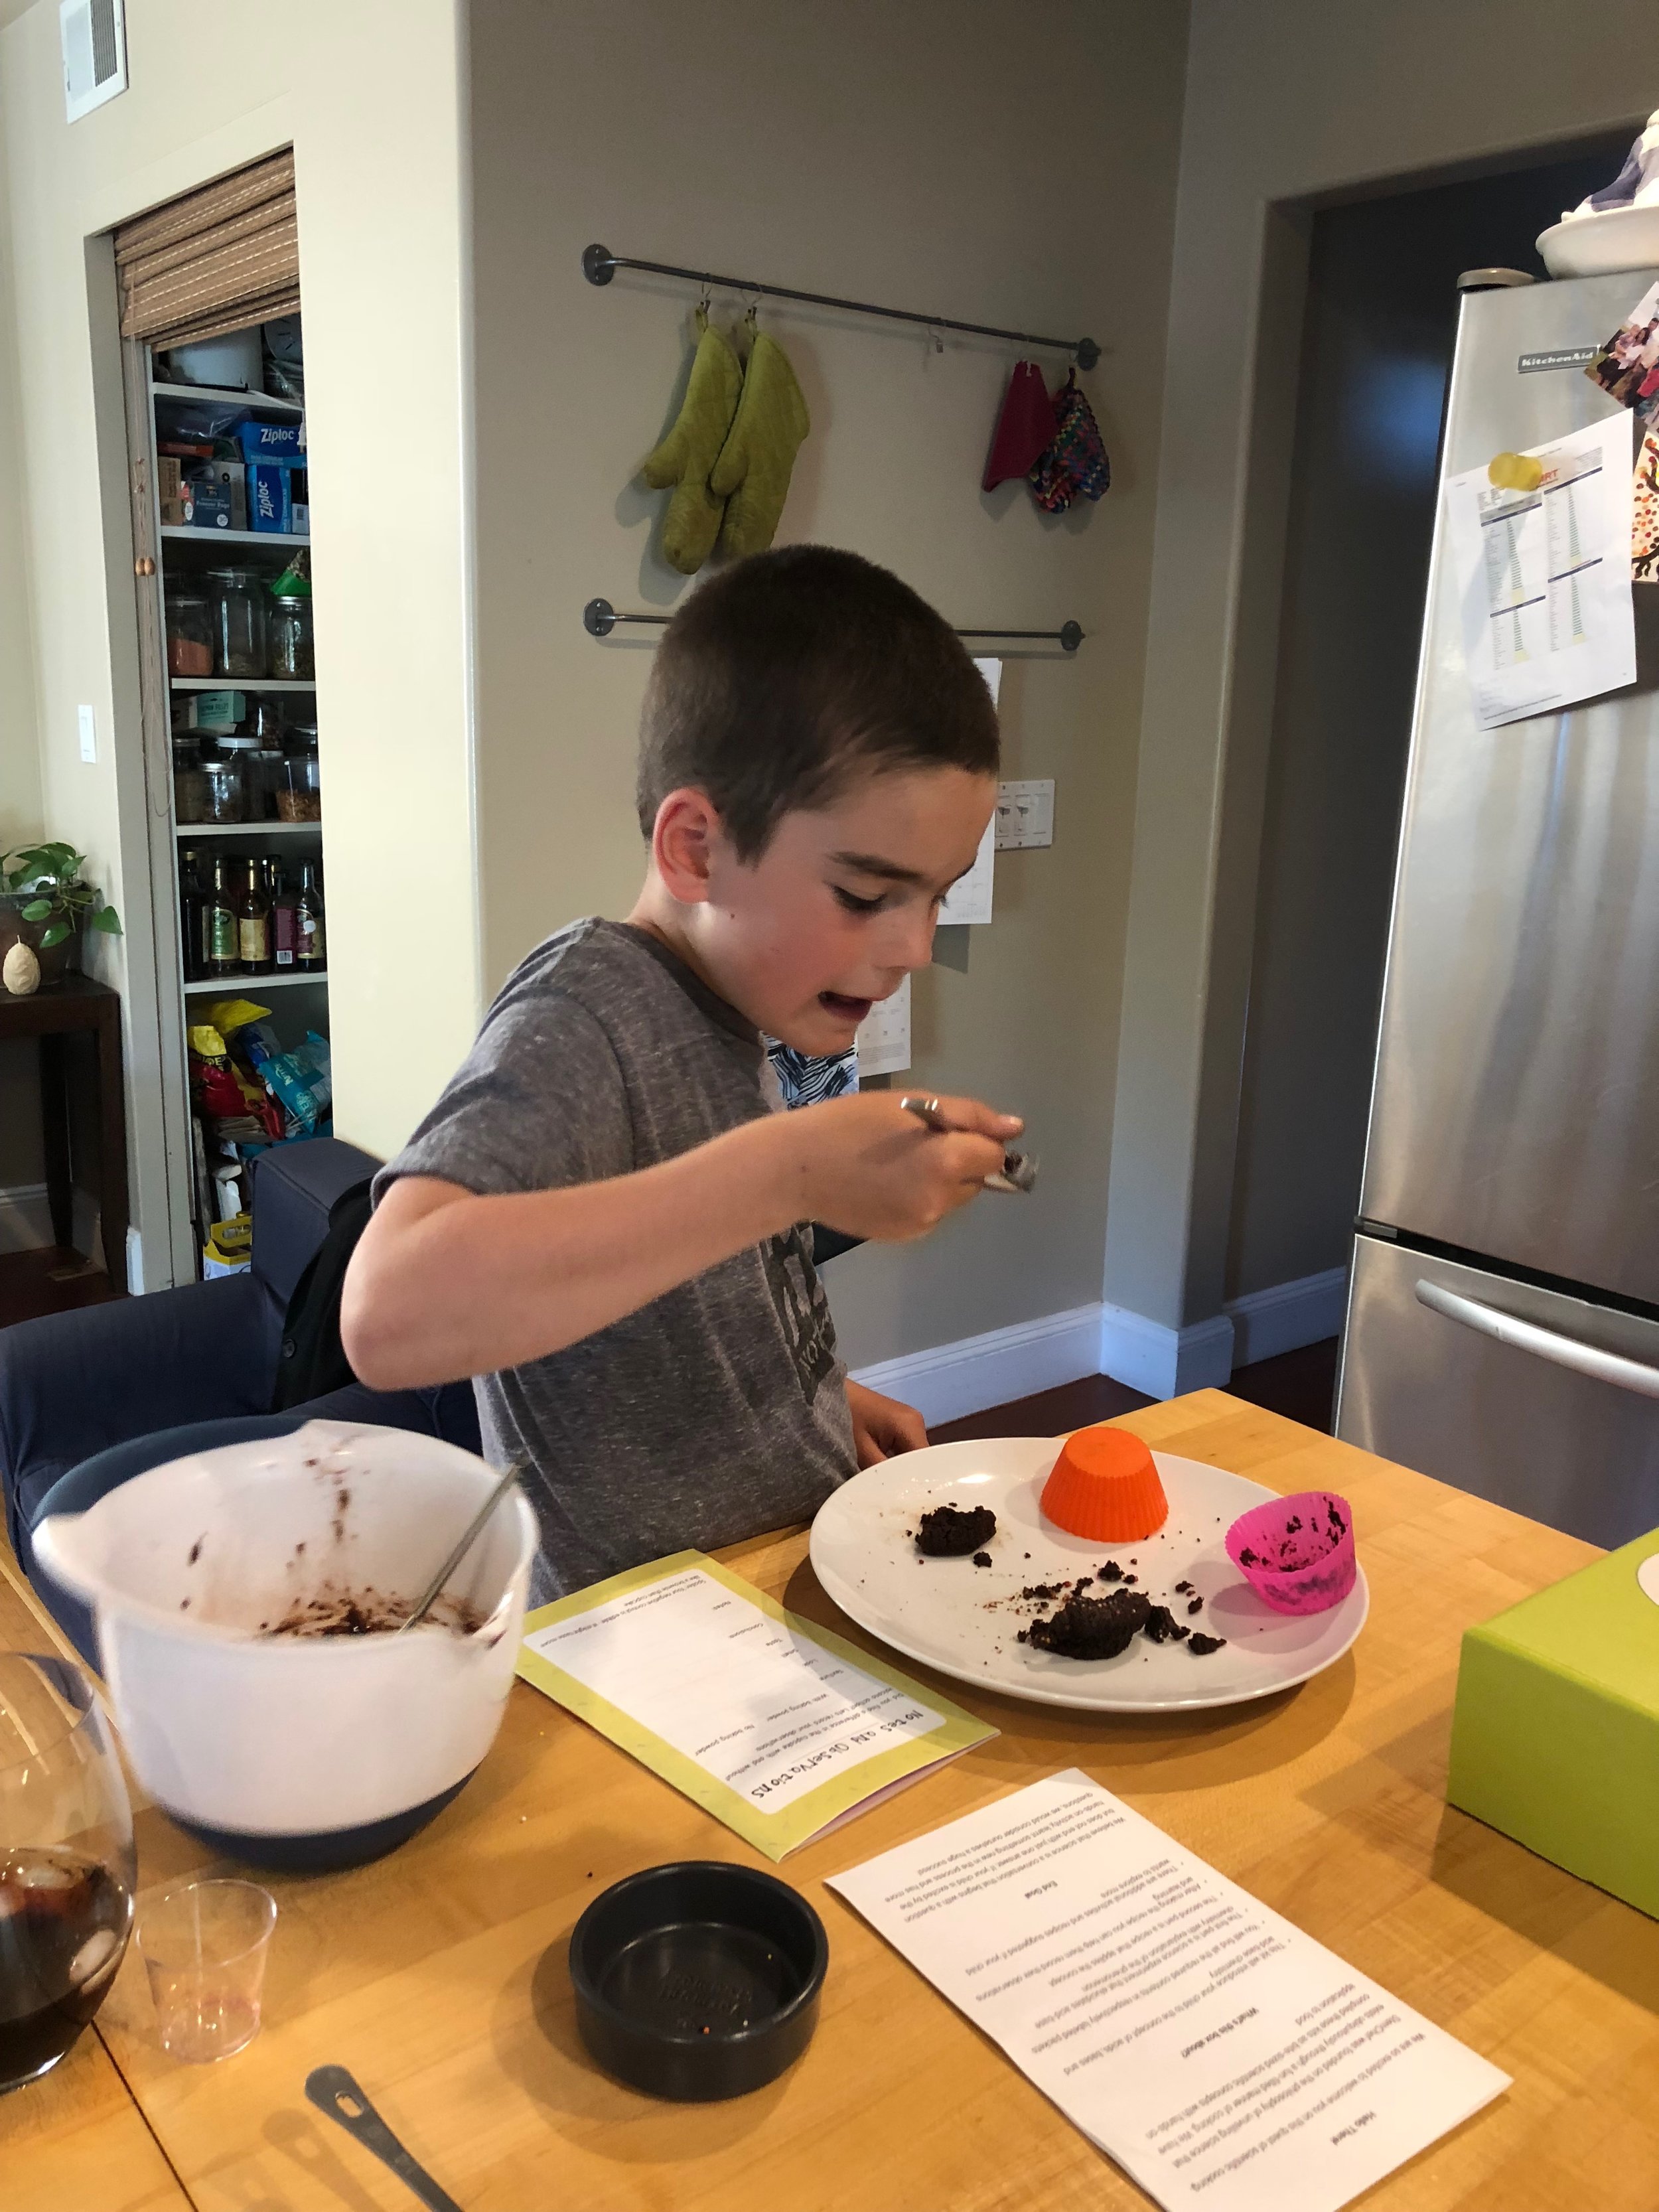
And of course there was Christmas. More specifically, Christmas Breakfast. This year, we went with Wyatt’s suggestion: Brownie Sundaes.

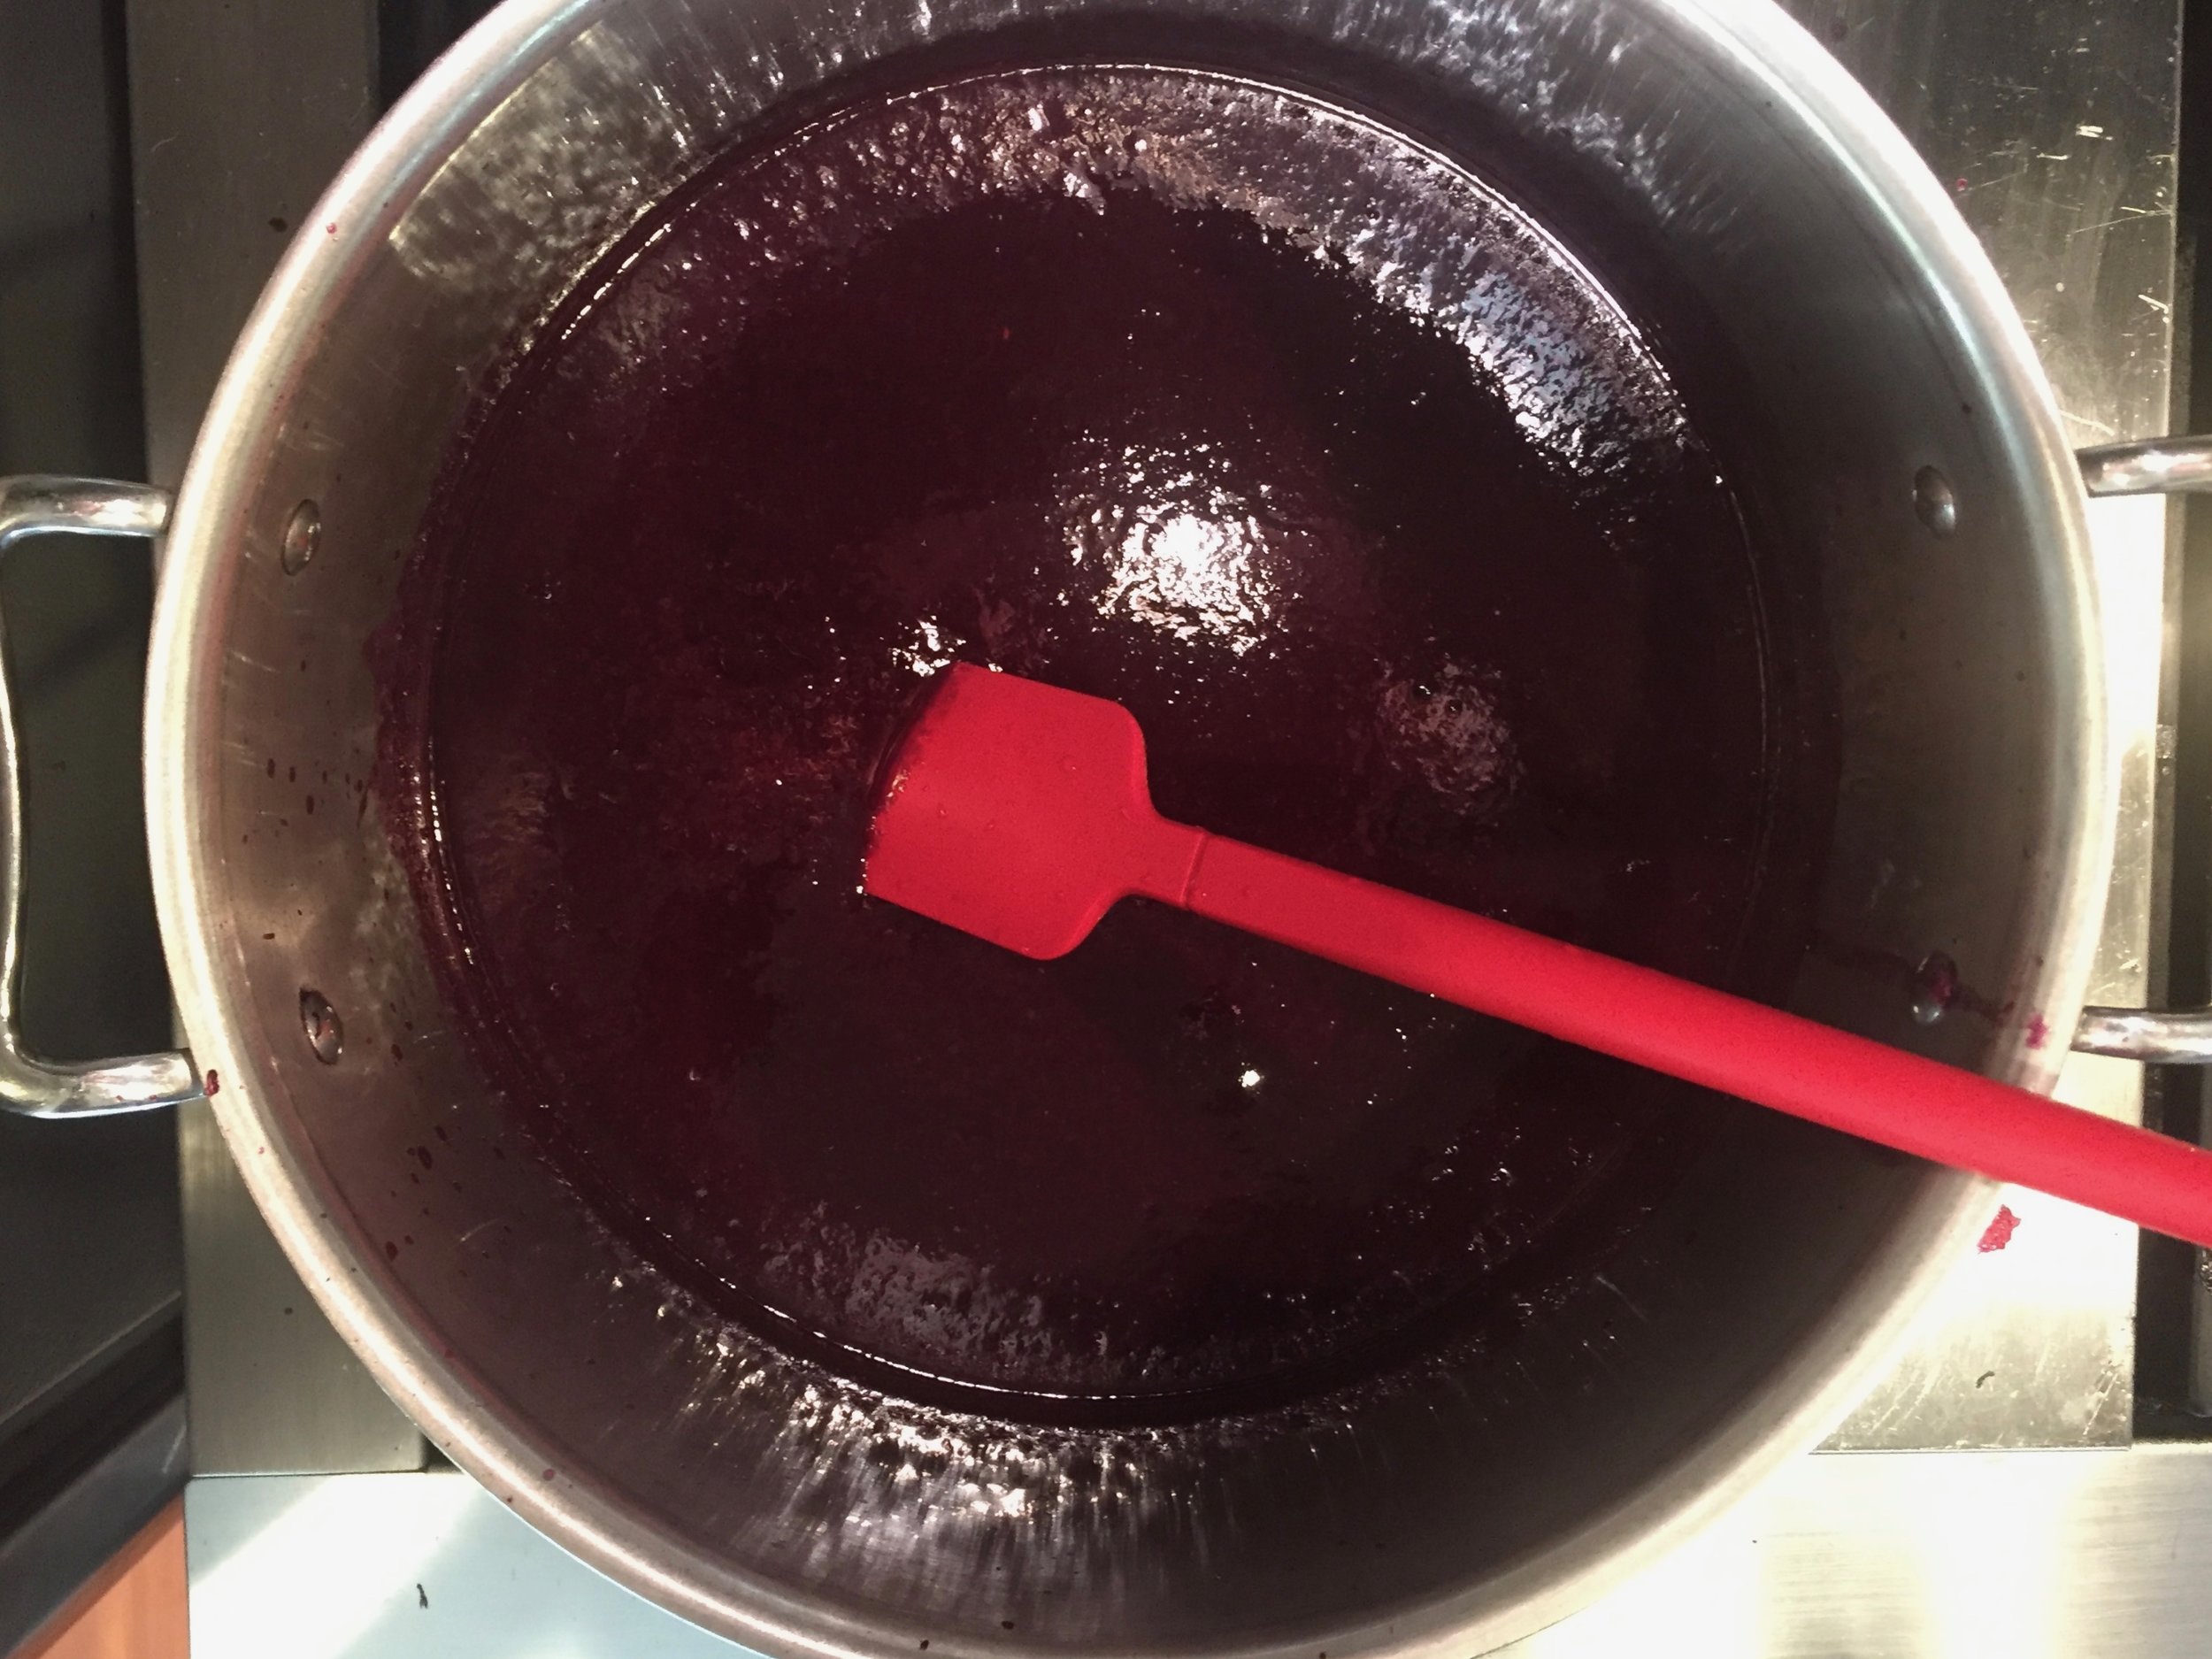
They were terrific. We used the Sour Cherry Frozen Yogurt recipe from our ice cream book. We substituted dried sour cherries that we rehydrated in a pan with some water. I have no idea if we used too many cherries or what, but the taste was bold, very cherry, and we liked it. This is the brownie recipe we chose, and we included chopped almonds.
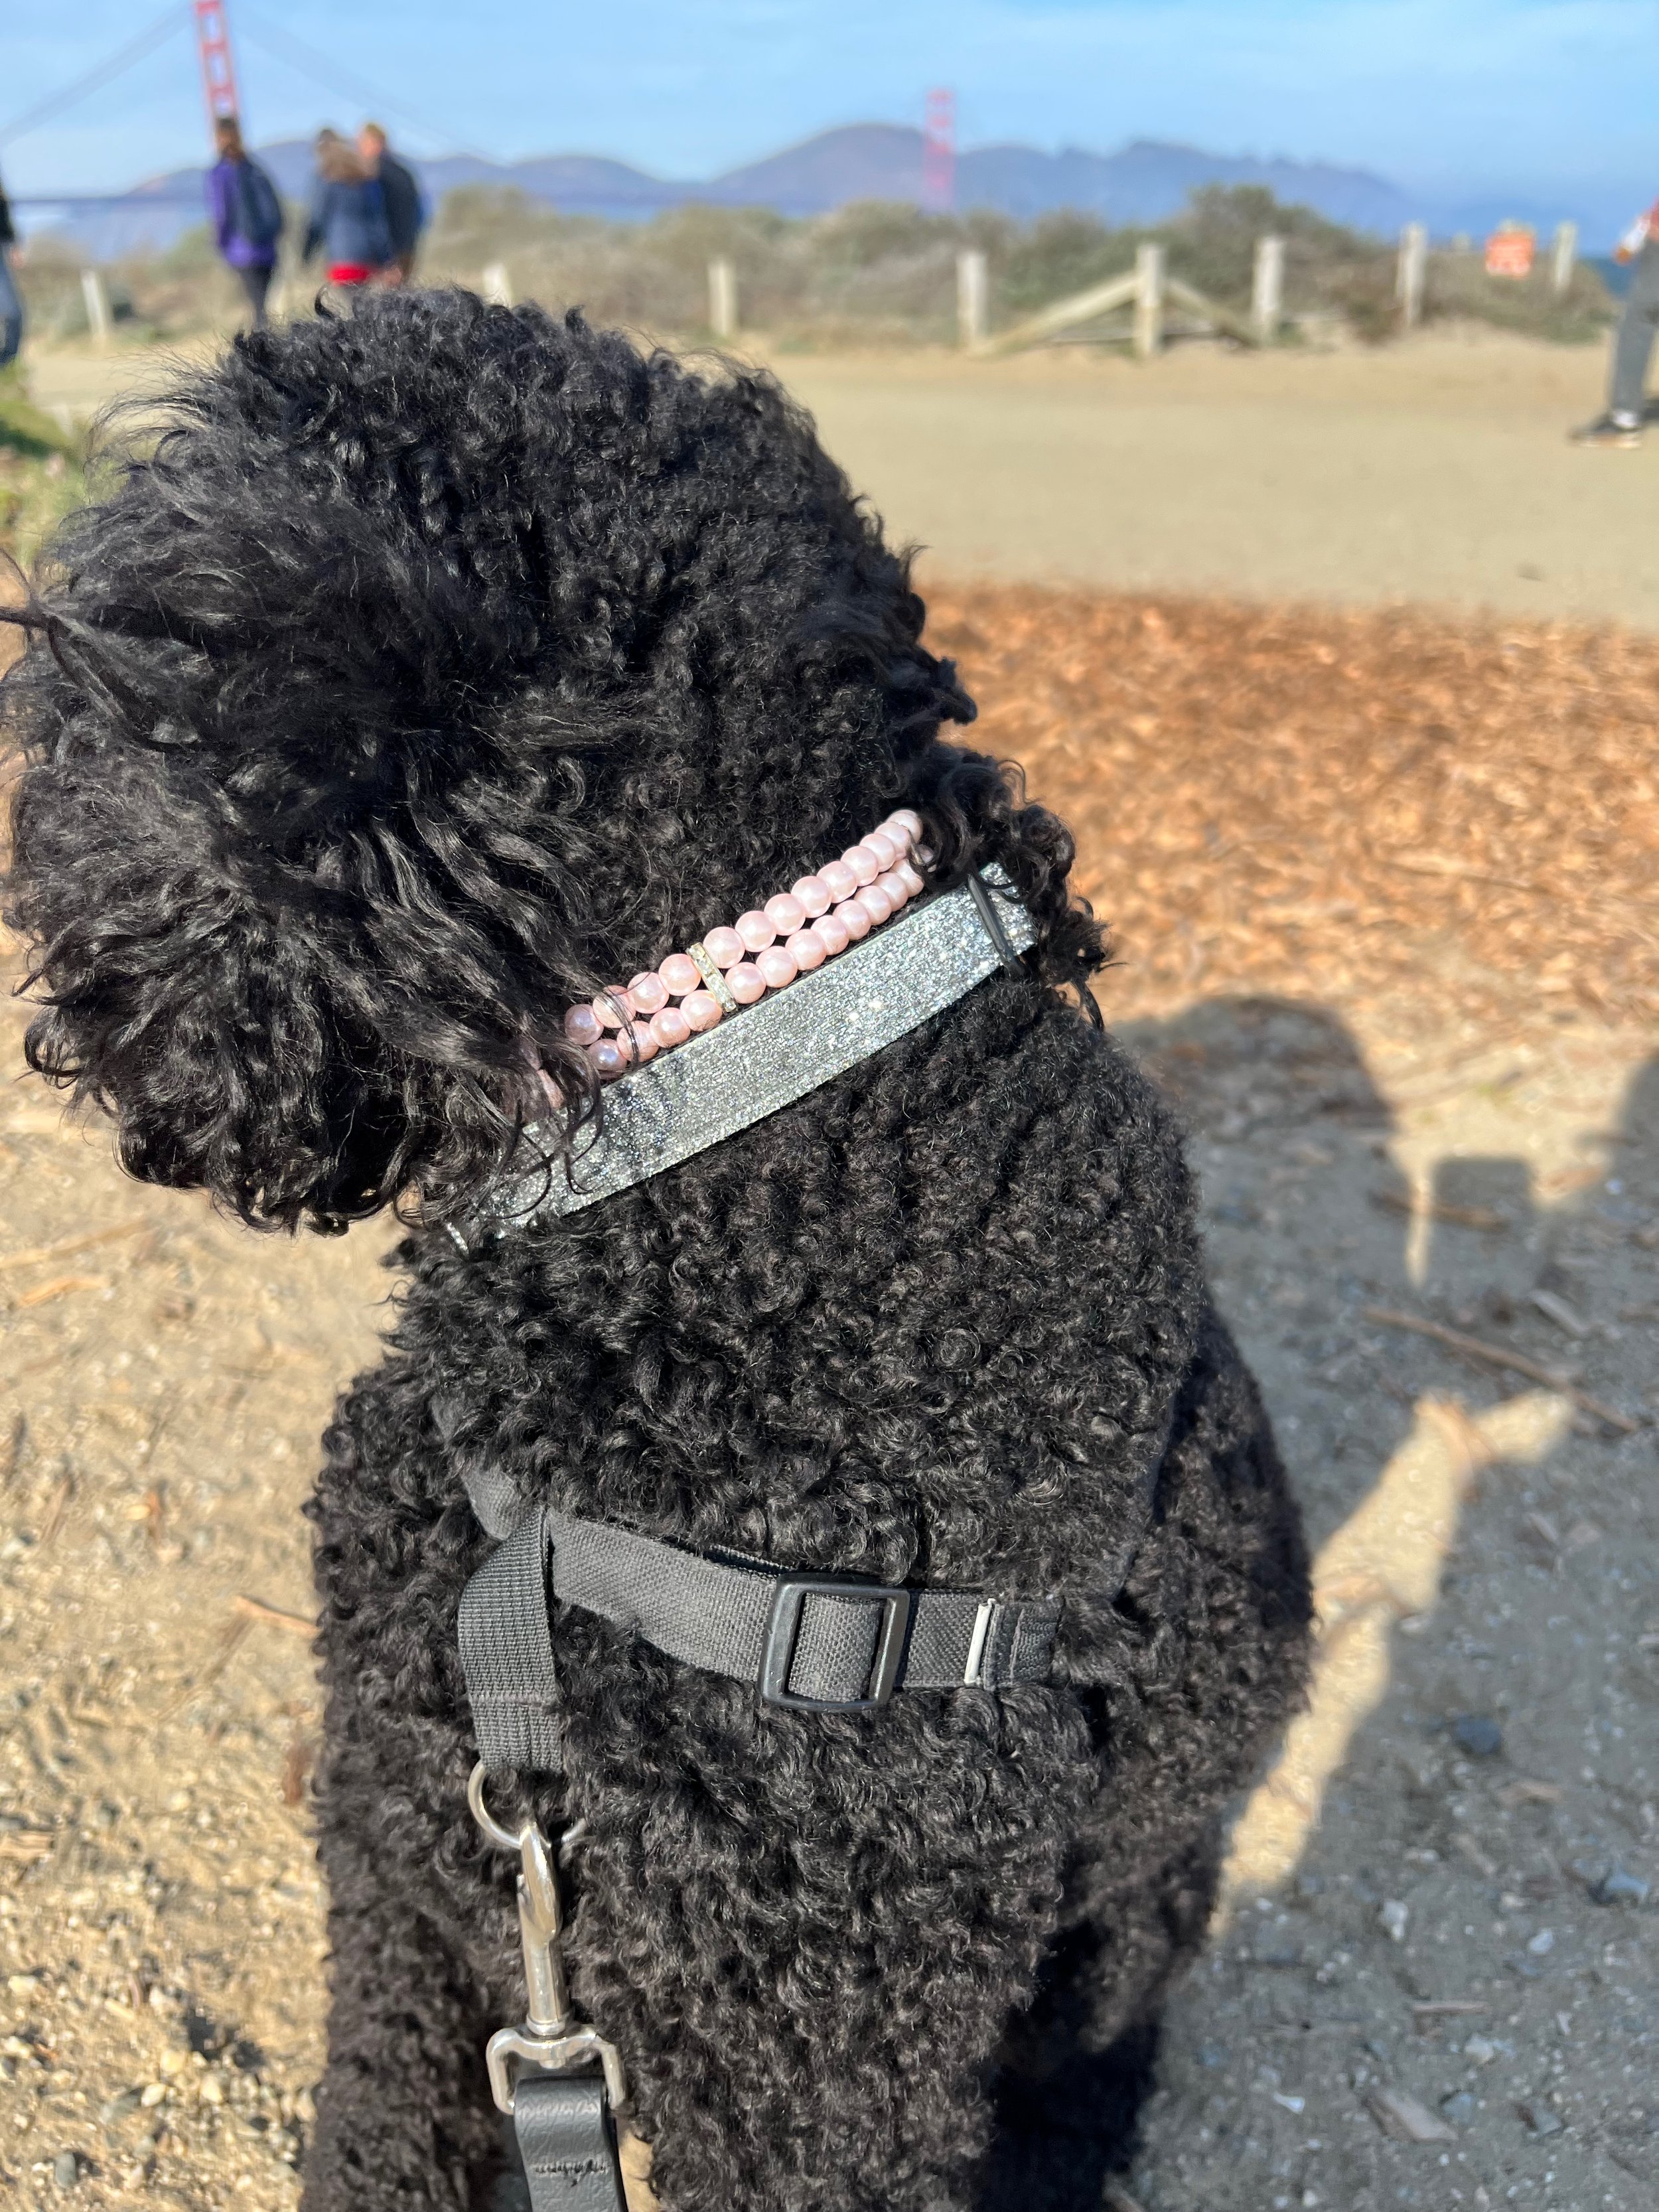
The Complaint Challenge continued through Christmas, which, you’d think would not pose much of a hurdle, right? But the gift Wyatt was most hoping for was a remote-controlled airplaine. And he got it! And we took out out around 11 a.m. Christmas morning, to Crissy Field, with Betty in her new Doggy Parton pink pearls—real family outing style. I took Betty for a walk while Marc and Wyatt got the plane ready to fly, and about 20 minutes later, I looked behind me to see they were chasing after me and trying to get my attention. You see, the first time the plane took off, it really took off. It soared high on the wind, way up into the trees far beyond the buildings along the road to Parts Unknown, never to be seen again.
I’m pretty sure Wyatt was some combination of mad, sad, furious, angry, frustrated, disappointed and pissed-off. But he didn’t complain once! When we got home, Marc ordered the first and last replacement plane, which has not yet been flown because of the rain.
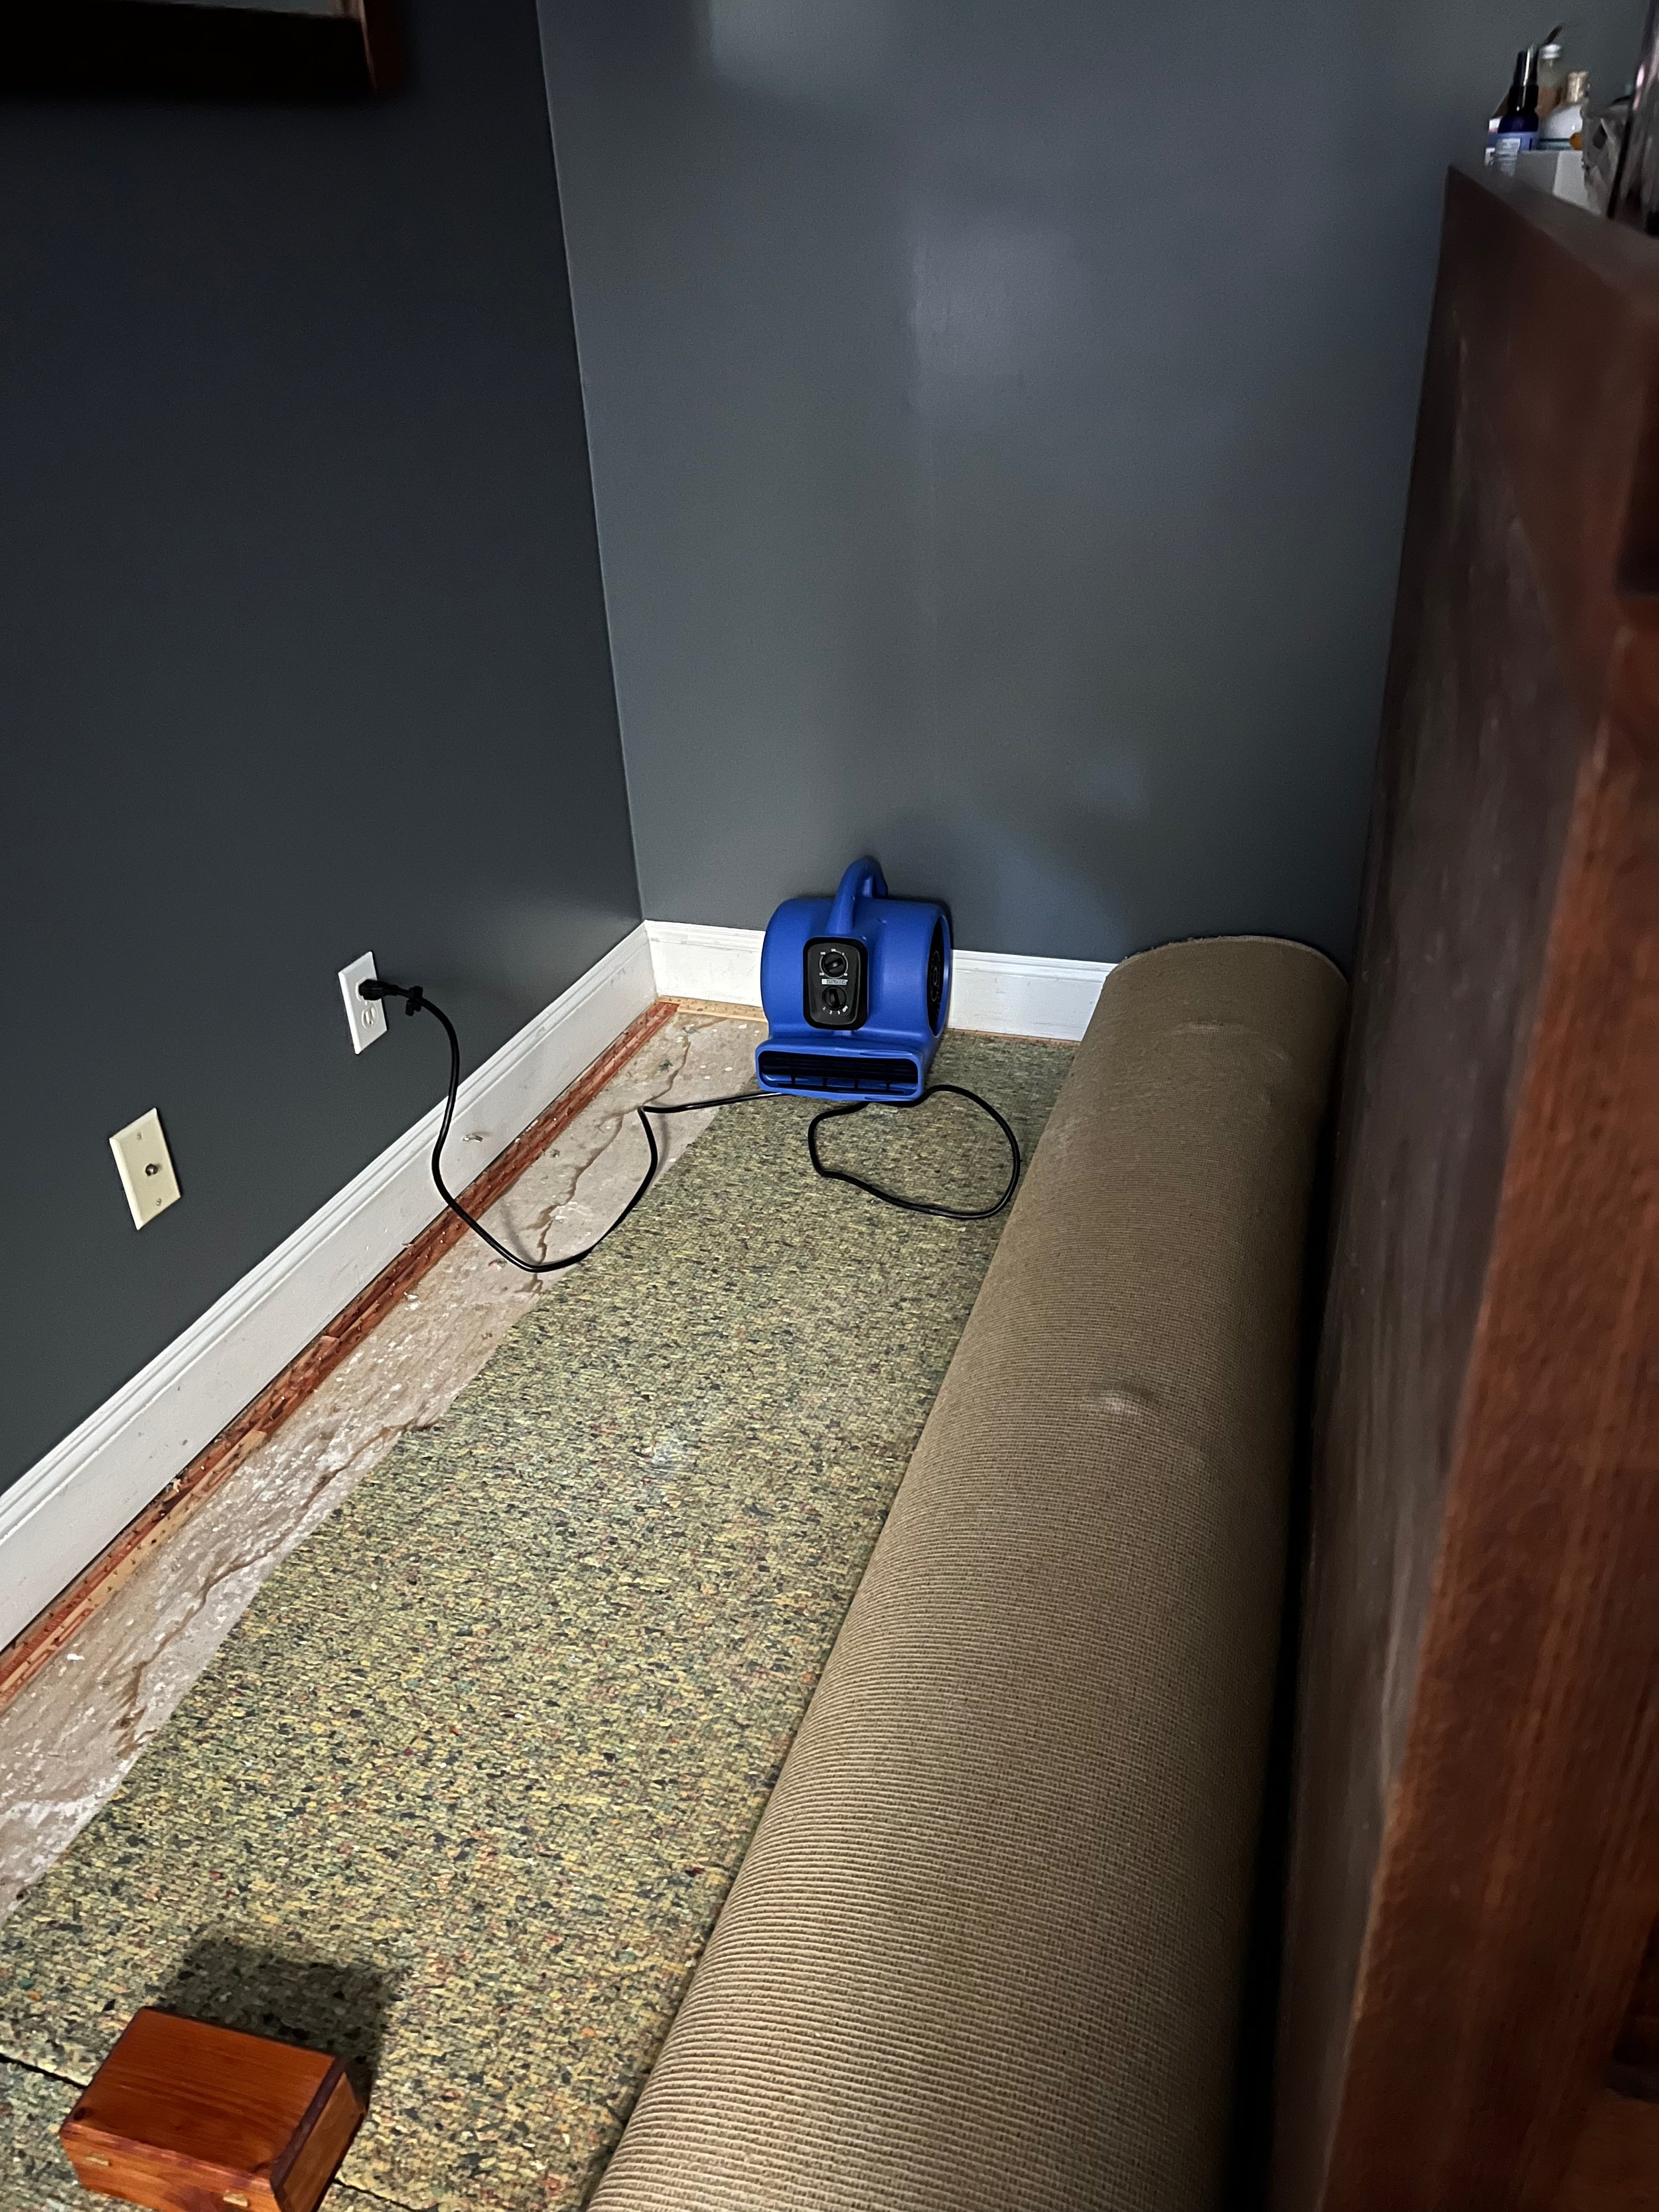
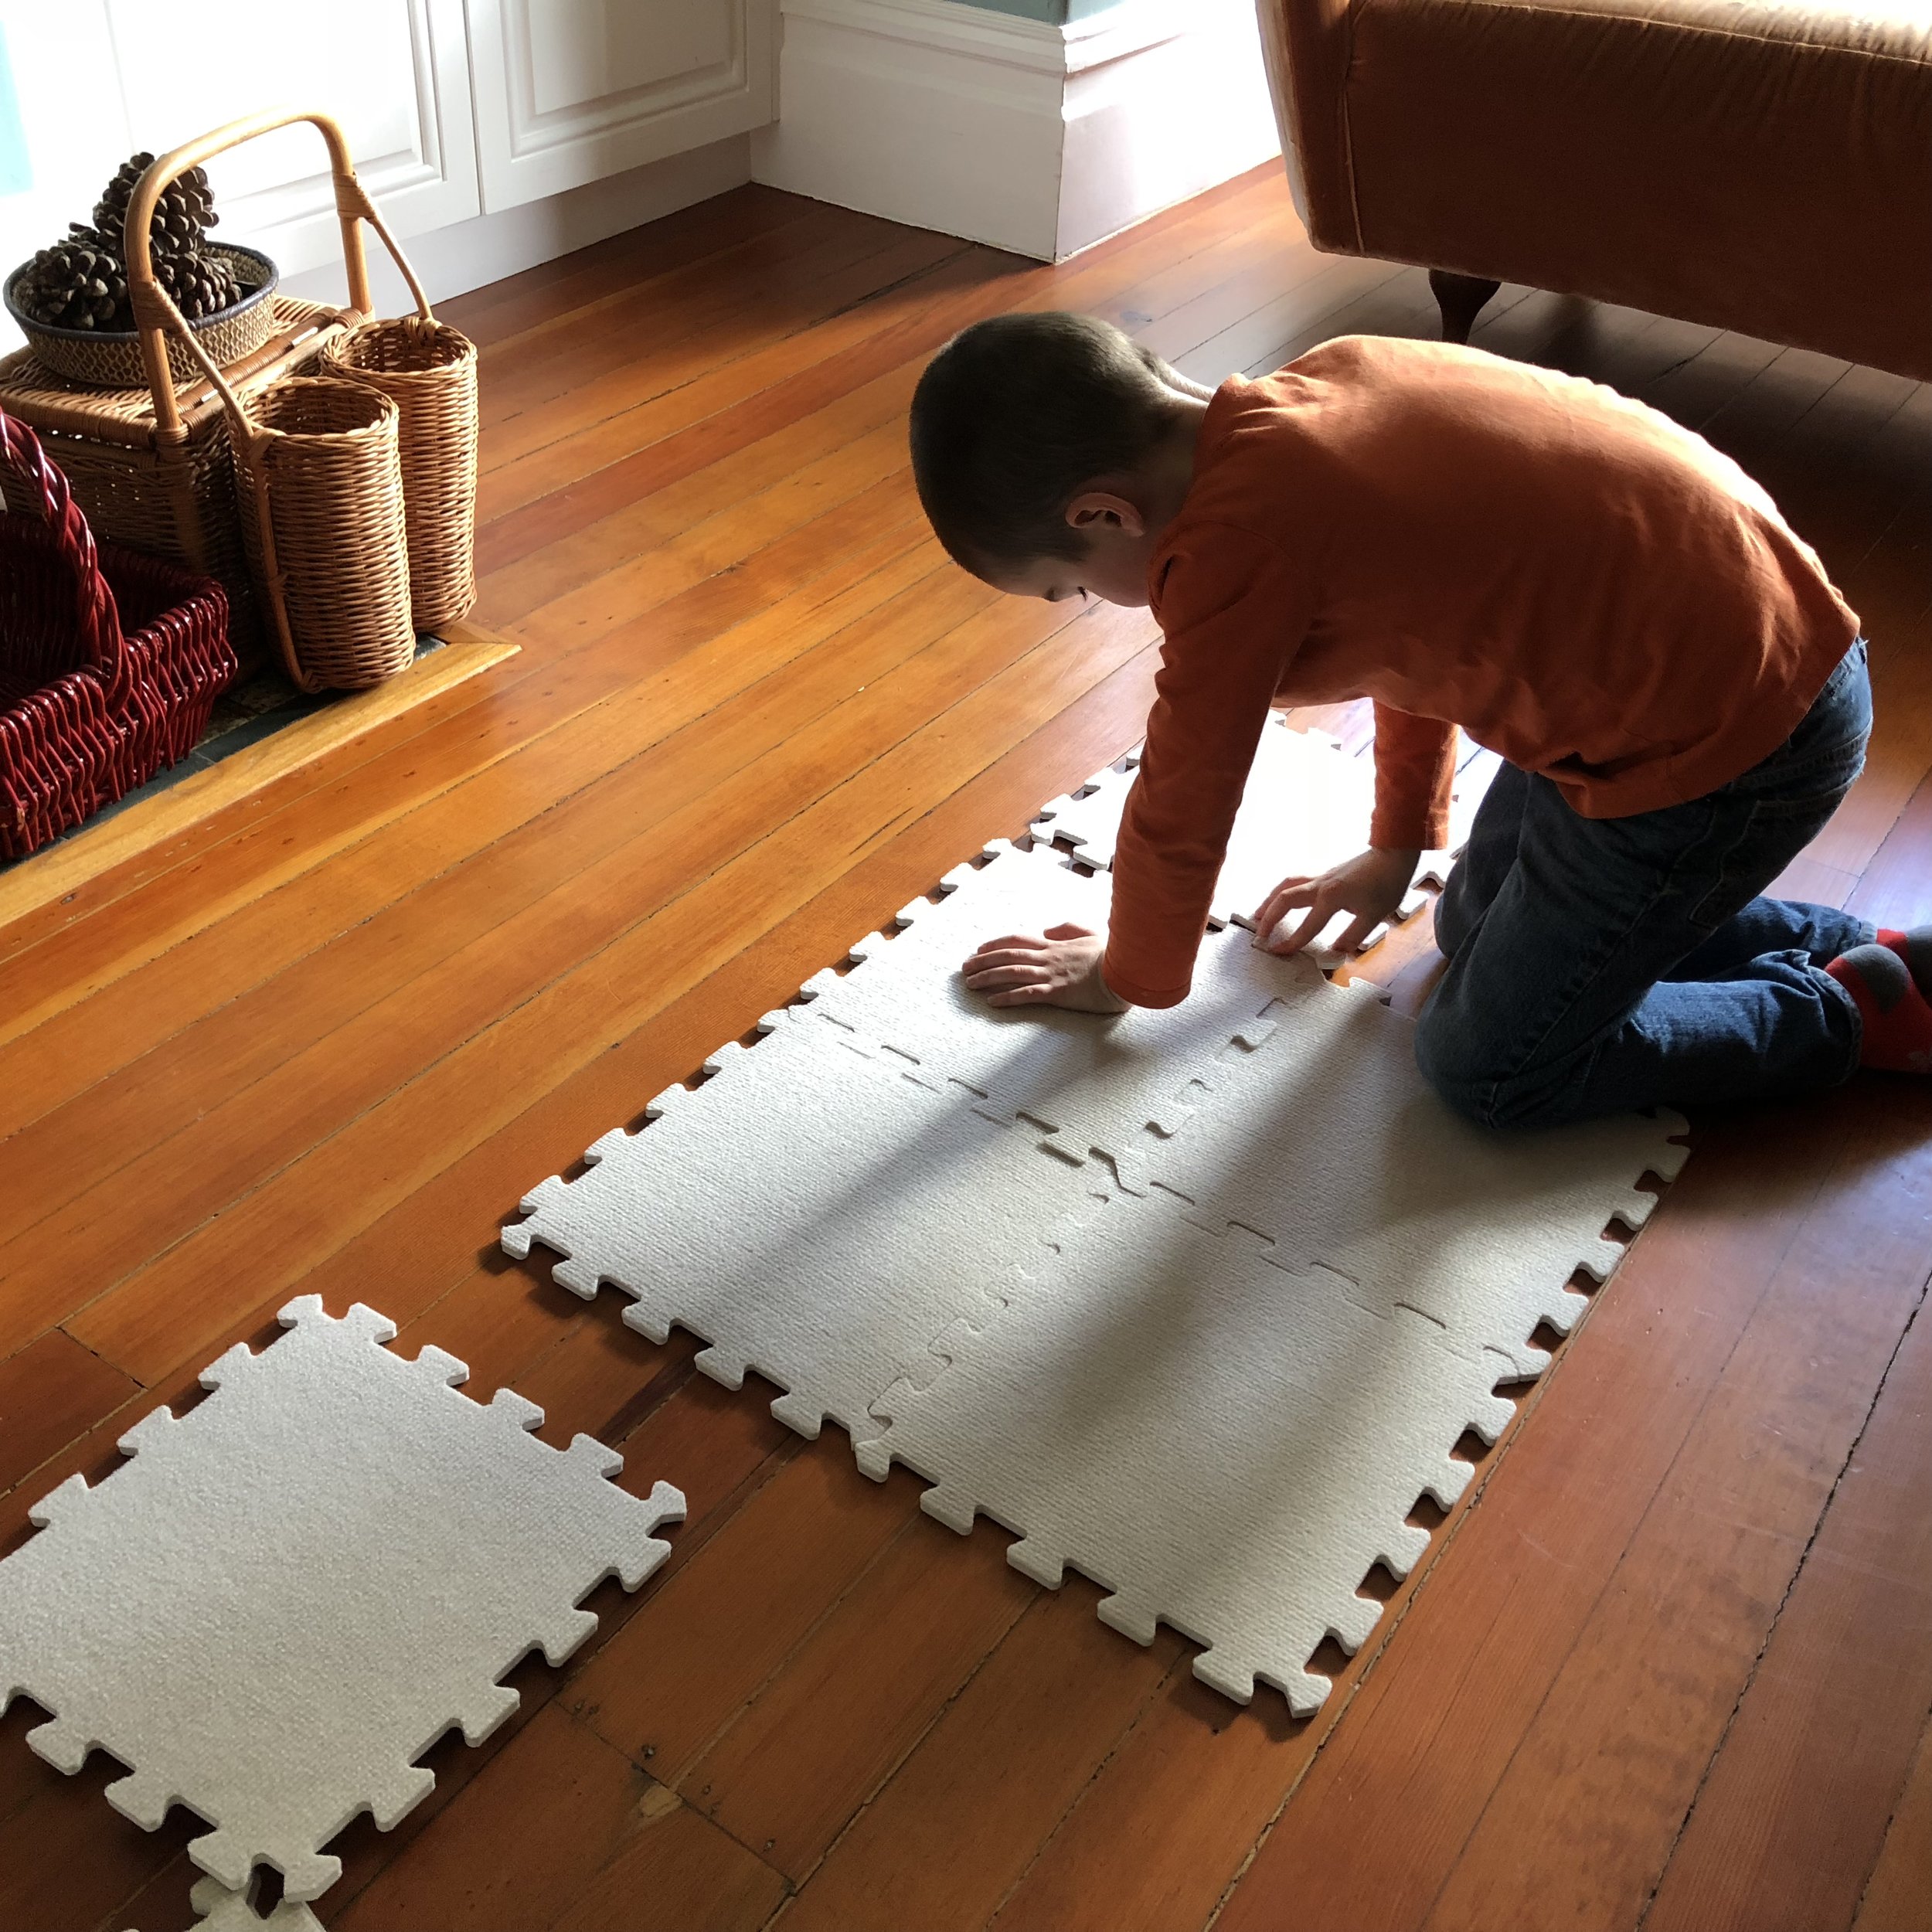
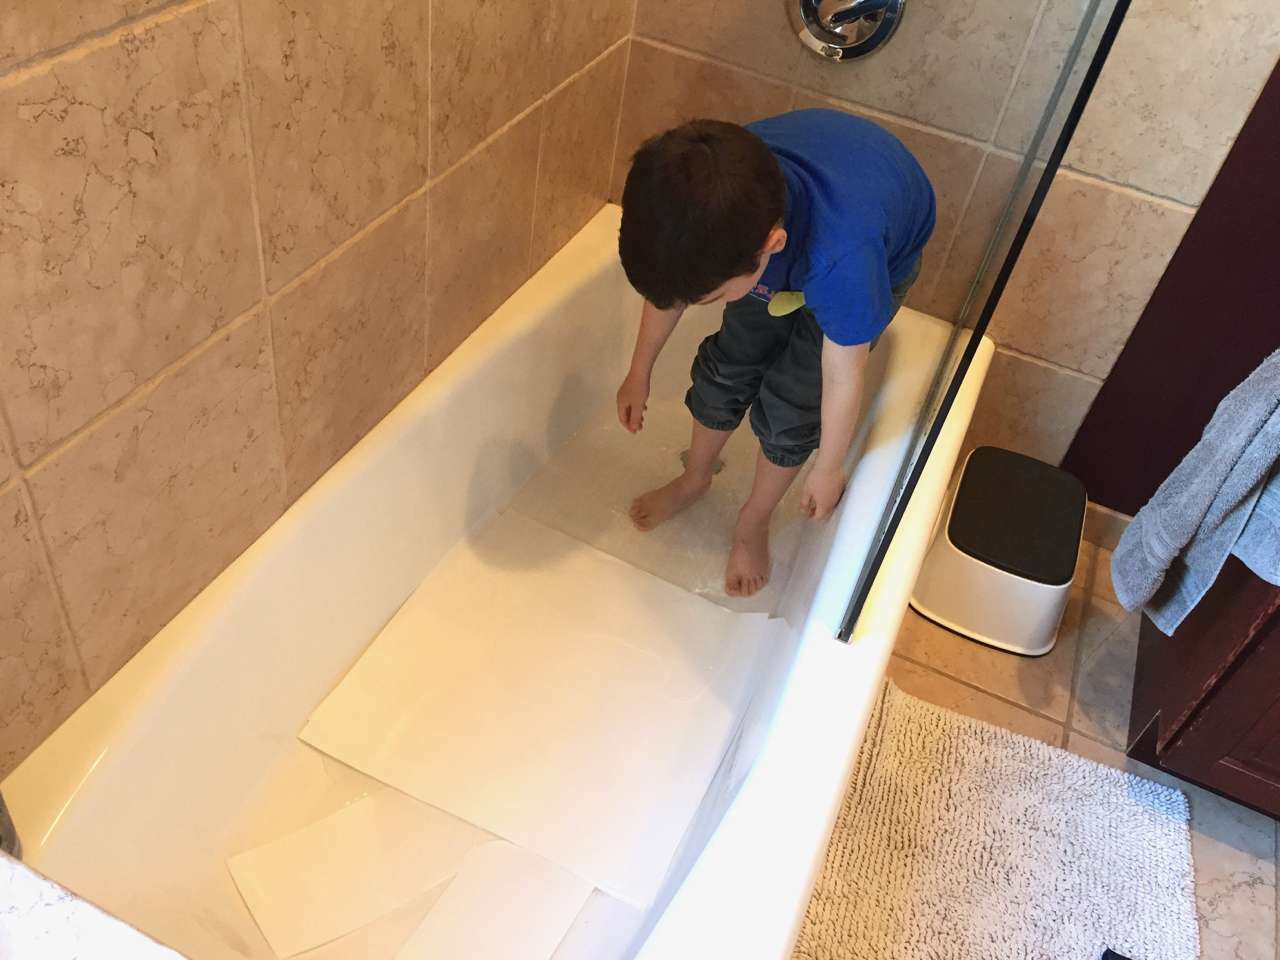
The rain! We have gotten so much rain. Which is great! California really needs rain. But also, the rate at which the rain has been falling is faster than our systems are able to handle. On New Year’s Eve, we had a little flood at ground level. It was a mess that we managed to fully clean up by the end of New Year’s Day thanks to a group effort around finding fans to buy (an hour away), dehumidifiers, towels, and ripping stuff up. The sandbags I filled and put into place that Tuesday, along with the plumber’s confirmation that our drain is good to go, have given me some peace of mind that we will stay dry as the storms continue, and when things calm down, we can get the repairs done.
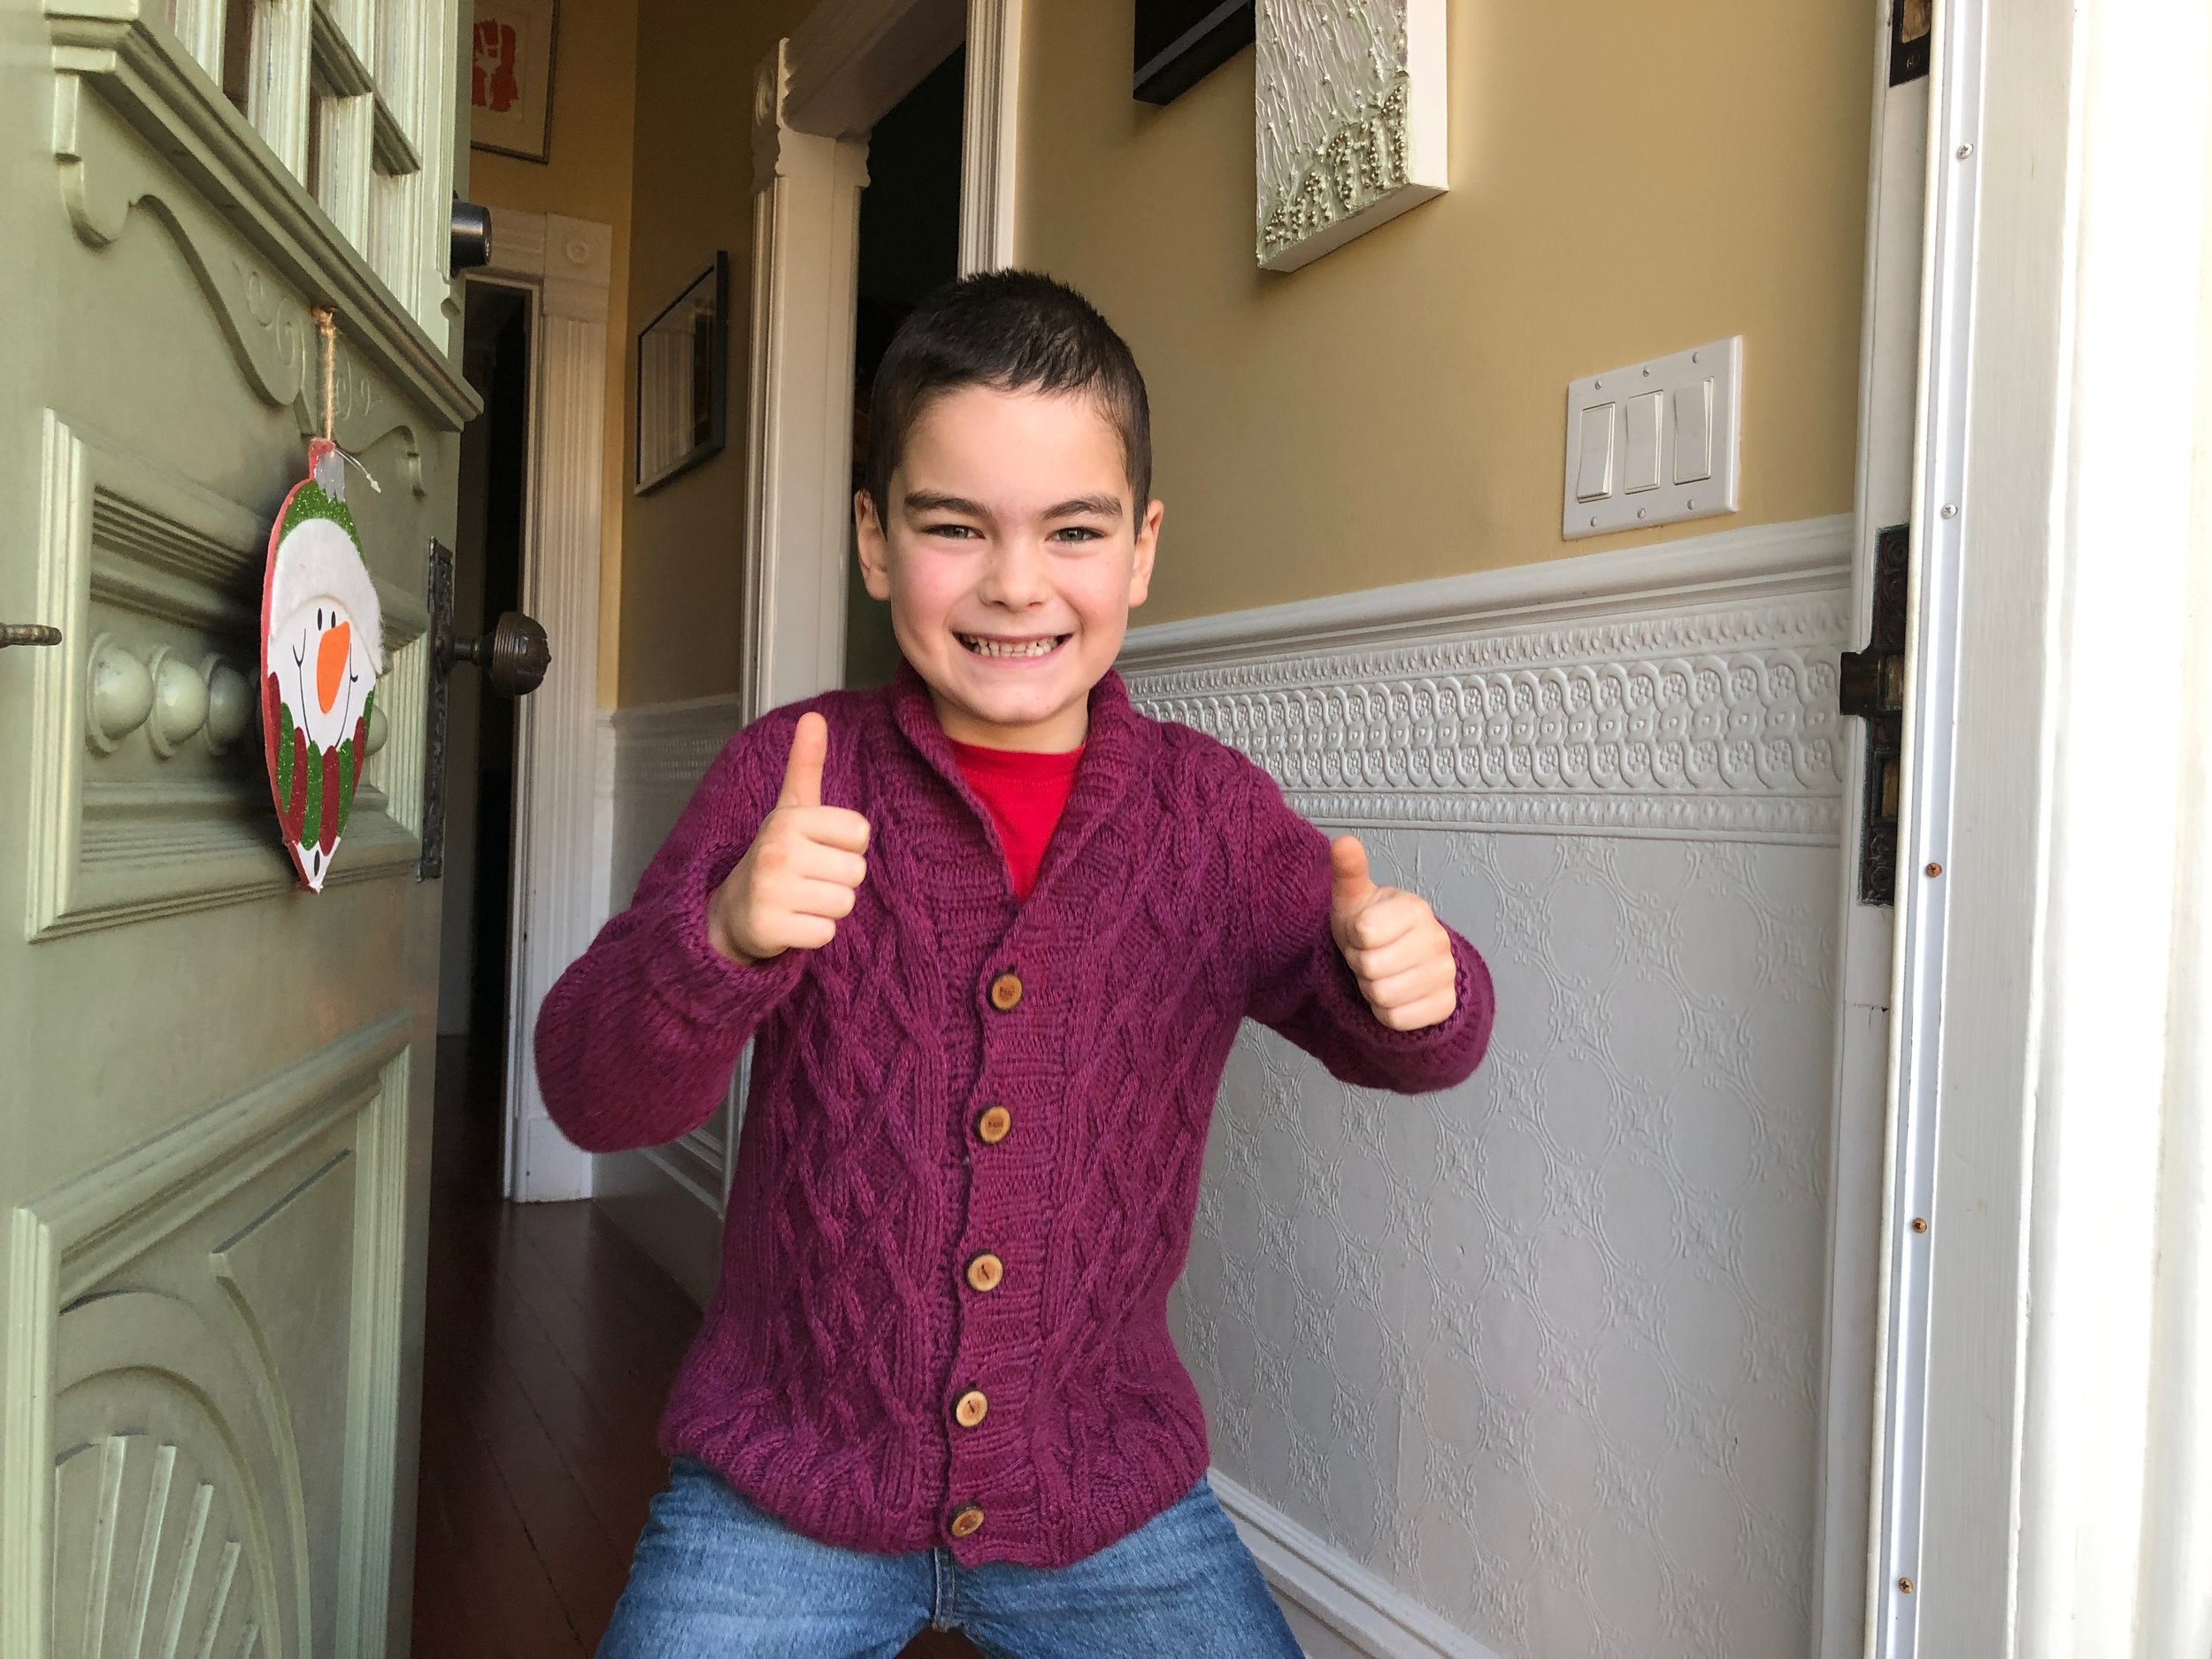
So, who complained? Not one of us. Not one! This is not to say the experience was at all fun, low-stress, totally collaborative, or that no one snapped at anyone. But there were no complaints.
When we set up this challenge, we did not put in a contingency for a tie. And that’s what we ended up with. Each of us used 2 of our 3 lives, so we were even. As a result, everyone kept their money.
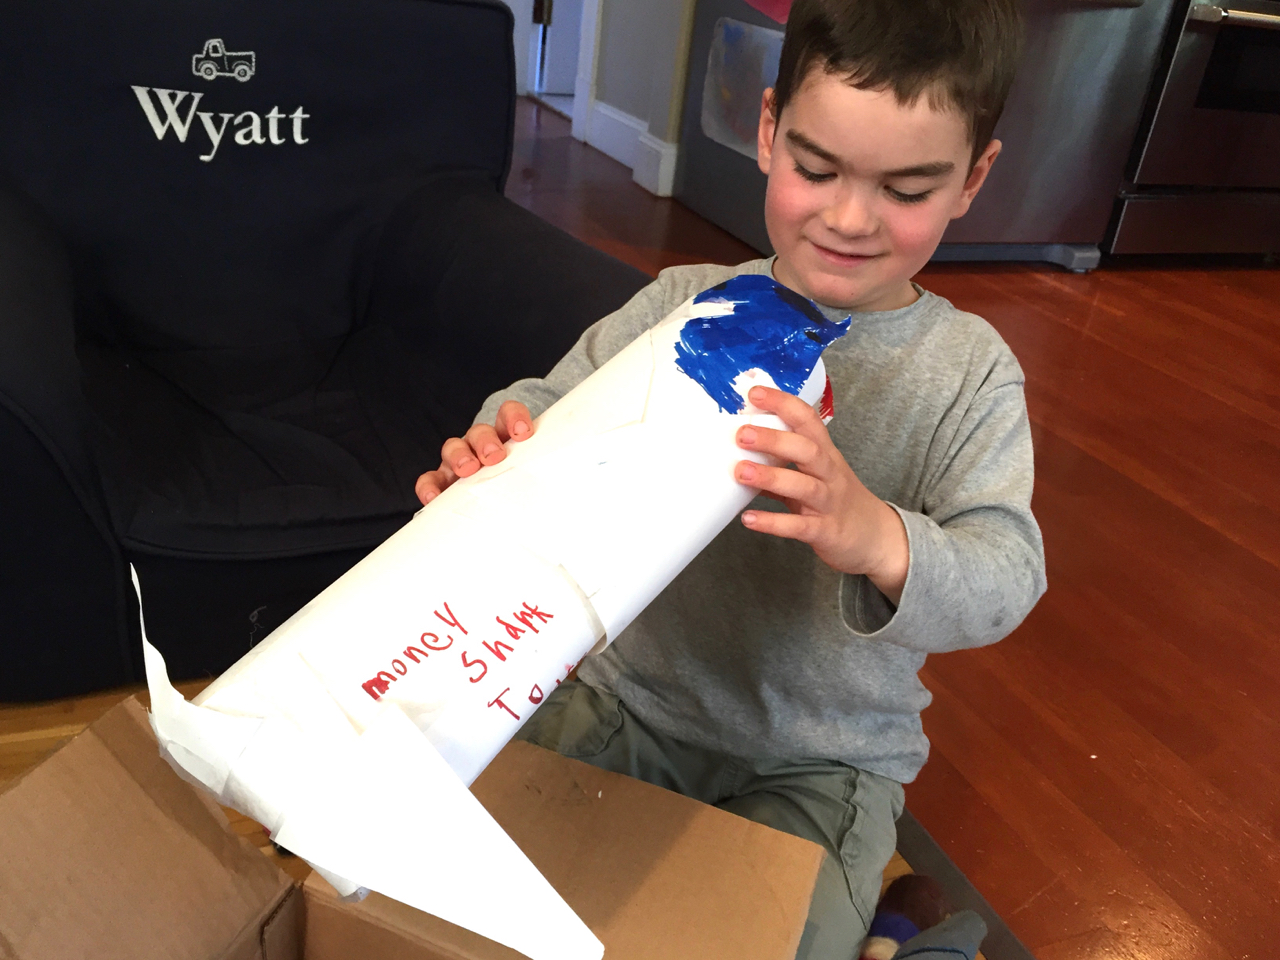
Wyatt proposed that for the coming year, we keep 2 jars. In one jar, every time Marc or I complain, we put in a dollar and Wyatt will get that jar. In the other jar, every time Wyatt complains, he puts in a dollar, and Marc and I get that jar. We asked why not a family jar where we do something fun (like go out for dinner or something) with the money, and Wyatt had strong objections: “That makes no sense. You LIKE going out to dinner. So you’ll just complain more so there’s more money to do that. It’s the same as the 'swear jar’ some people do which has never made sense to me …”
So far, I owe Wyatt a dollar.