Reach Out and Learn
Yesterday, I read a thoughtful blog post by Gaye Glasspie, one of the knitters whose Instagram posts I really love. Among other things, she wrote, "I never ever thought I would live in the world we are in right now. I never thought I would be in a space where folks looked at me and didn’t notice my smile FIRST. I never thought I would have to be afraid simply because I am different. That was then right? I mean it’s history and times are better right? I will simply say this…I wish I could wrap the world in yarn but I can’t, so keep everyone safe." This post came after a terribly violent week. I've seen videos of police officers killing more black men (Alton Sterling and Philando Castile), and videos of the shooting in Dallas following a peaceful protest over recent police shootings. I've read and listened to commentary about these events, too, and all my reading and listening has led me to sign-up with local racial justice organizations. (I know, what took me so long?) In short, Black Lives Matter.
Gaye Glasspie opened her blog post with a wish that the world be more like a yarn store, where "ALL yarn is welcome. All colors, all sizes, all material and name brands in the same place at the same time and no drama." If only, right? How do we even begin to get close to that "yarn store" (or choose your own utopian) ideal?
I think one way is by reaching out and learning from each other.
I learned to knit when I was in high school. I had returned from a summer exchange program in Norway where it seemed like everyone—men, women, old, young, and even teenagers—were knitters. I wanted to learn, too. Lucky for me, my mom set me up with Mrs. Shey, my sister's former piano teacher, who is also a skilled knitter. Mrs. Shey (who is originally from Beijing) sat next to me for hours on her sofa while she coached me through the basics of knitting, corrected my mistakes, and helped me go shopping for patterns and yarn.

After high school, I didn't knit for years, but for whatever reason, I never parted with the late 1980s royal blue yarn that I bought with Mrs. Shey (and never finished turning into a cardigan).
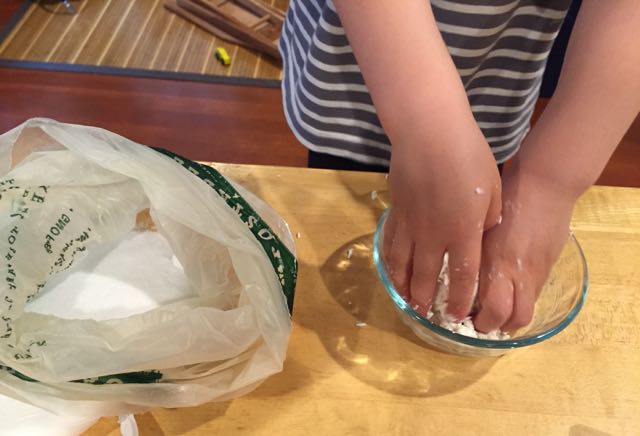
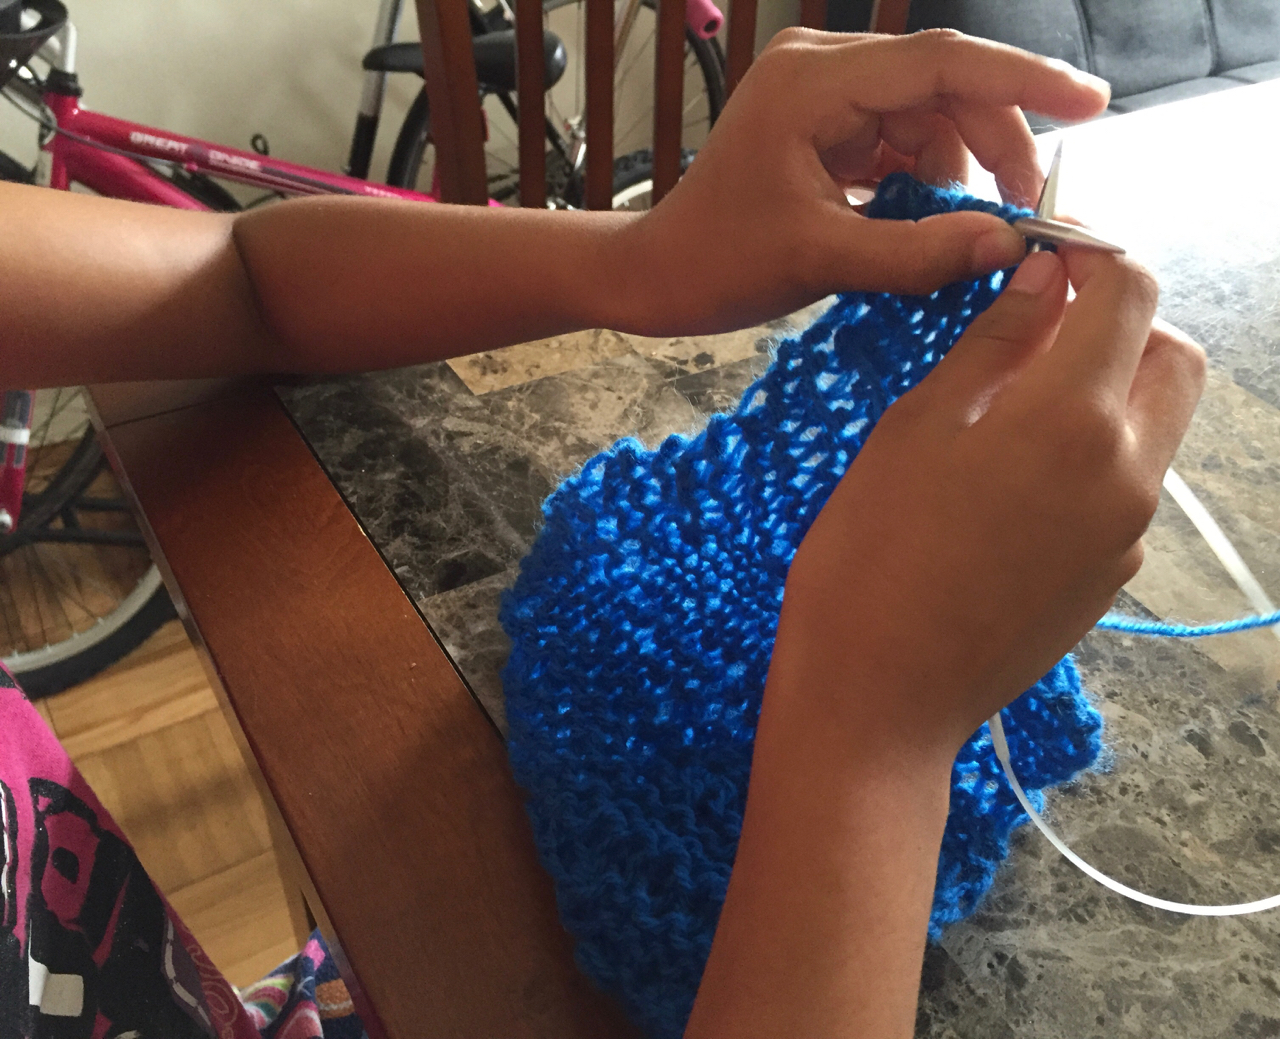
The unused, and now vintage, balls of yarn got some new life this week, though, when I taught my friend, Amy, and her daughter, Alicia, how to knit.
Amy and I met at the swimming pool where Wyatt takes lessons and Amy's son, Sean, has physical therapy sessions. Wyatt and Sean are the same age, and they think the same things are uproariously funny. More than that, Wyatt and Sean are in the pool at the same time so I get to talk to Amy for an uninterrupted thirty minutes every week. We talk about mom stuff: everything from wacky recipes we have tried, to disability services, to racism.
Since it's now summer, Sean's older sister, Alicia, also gets to hang out on the pool benches while Sean swims. She'd rather be in the pool, naturally. But two weeks ago, I started talking about knitting, and before I knew it, I had offered to teach Amy and Alicia how to knit. Their excitement and enthusiasm at the idea made me smile for the rest of the week.
I brought knitting needles and balls of the blue yarn with me to the next swimming session, and by the end of our thirty minutes, they were off to a great start. I advised that for the rest of the week, they should just keep knitting, even as they noticed mistakes. Within a couple of days, Amy texted me that they had used up their yarn, and they wanted to take the work off the needles. I stopped by their house to deliver more (blue) yarn, teach them how to cast-off, and to help them cast-on another practice project.
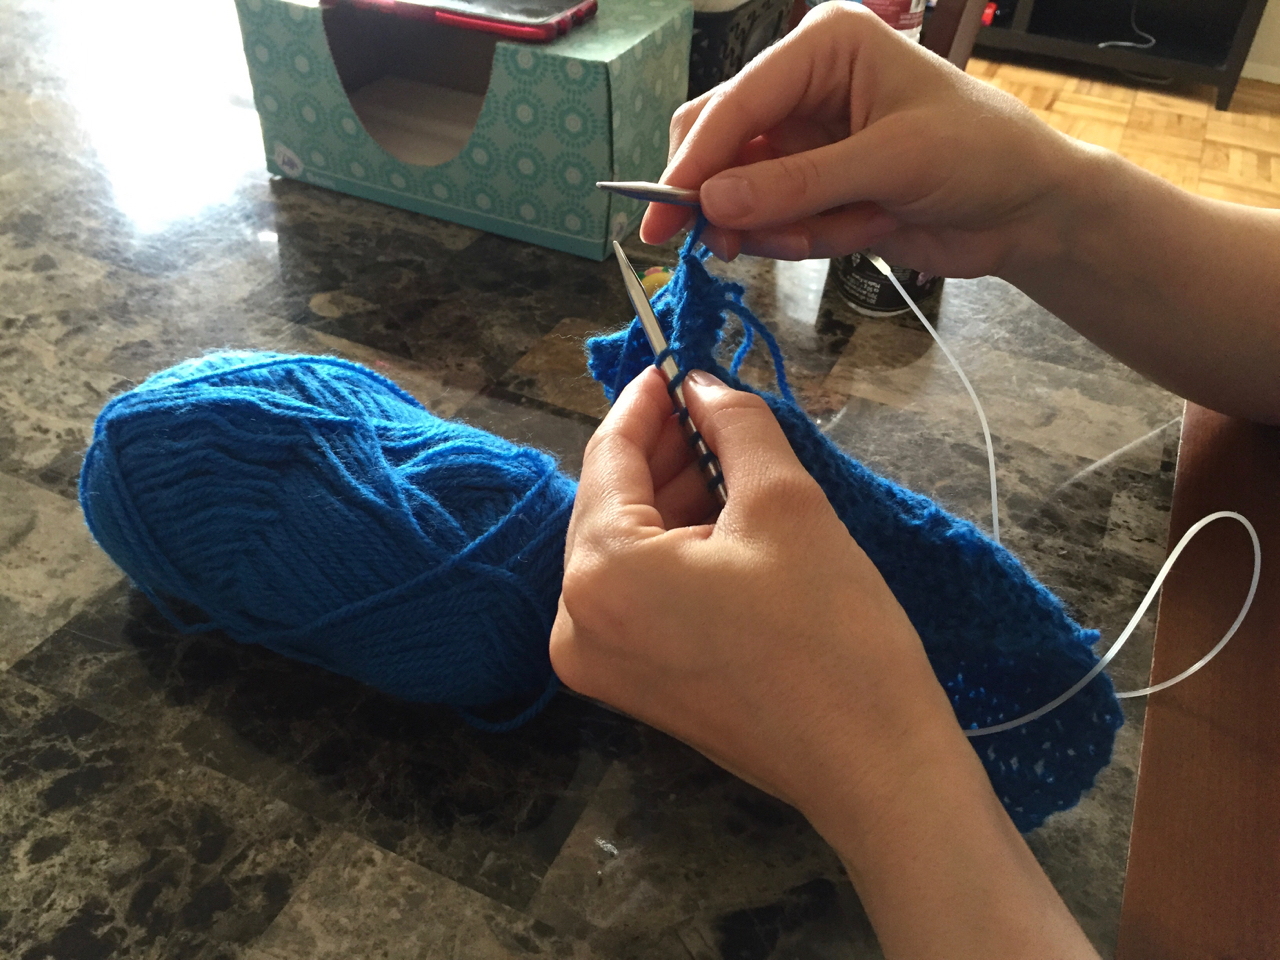
I really can't wait to see their progress, bask in their enthusiasm, and teach them more this week. Of course they're not the only ones learning. I'm learning different ways to look at slip-knots and stitches, that I don't have to be an expert at everything before I can teach something, and that if I pay attention and listen carefully, we all get better results.
Who doesn't love a good life lesson or two delivered through craft?