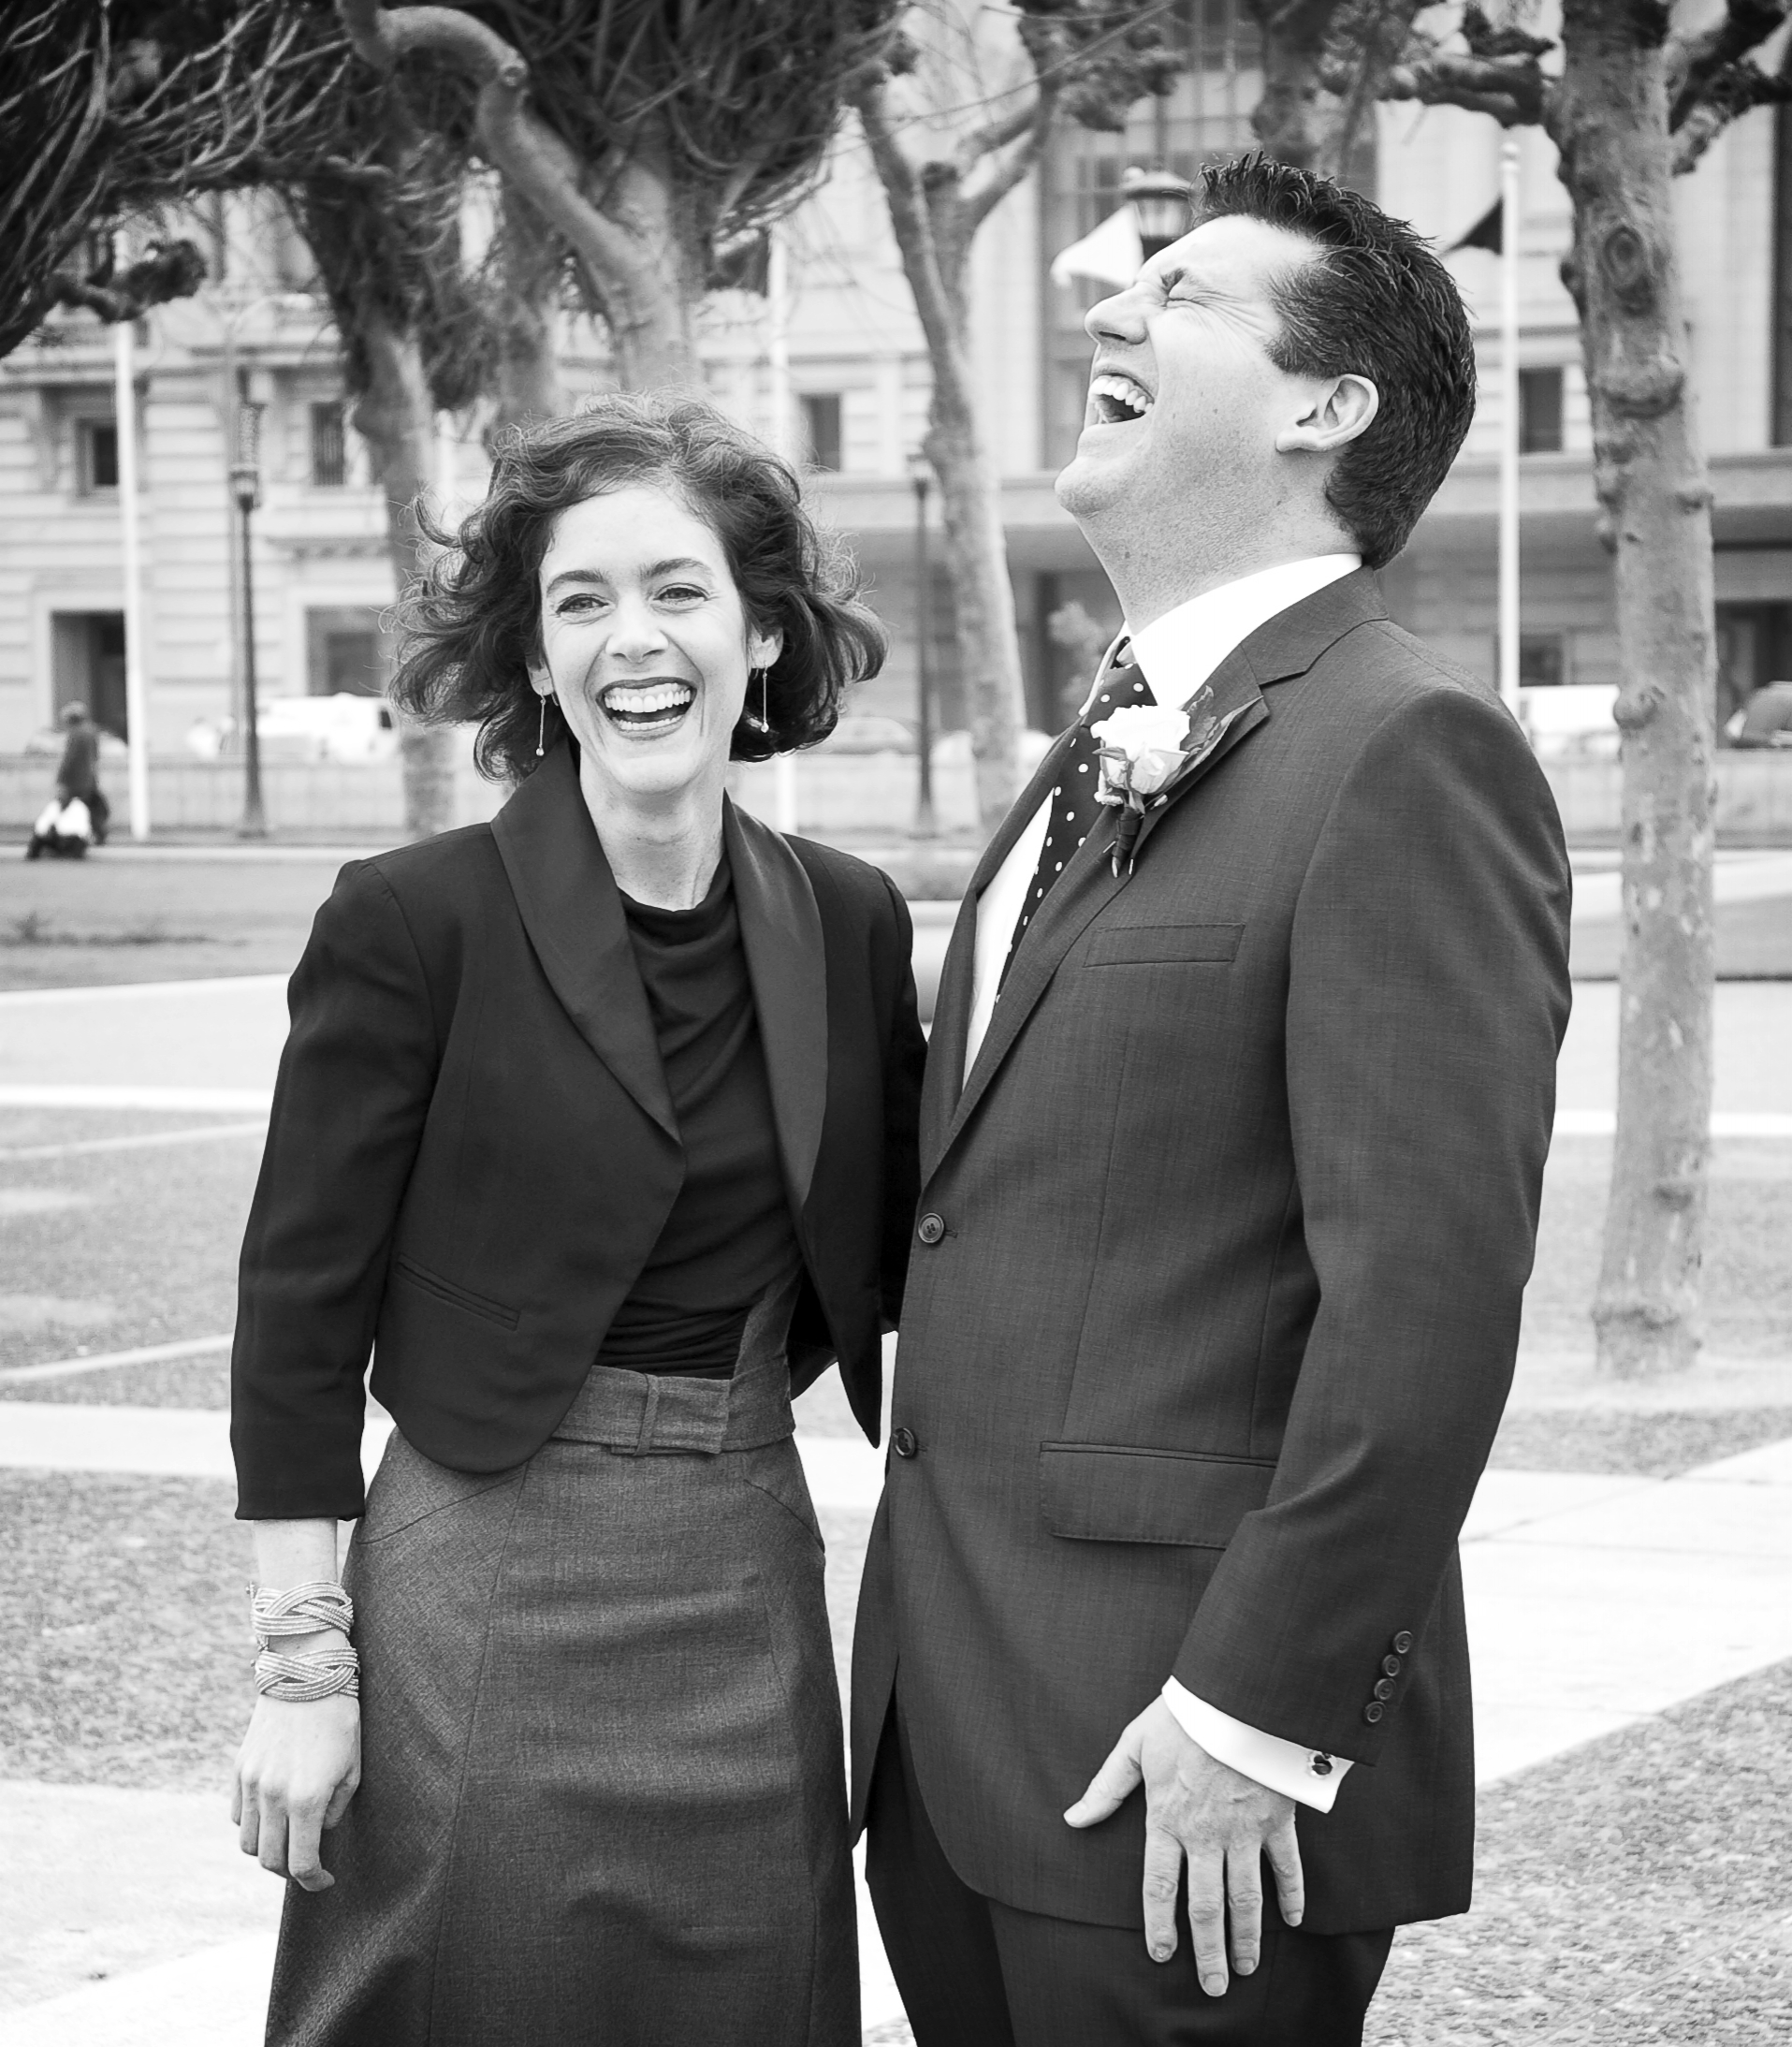
Twelve and Seven
This was us seven years ago at City Hall, on the fifth anniversary of our first date. It was the day we got married! It was such a good day, as you can see on our faces.
(Also, notice the stick sculptures in the trees above our bright, shining, rested, smooth faces? That's a glimpse of an art installation made of willow branches, called "The Upper Crust," by Patrick Dougherty.)
The last seven years have brought a lot of change, most of it thanks to becoming a family of three. Our current life bears no reasonable resemblance to our carefree existence of seven to twelve years ago. I mean, there was actually a time when we were decent resources for on-a-whim travel, amazing restaurants, and movie recommendations because we traveled lots of places (sometimes on a whim!), ate at terrific new restaurants regularly, and saw lots of movies whenever we pleased.
Now? You'd need a macro lens to see what we've been up to, other than bringing up a child. If I let you zoom-in, you'd notice, in addition to some new fine lines, lots of challenging, internal work we've done separately and together. You'd also see how we've shared some amazing, terrible, and solidly in-between times along the way. You'd be impressed at what we've learned, shocked at what we haven't, and unable to stop laughing at how we continue to step in it. I'm grateful every single day to have a partner who loves me to distraction. And being in a relationship that demands, in the best ways possible, that we each support the other person's growth? You can't beat it.

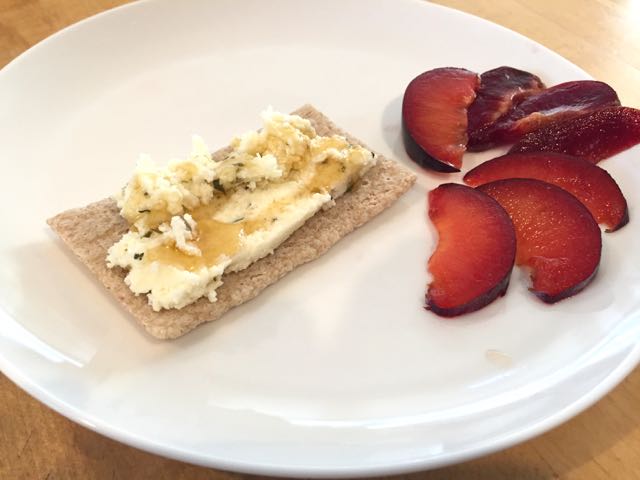
The traditional gift for the seventh year of marriage is wool. And if I had bothered to learn that fact sooner than the night before our anniversary, I could have done something really terrific with that knowledge. Instead, I kicked myself and proceeded to look at dessert recipes. I made chocolate pie, and we happily shared it with friends who unexpectedly dropped by around dinner time. I used this recipe, along with the gluten-free frozen pie crust from Whole Foods. And if you don't have pie crust? It's great just as pudding. Breakfast pudding even. Don't ask how I know.
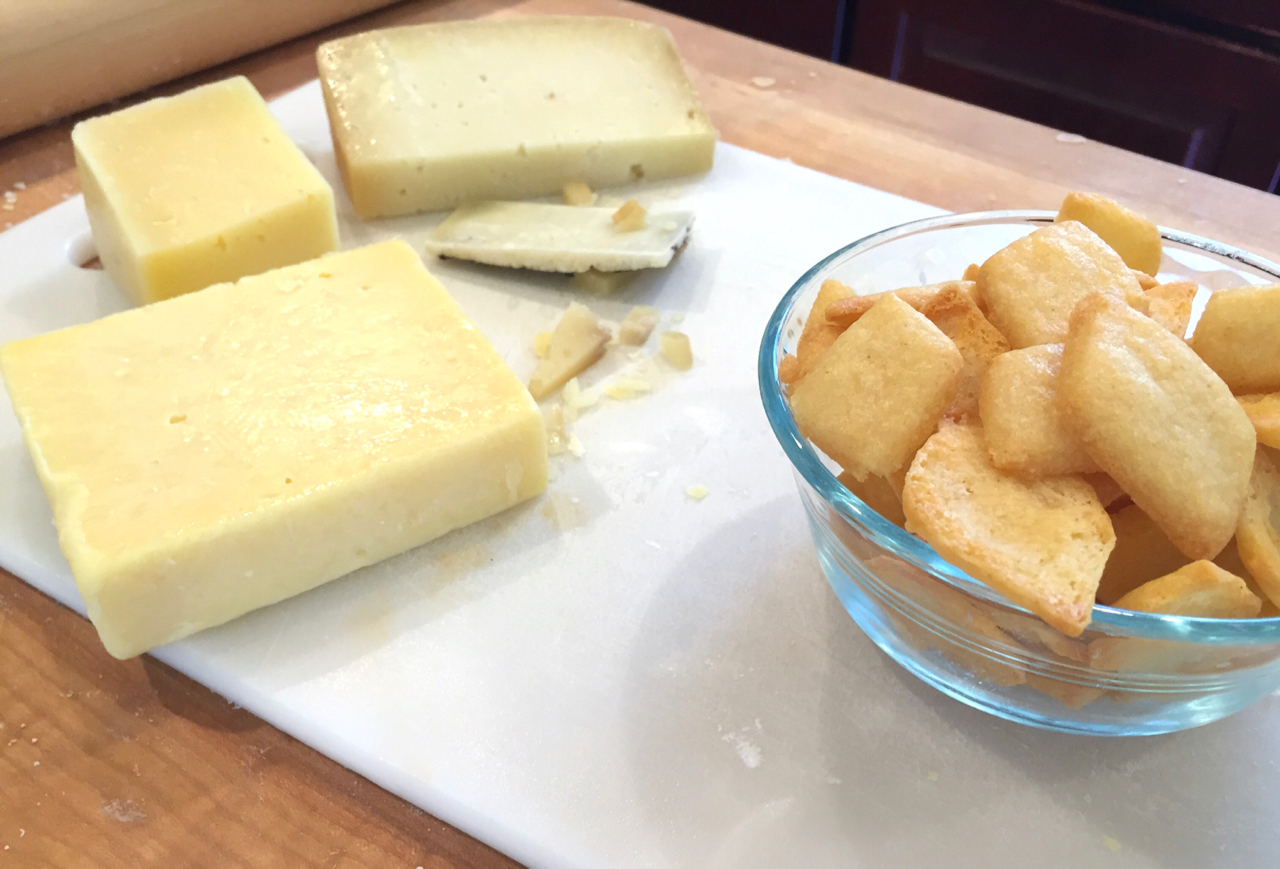
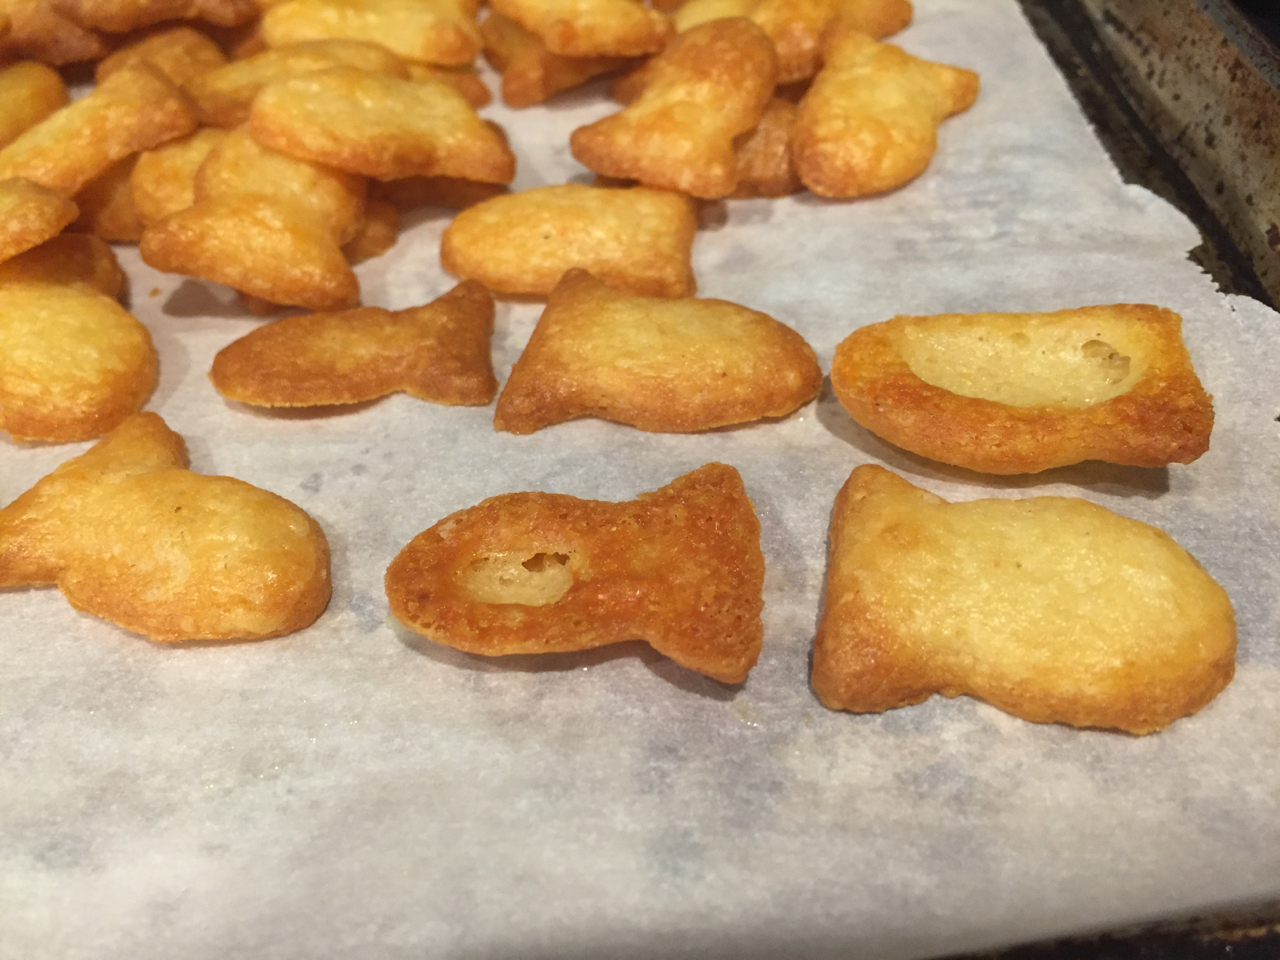
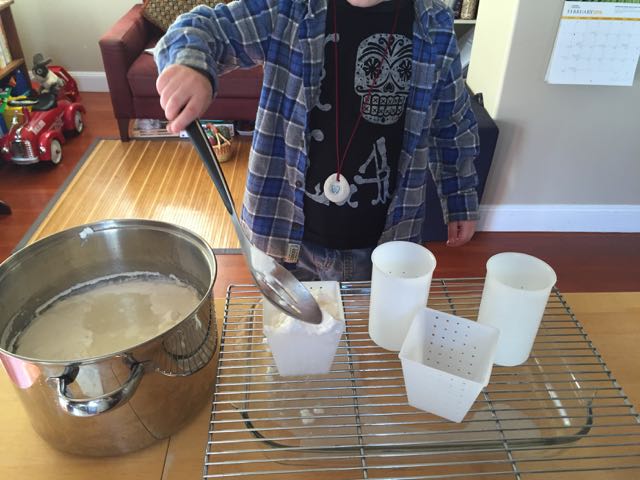
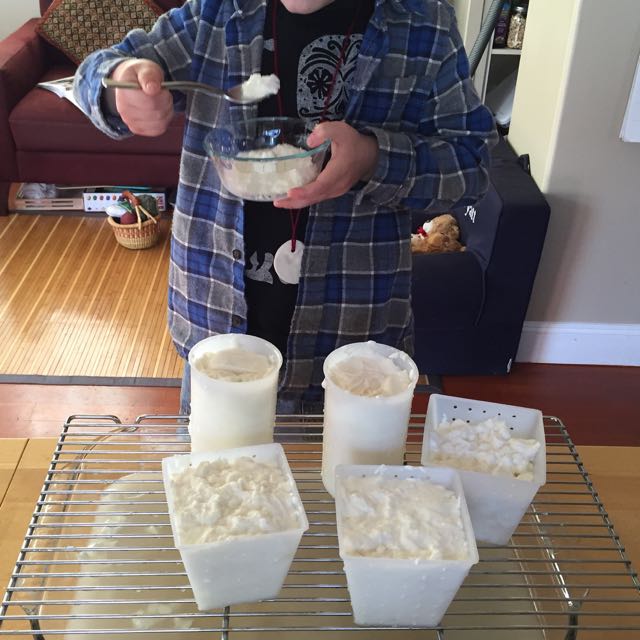
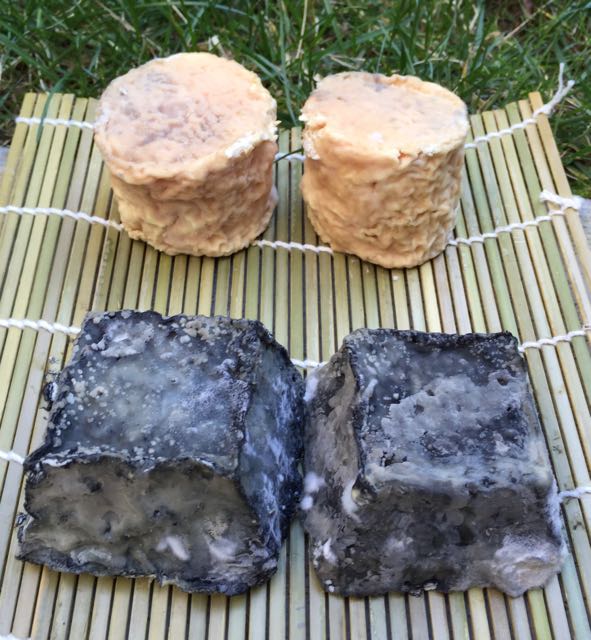
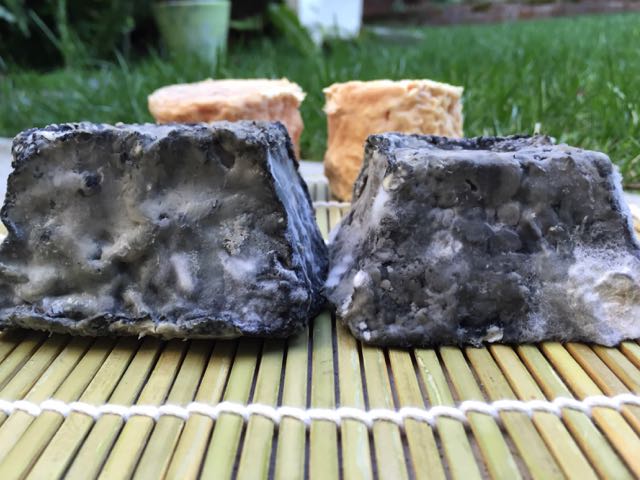
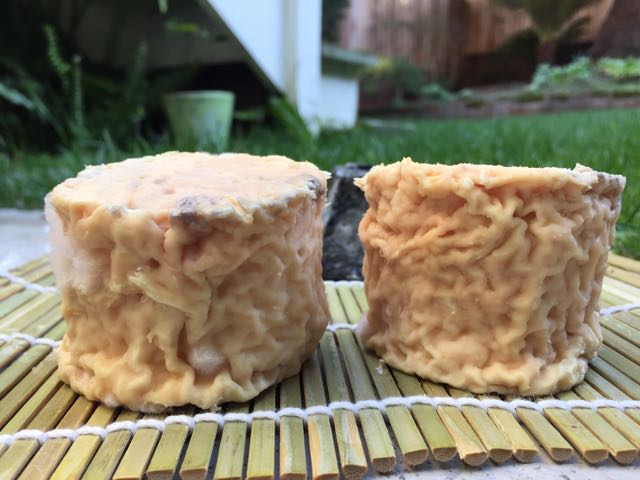
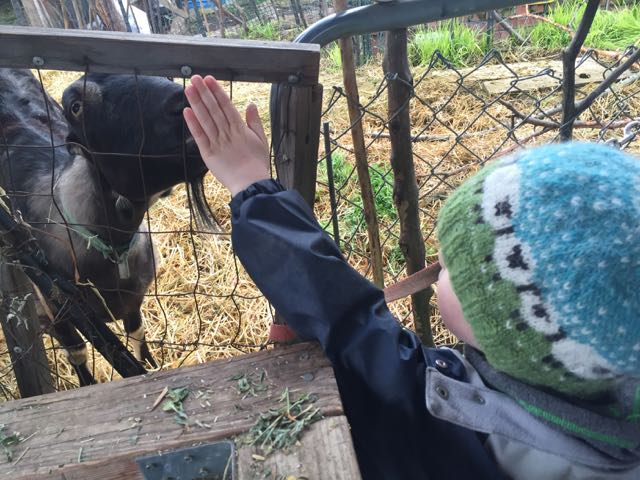
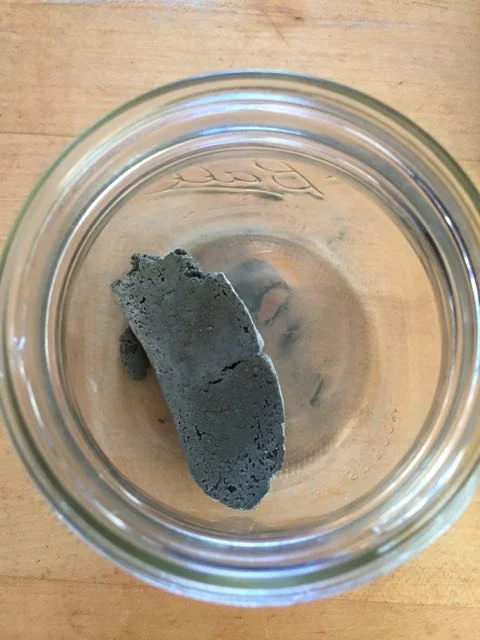
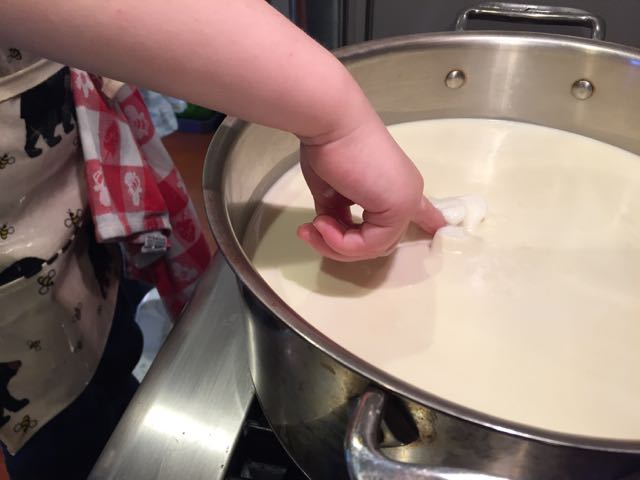
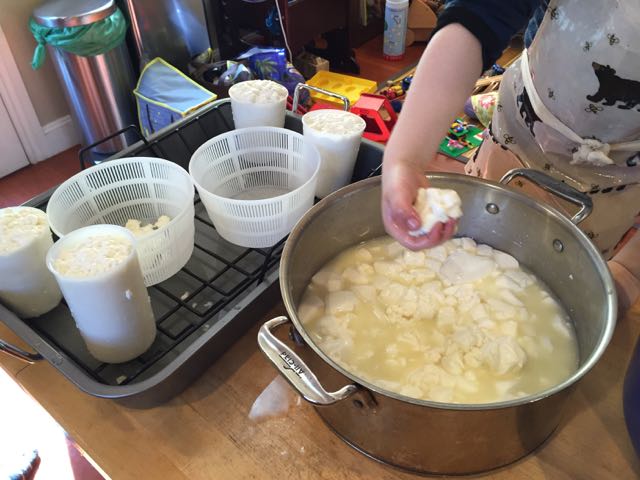
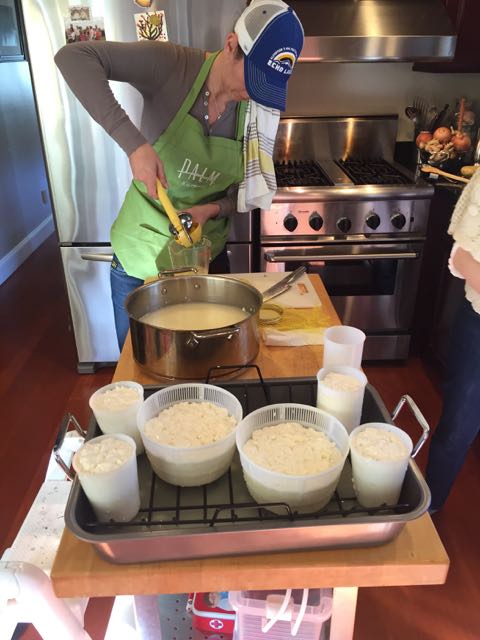
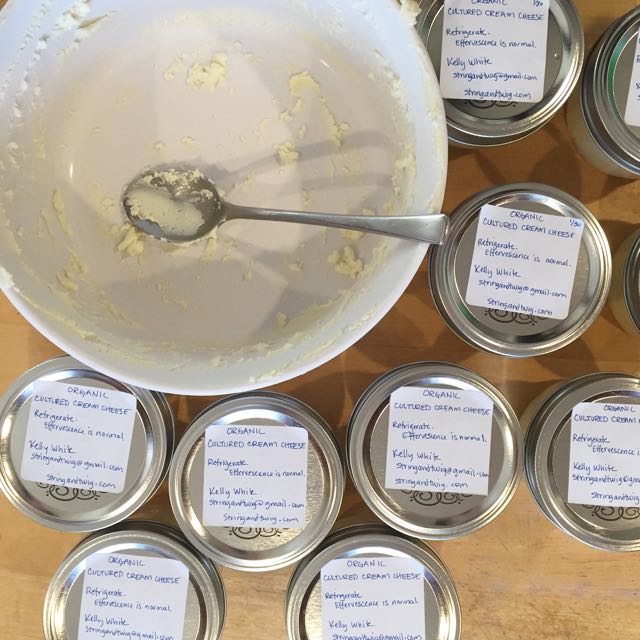
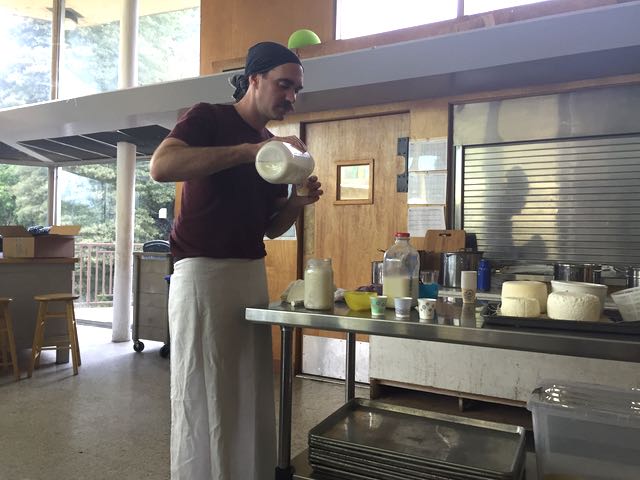
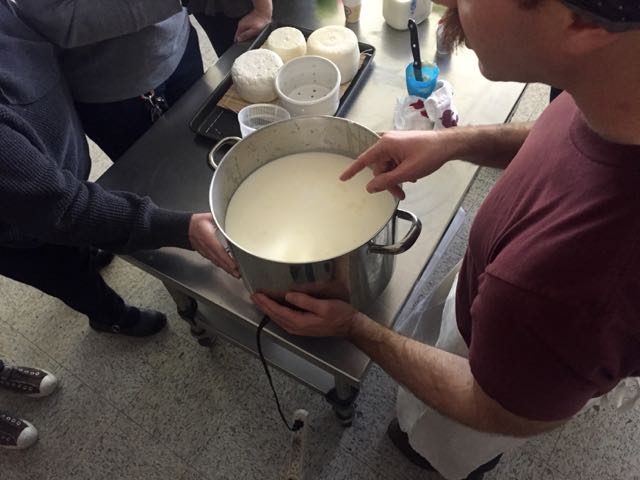
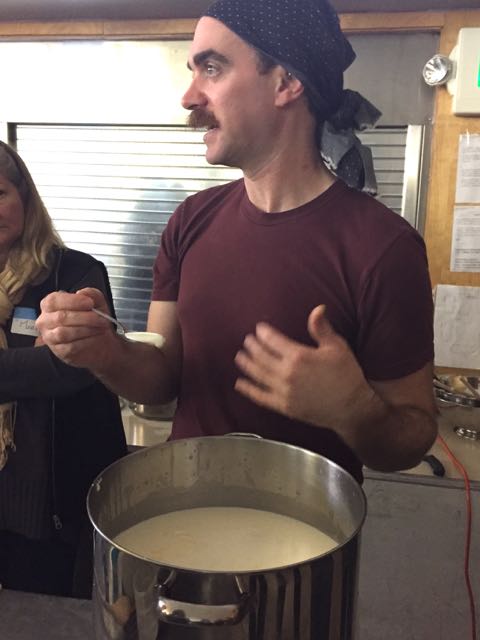
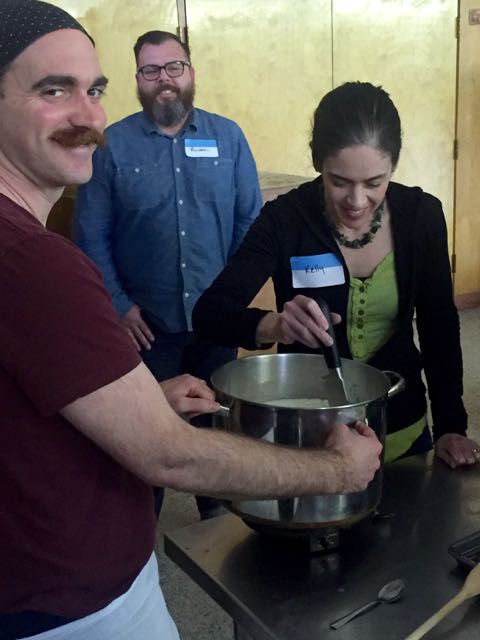
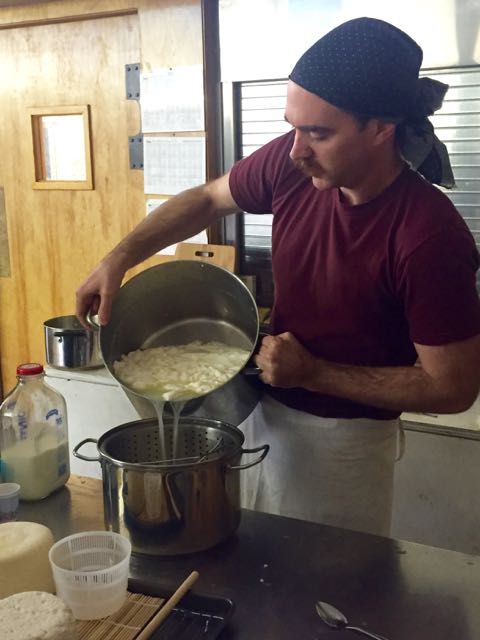
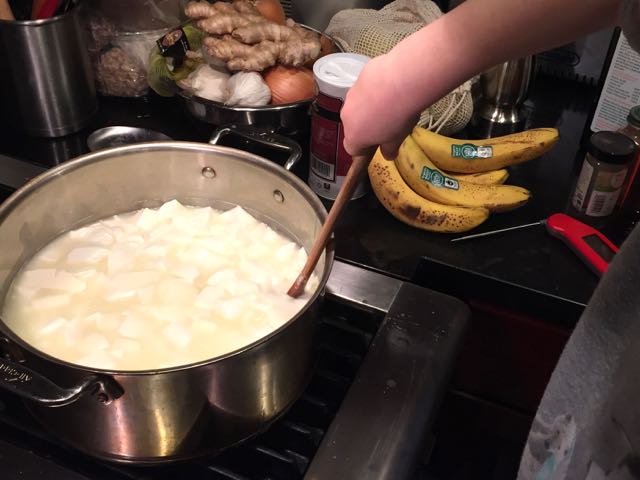
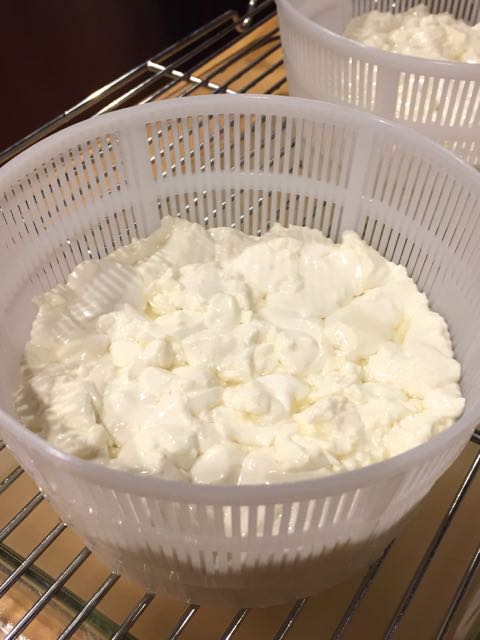
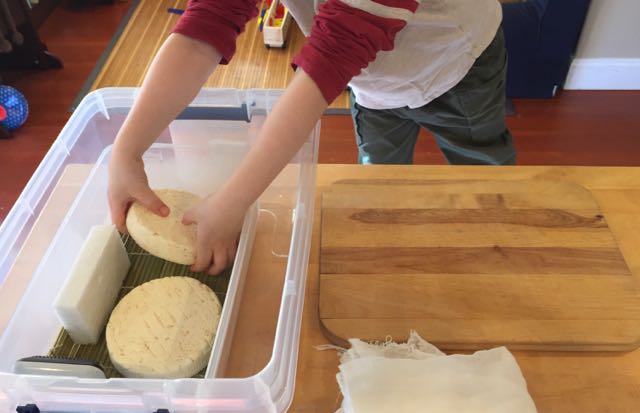
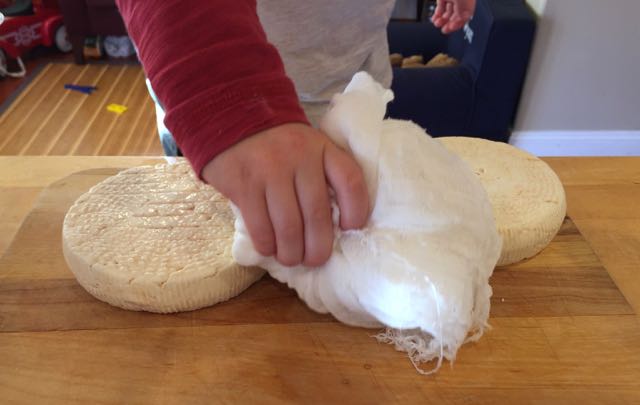
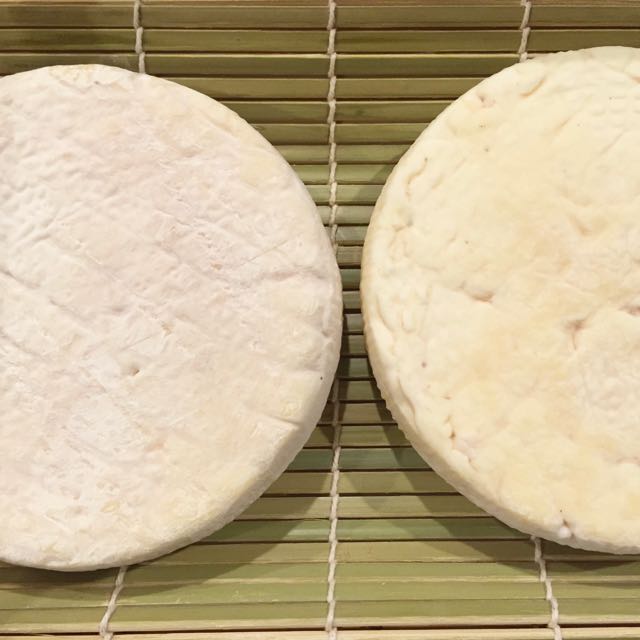
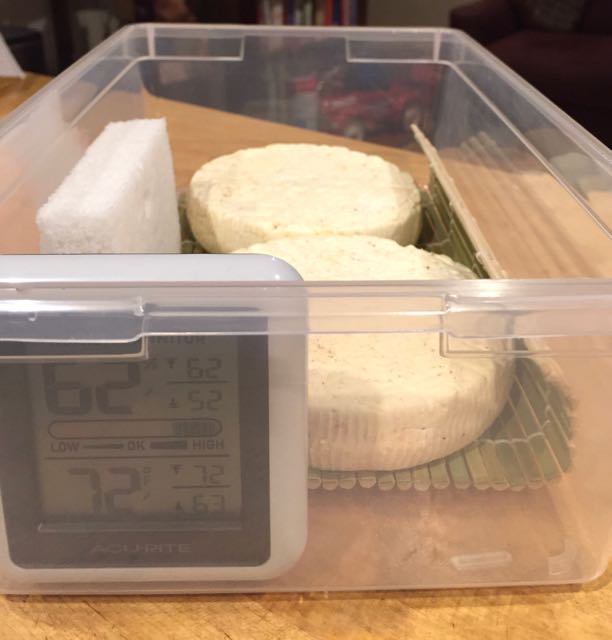
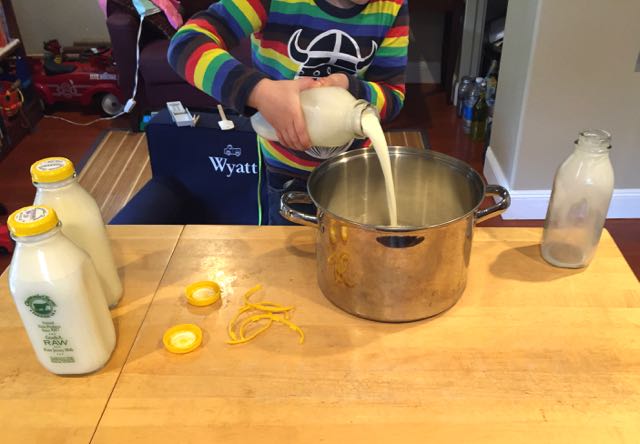
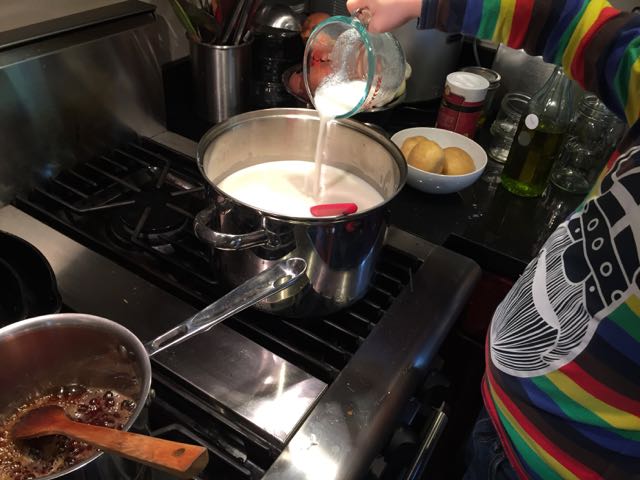
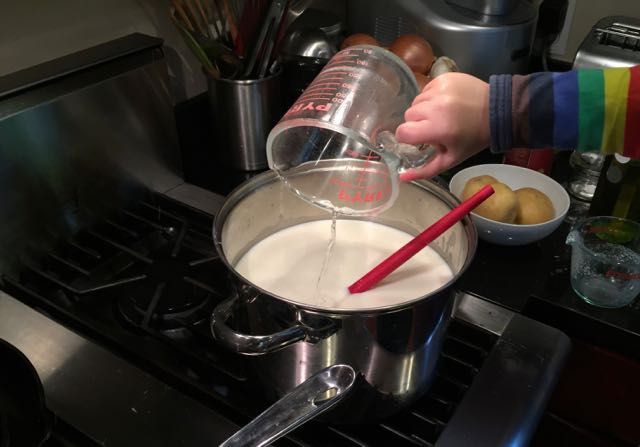
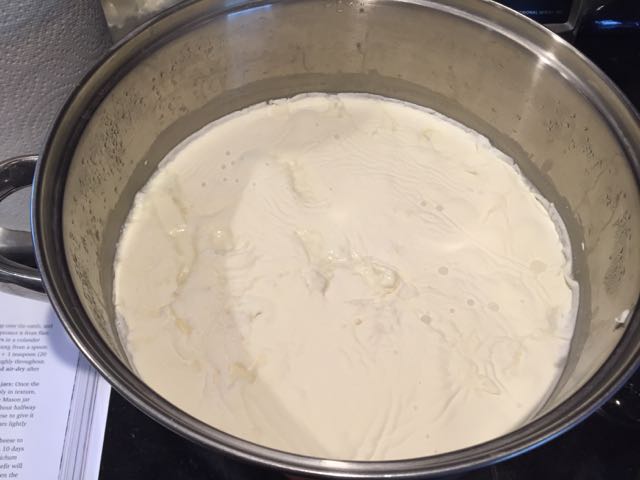
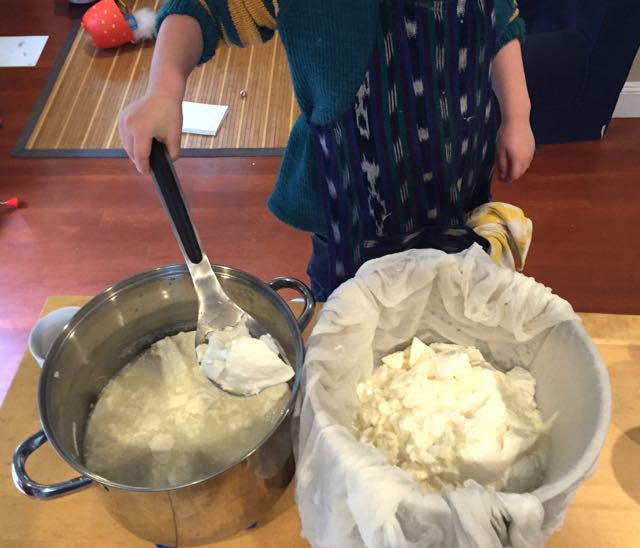
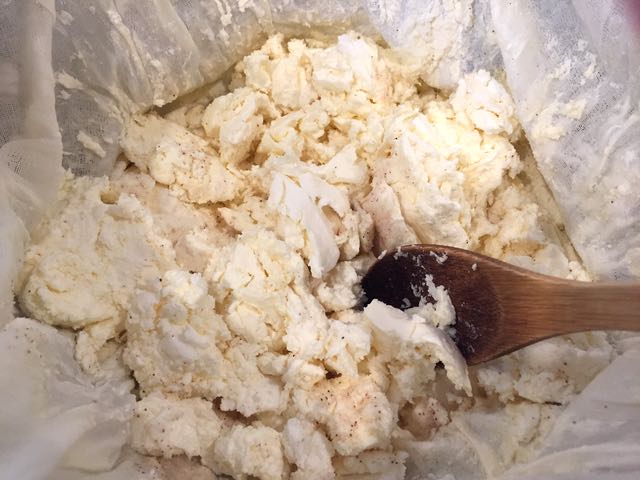
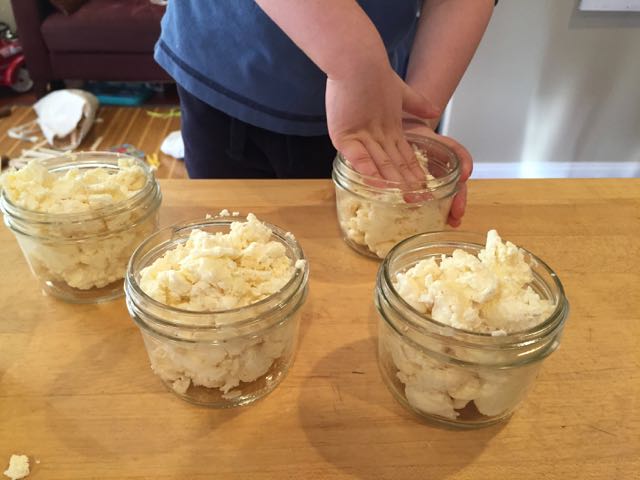
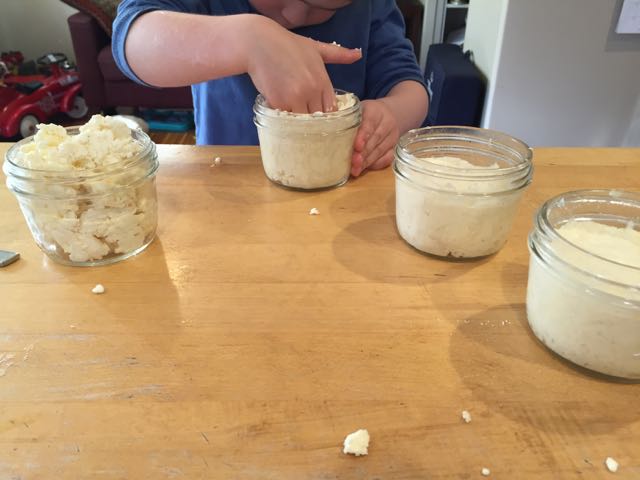
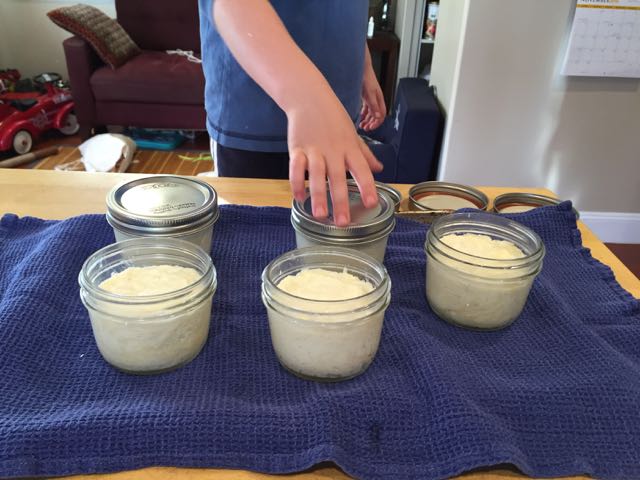
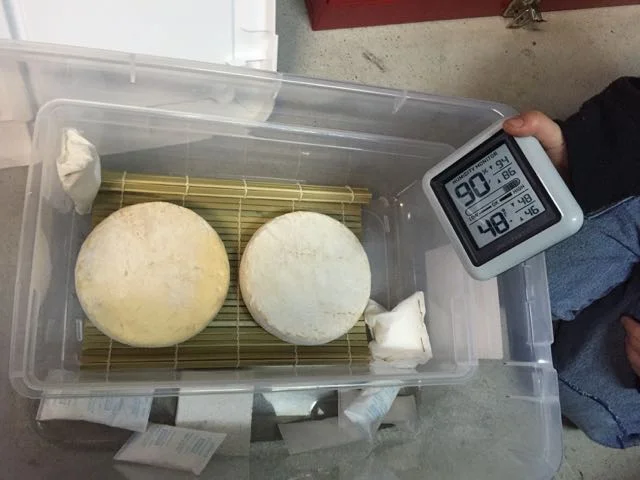
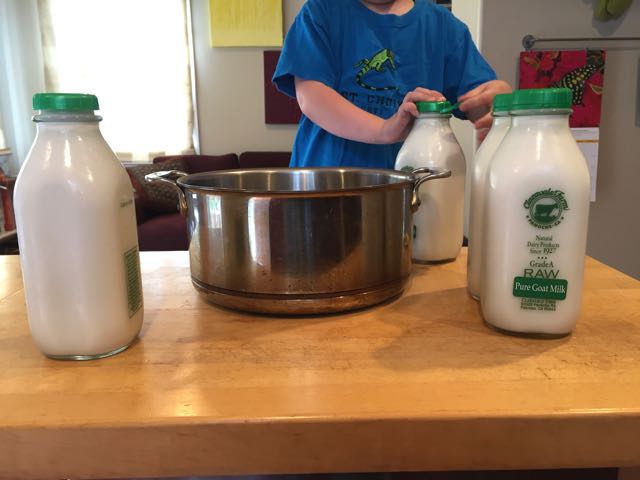
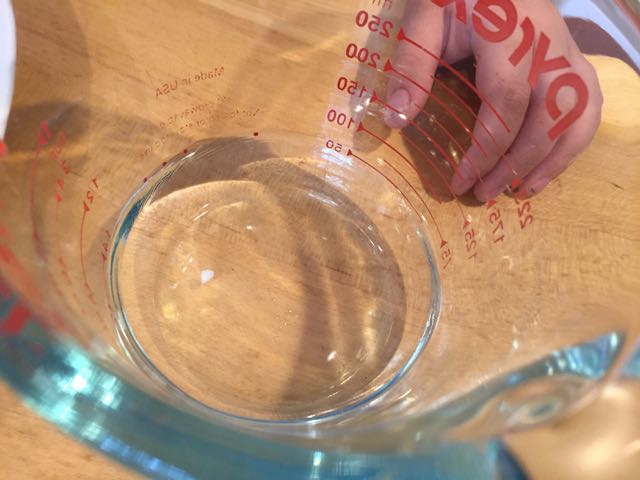
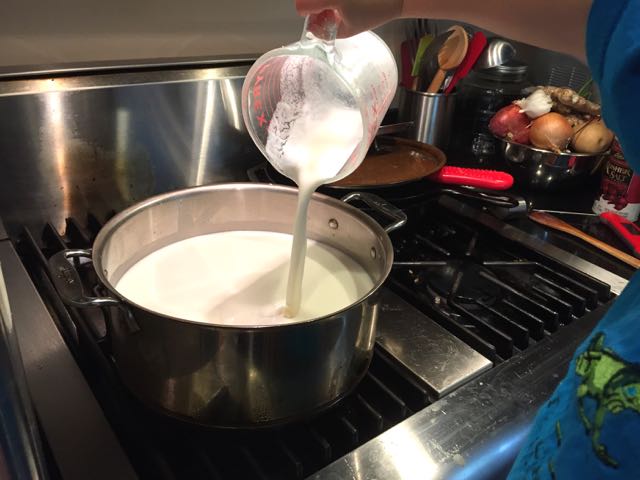
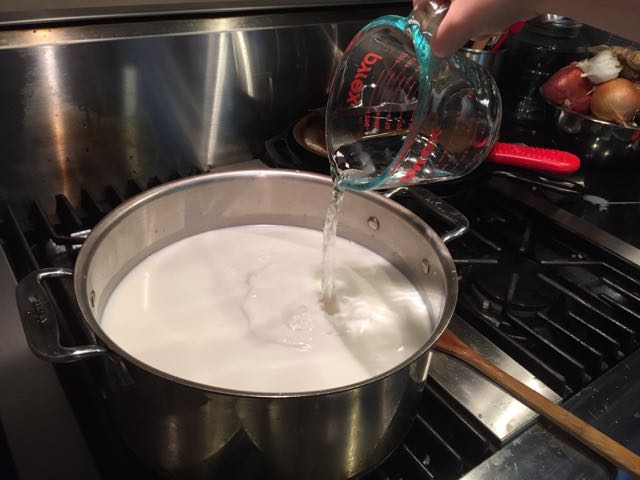
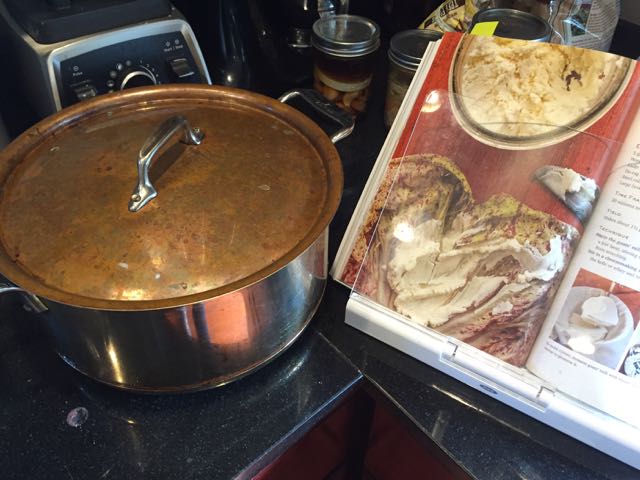
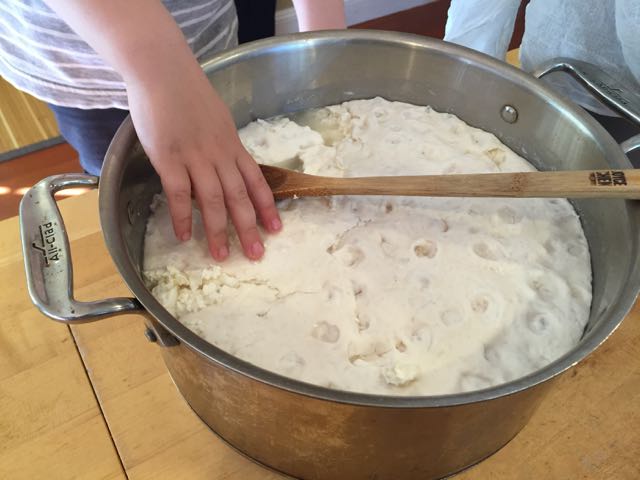
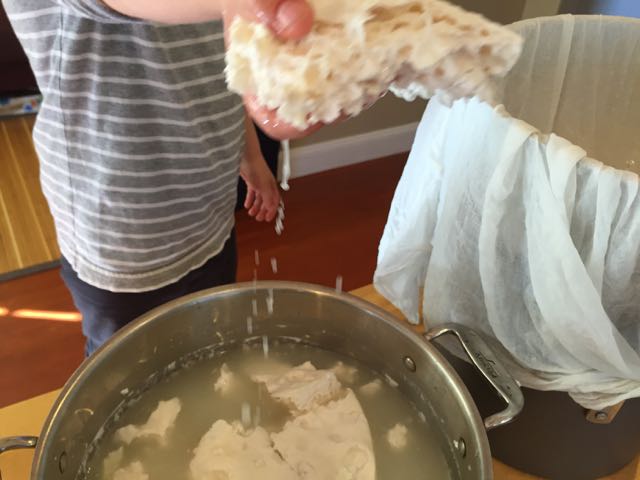
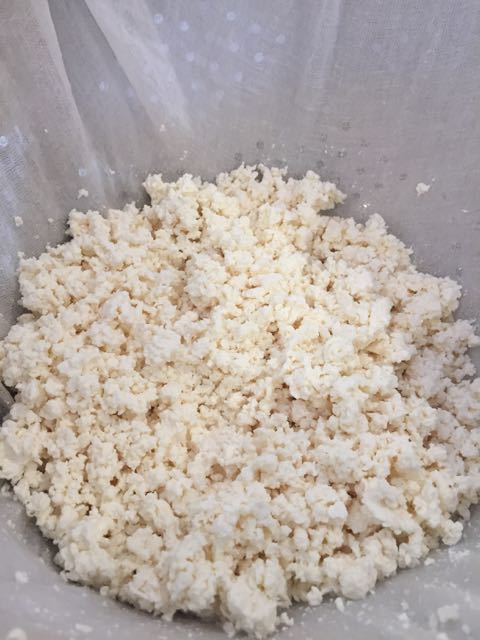
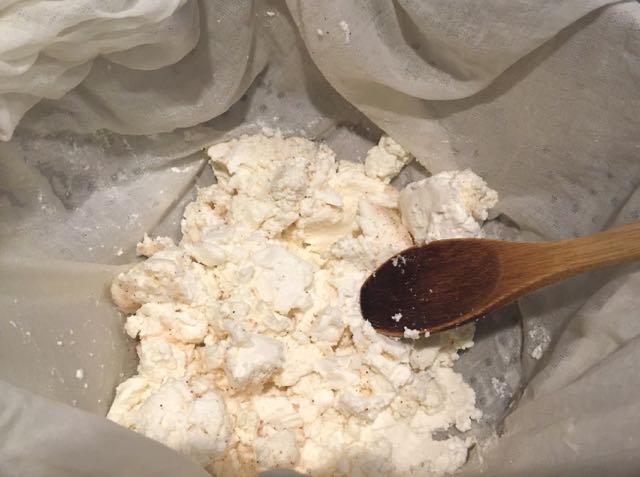
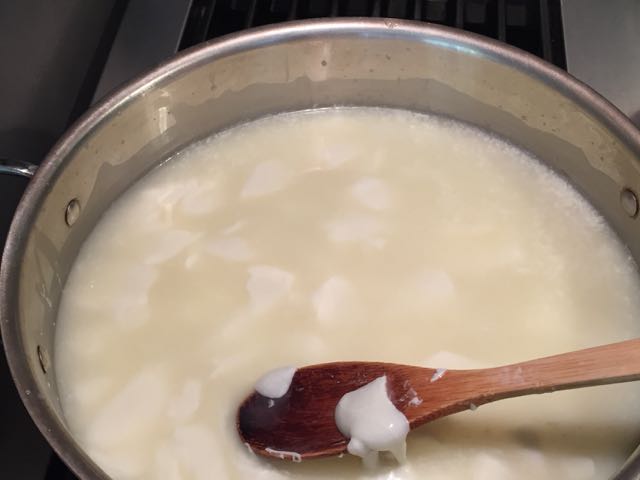
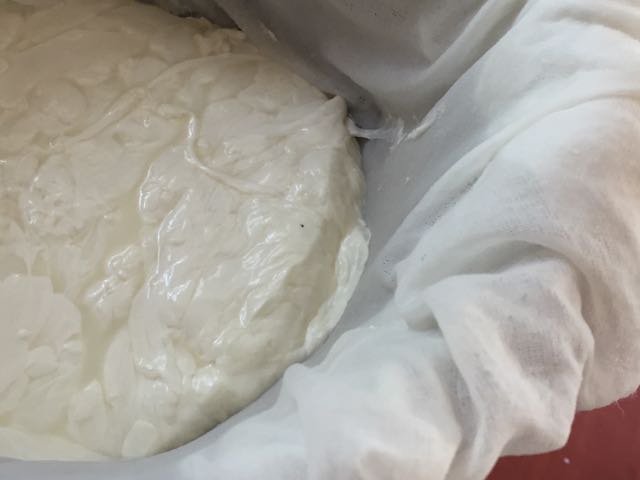
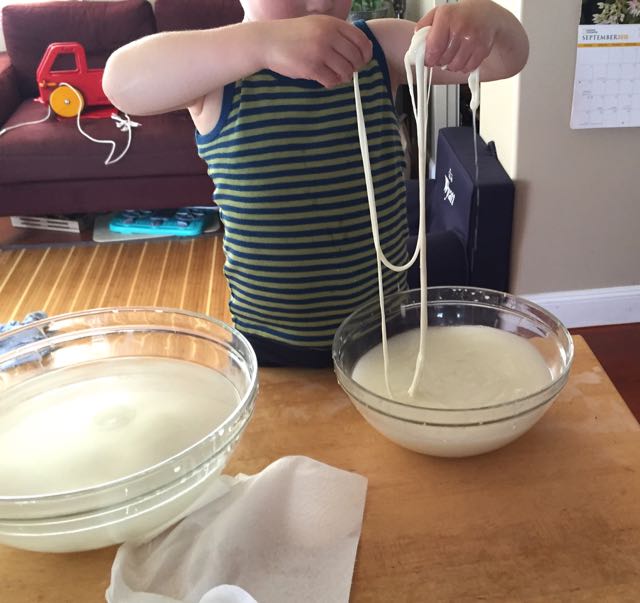
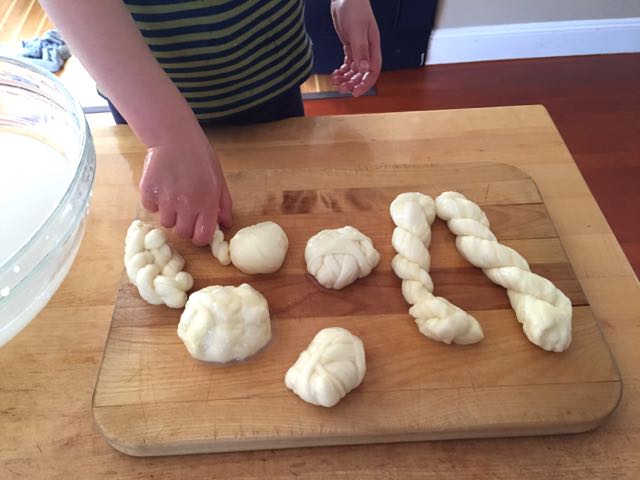
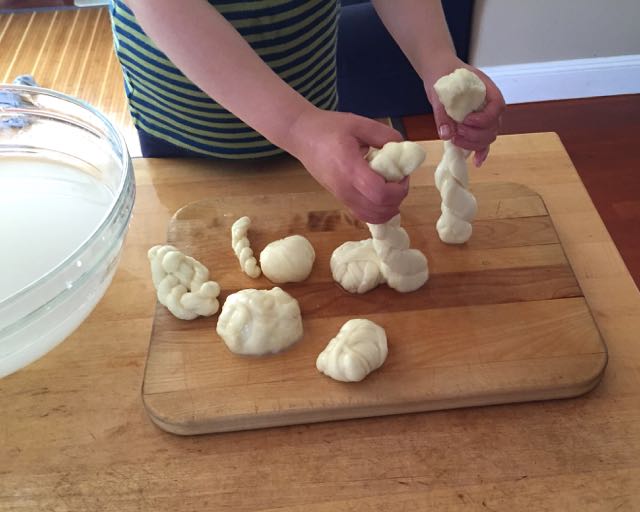
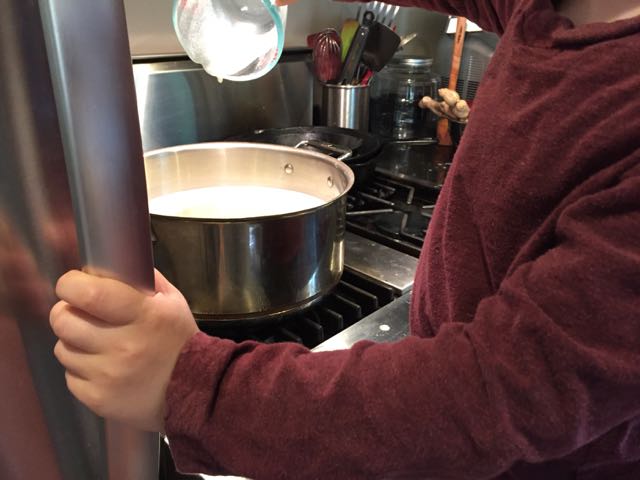
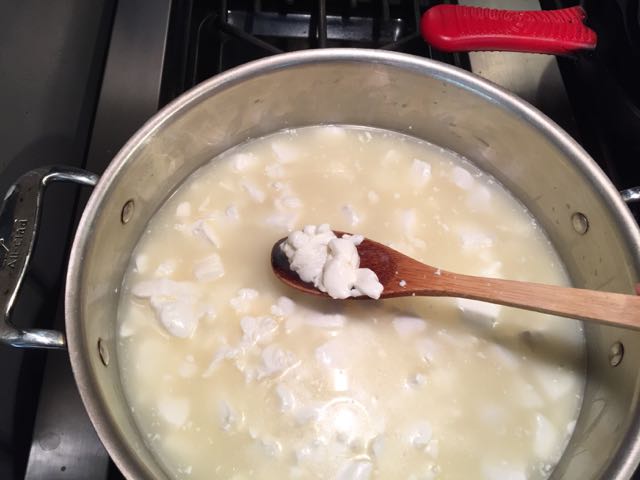
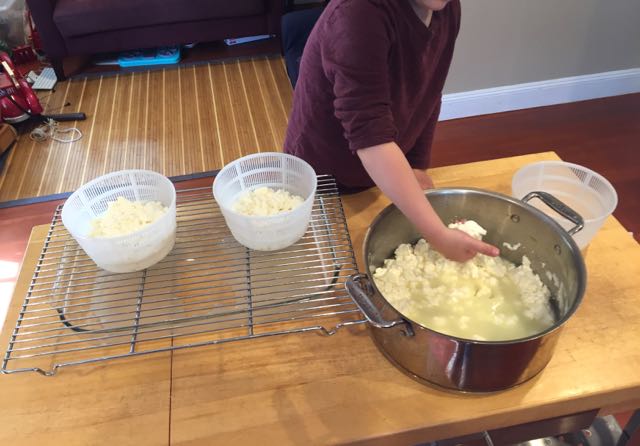
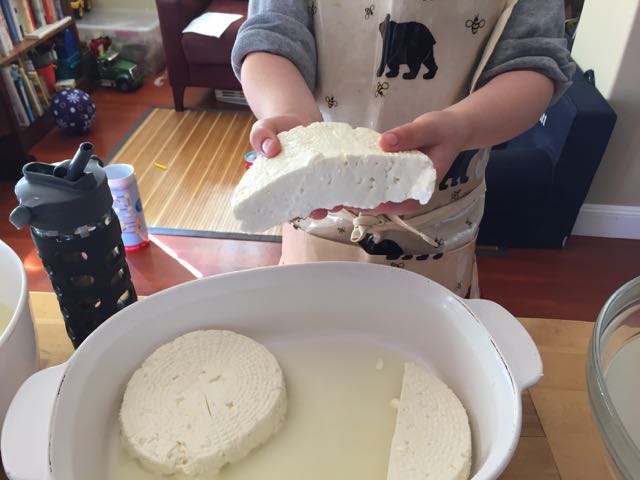
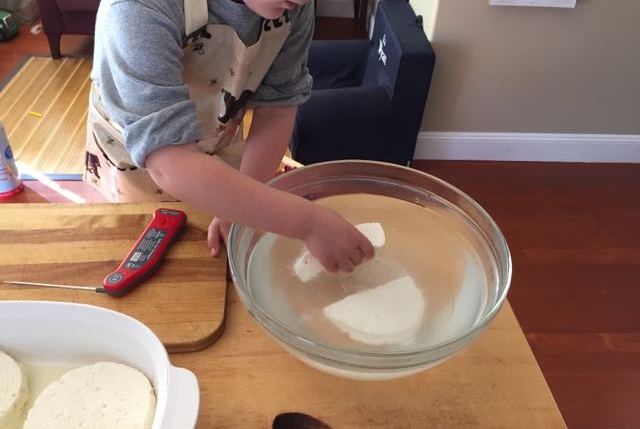
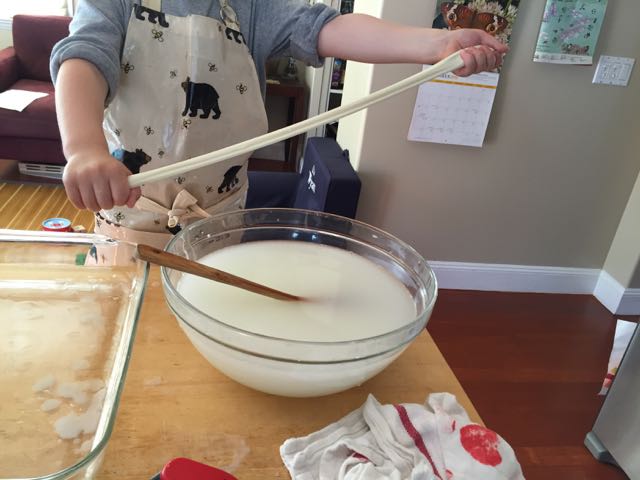
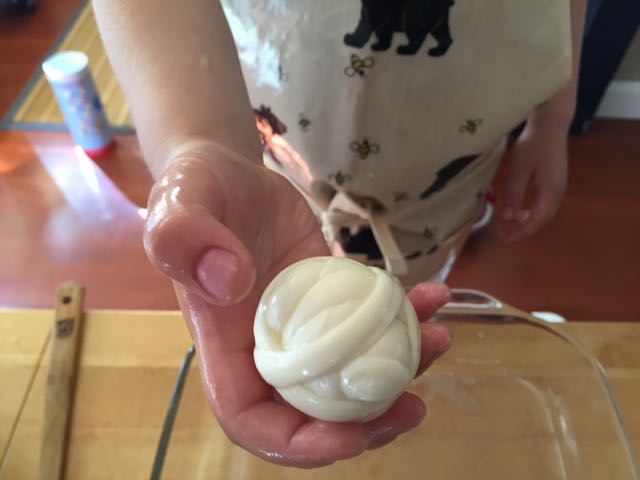
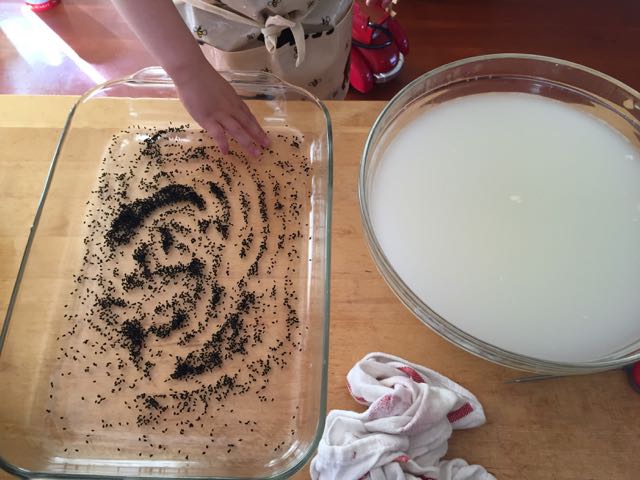
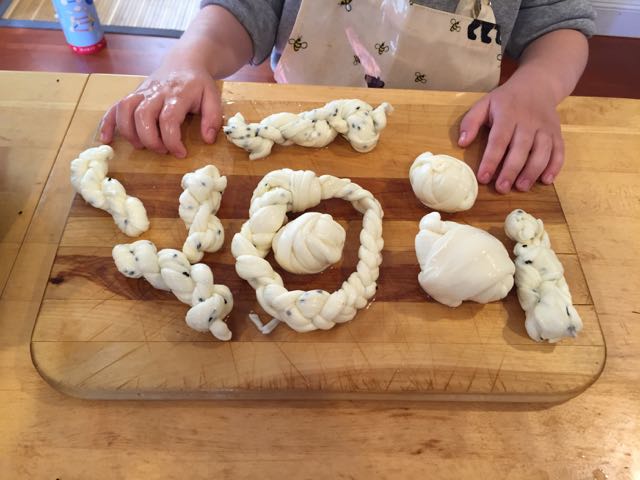
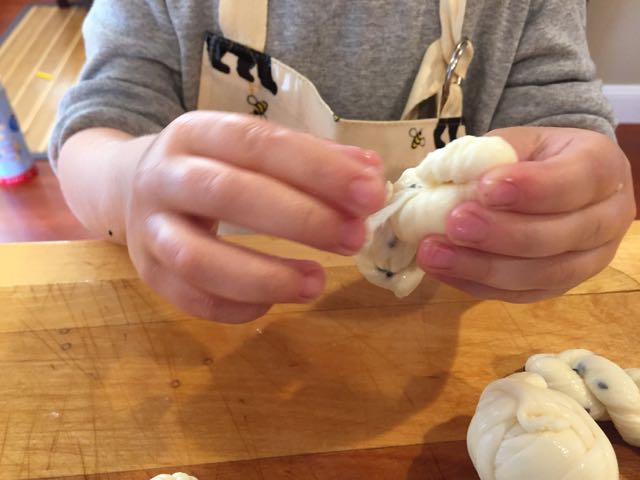
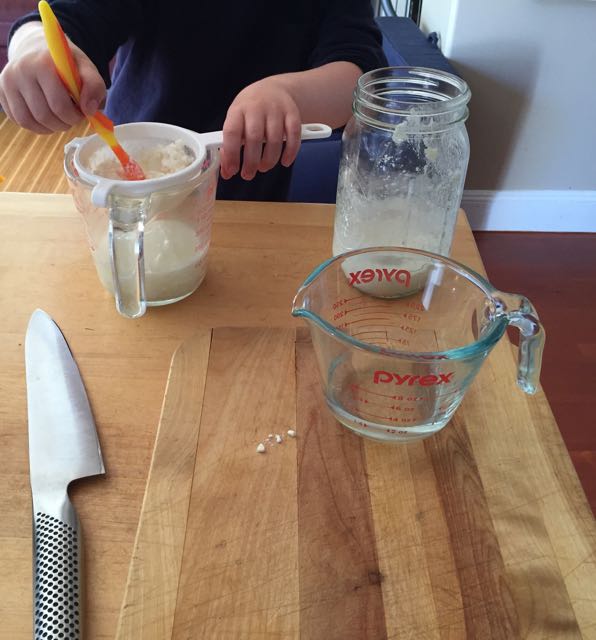
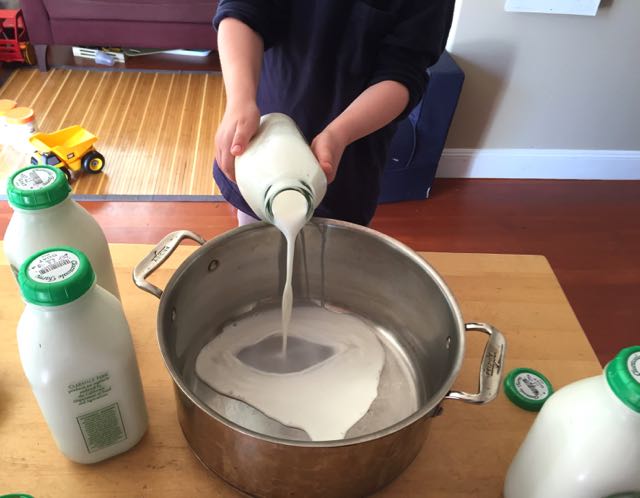
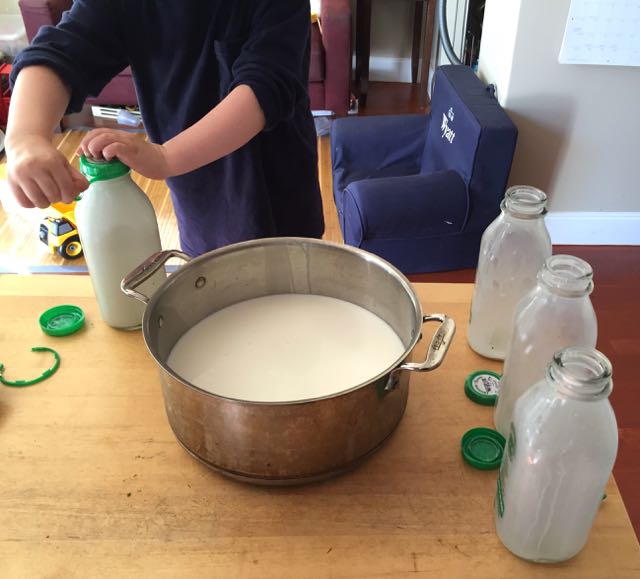
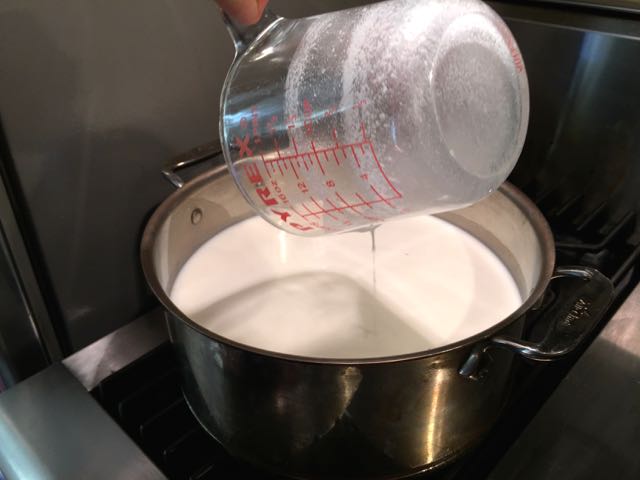
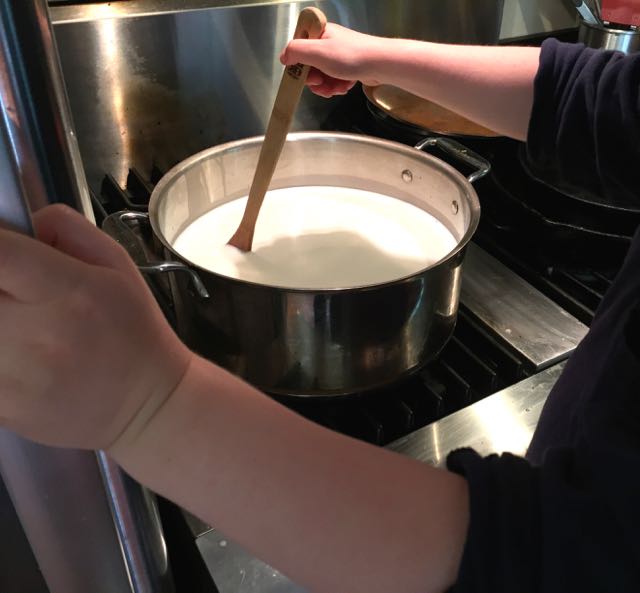
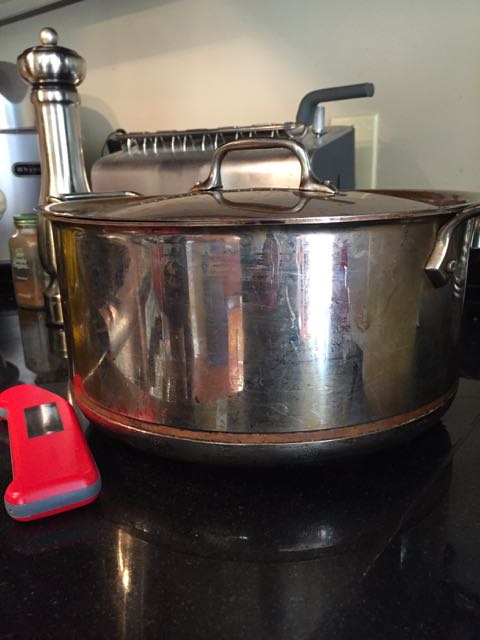
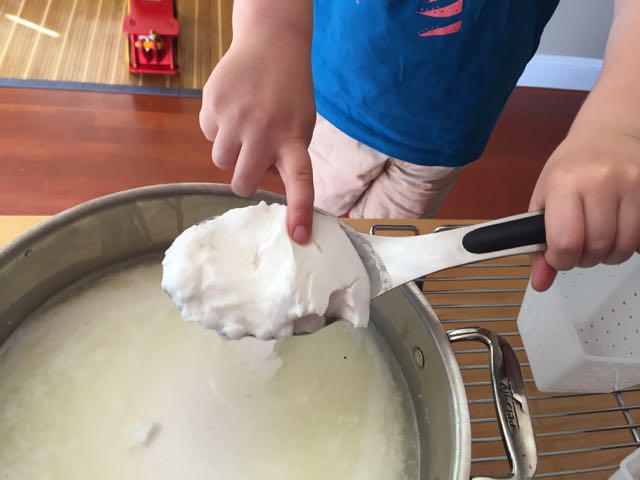
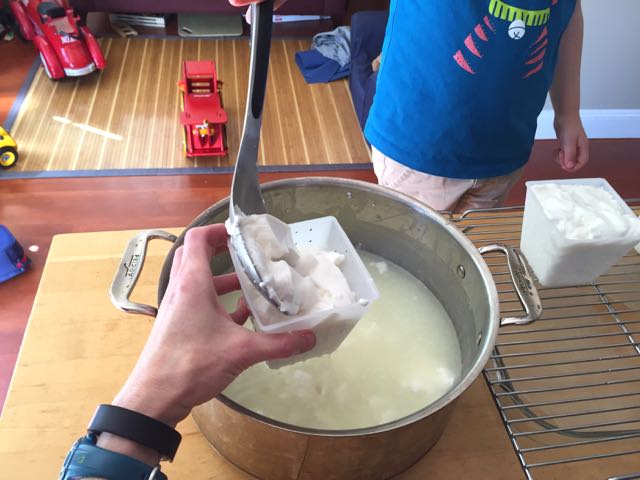
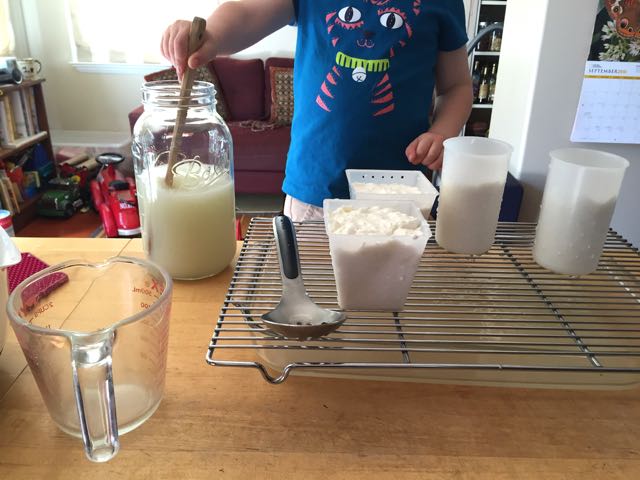
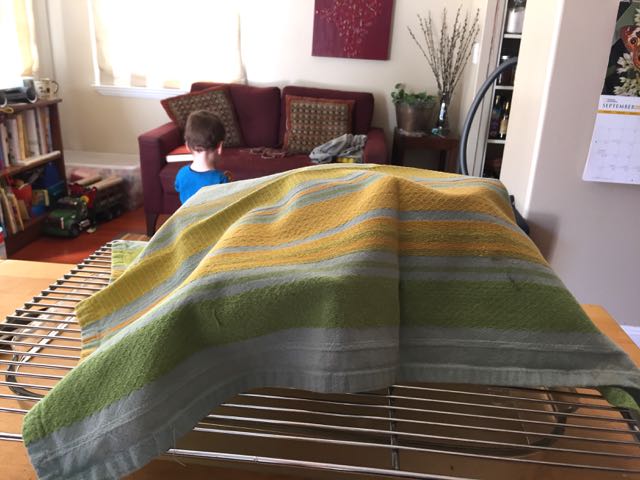
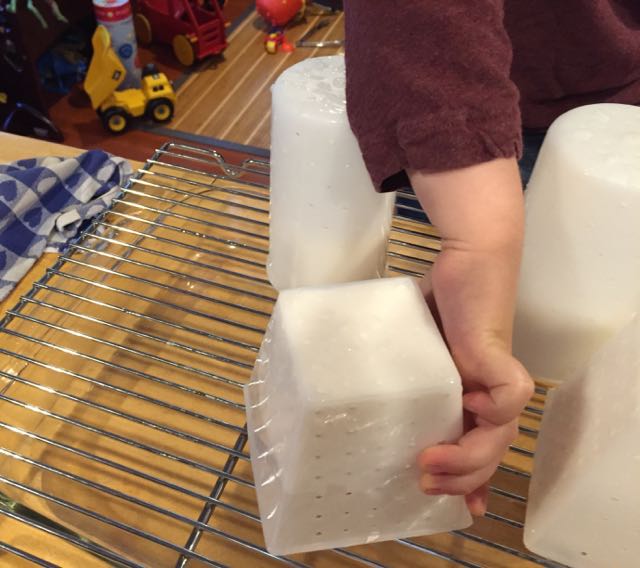
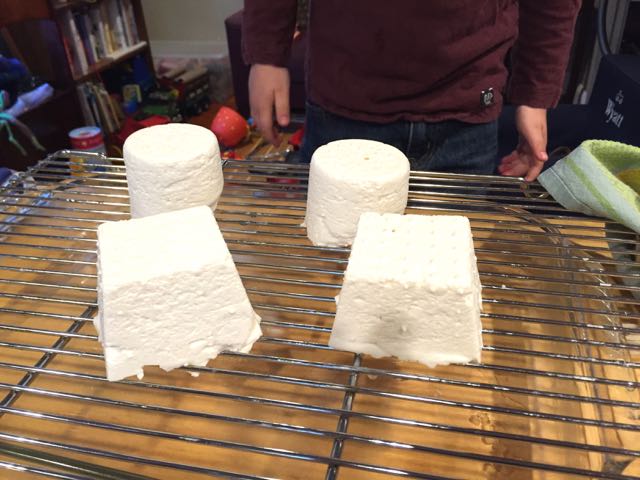
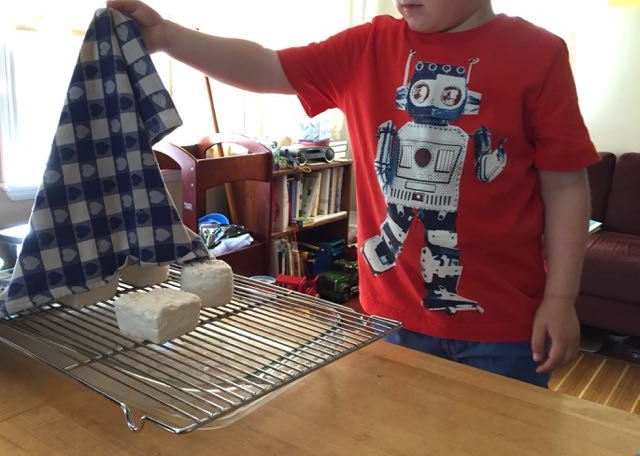
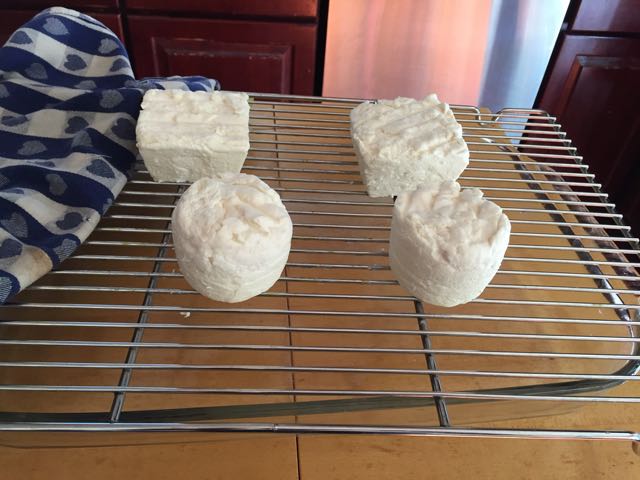
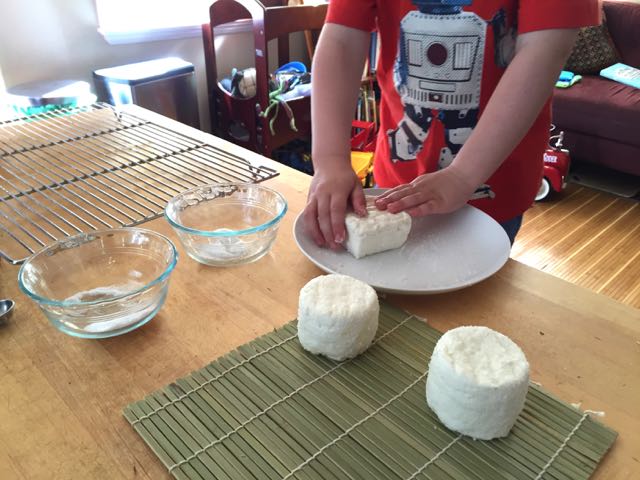
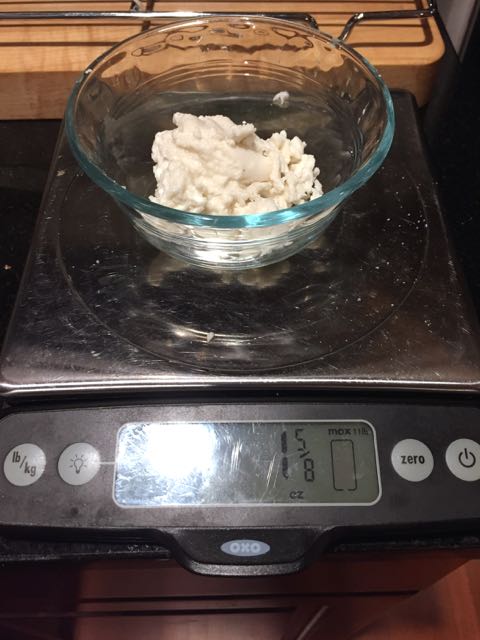
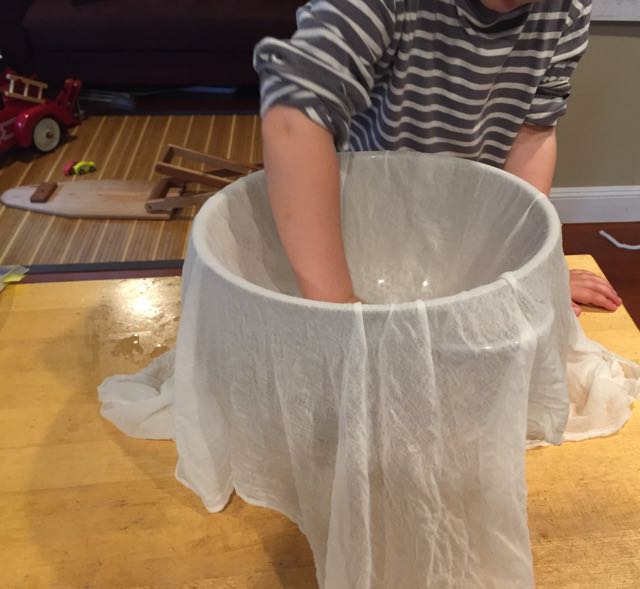
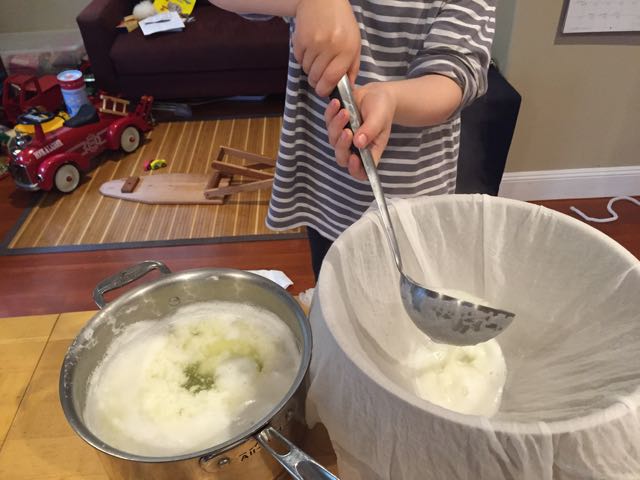
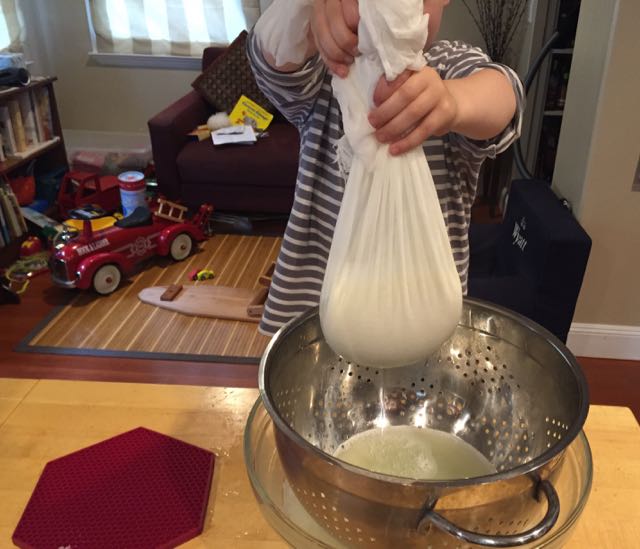
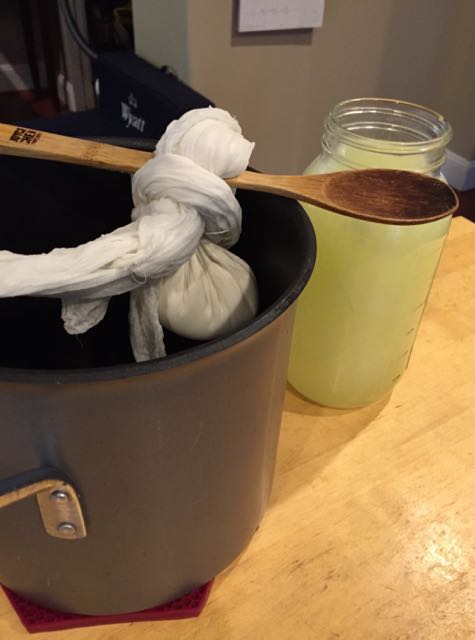
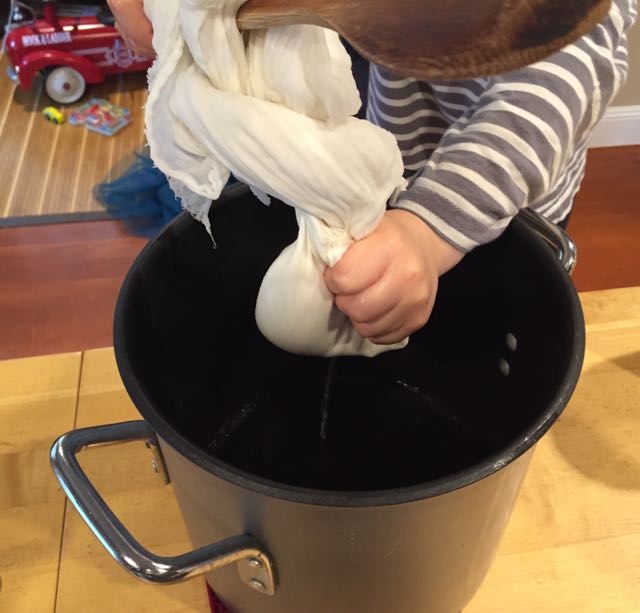
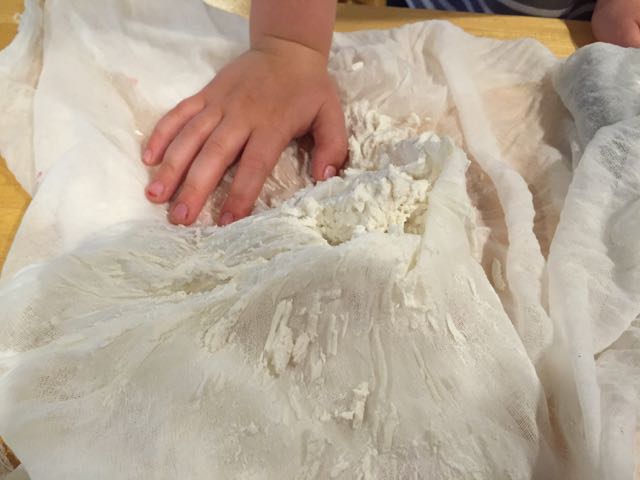
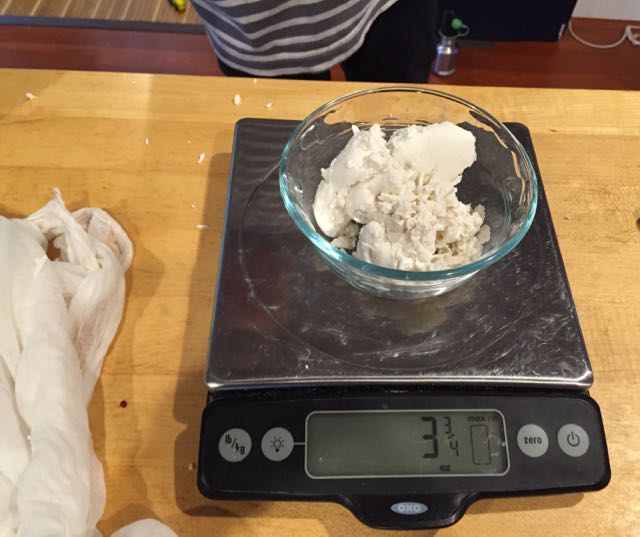
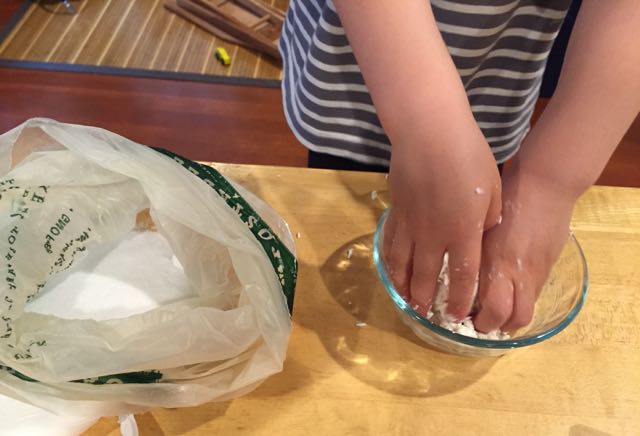
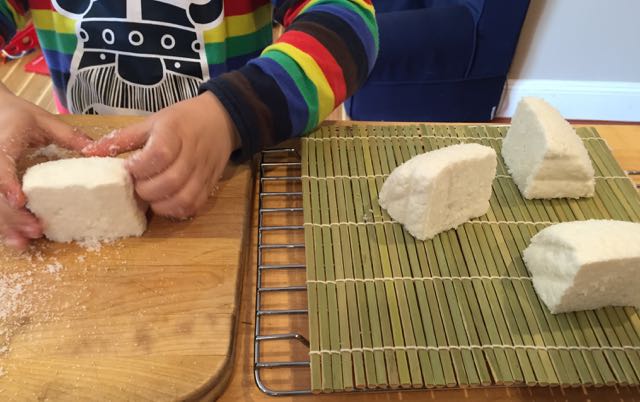
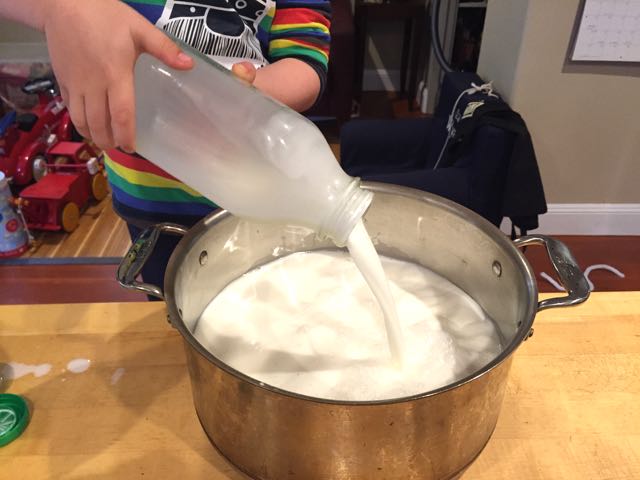
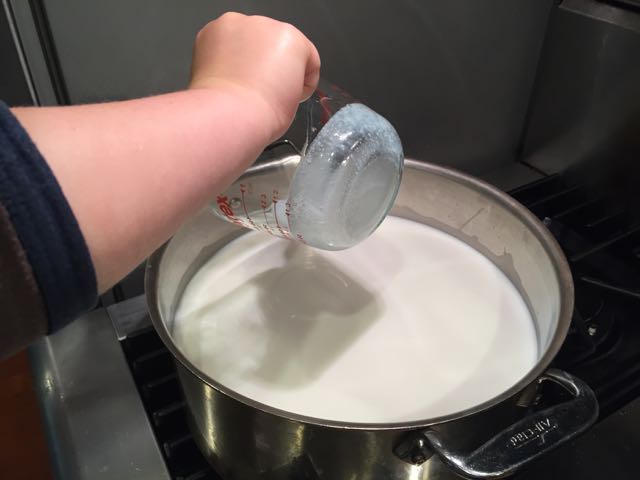
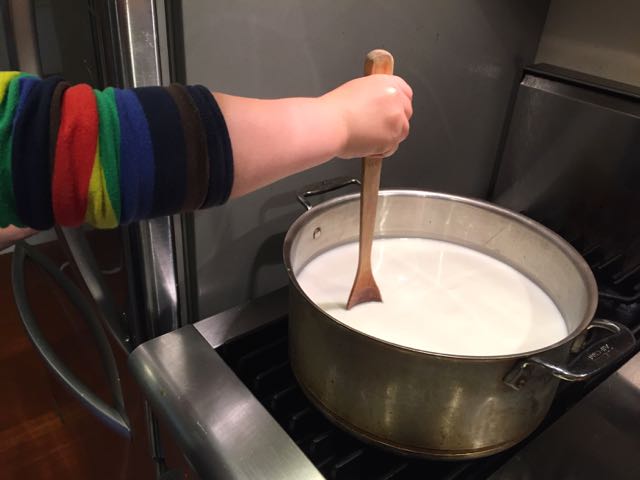
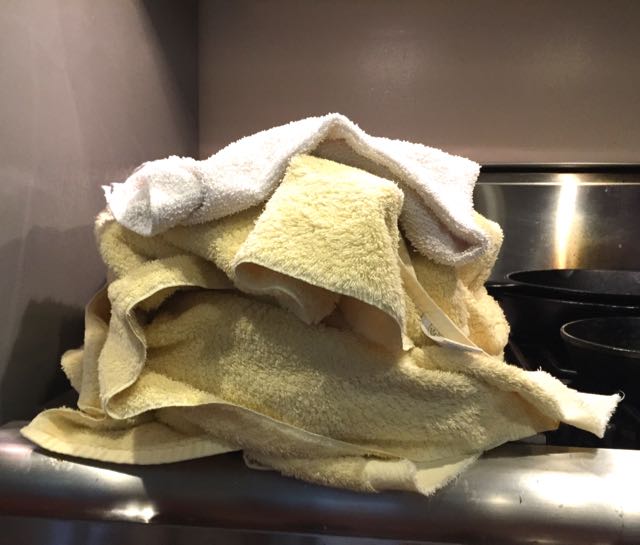
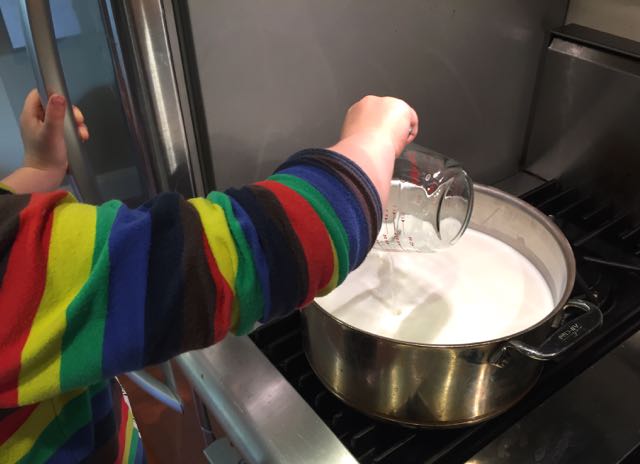
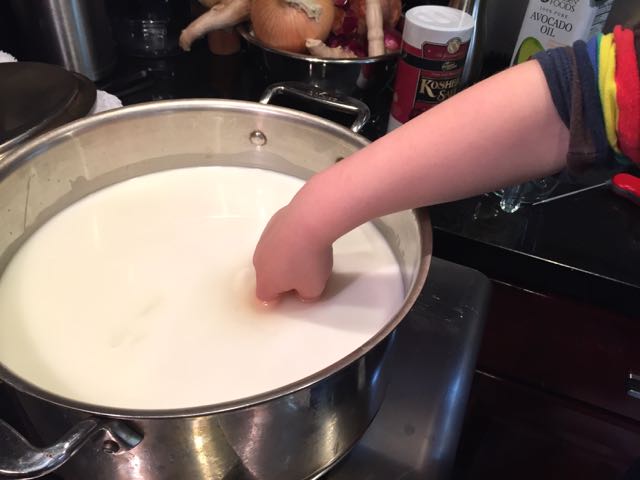
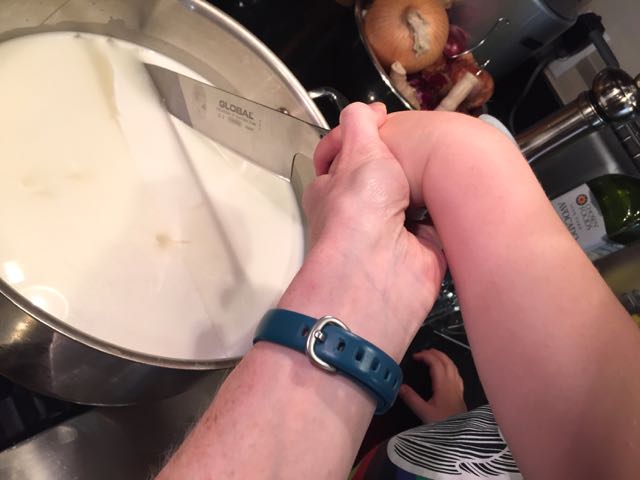
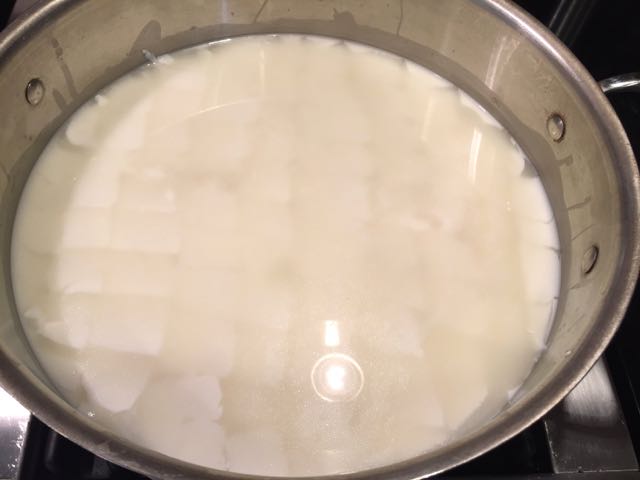
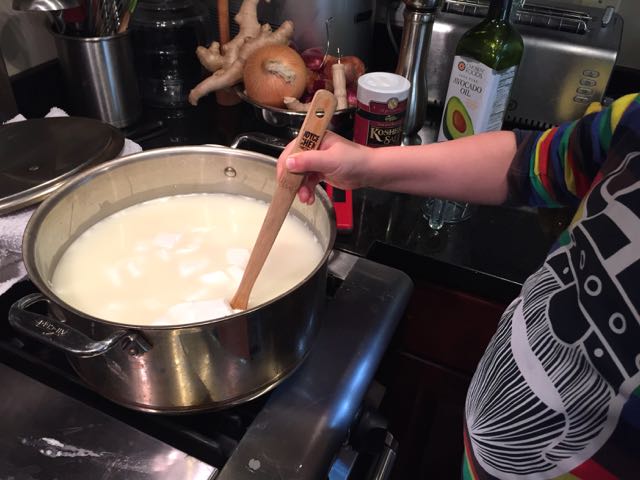
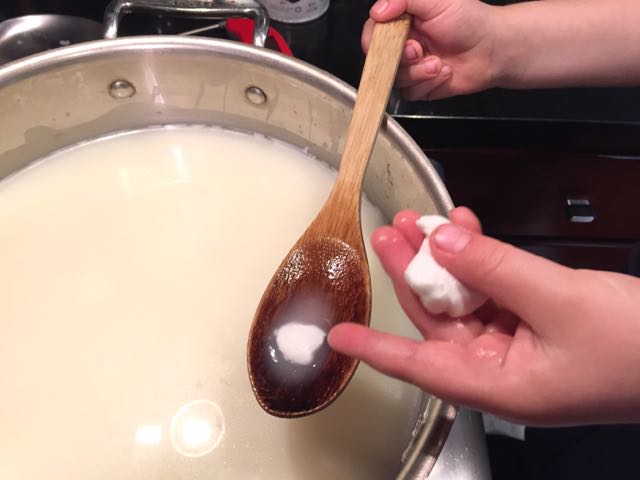
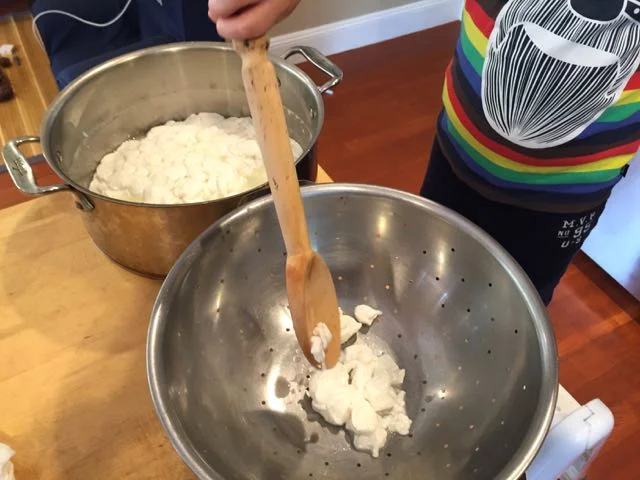
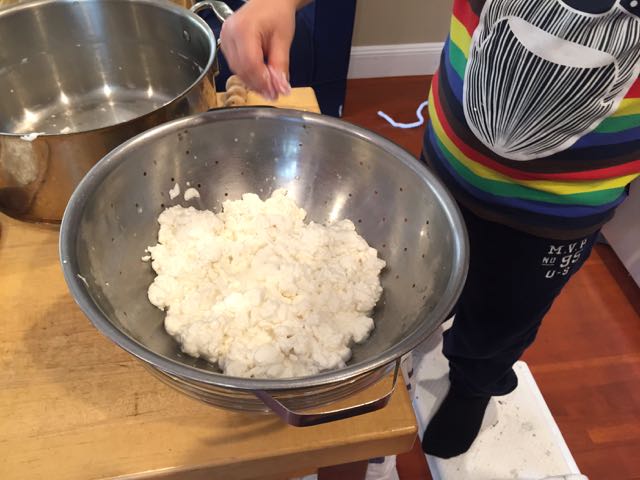
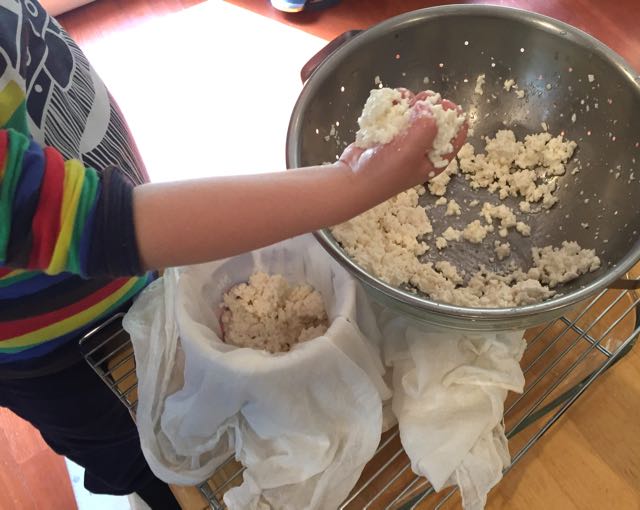
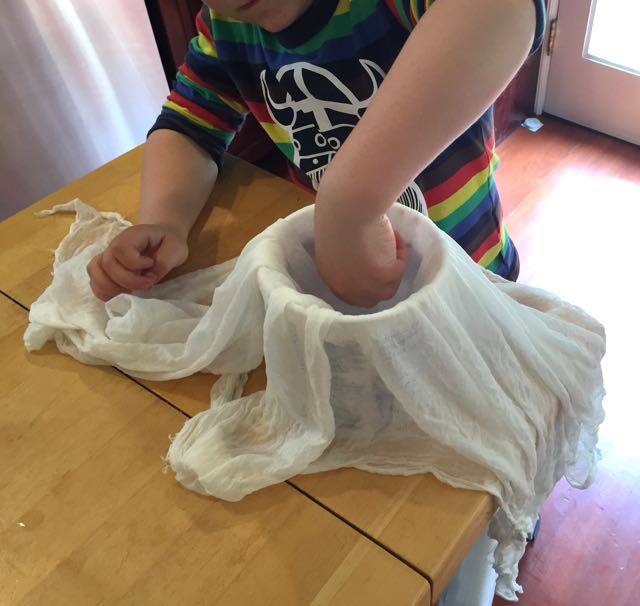
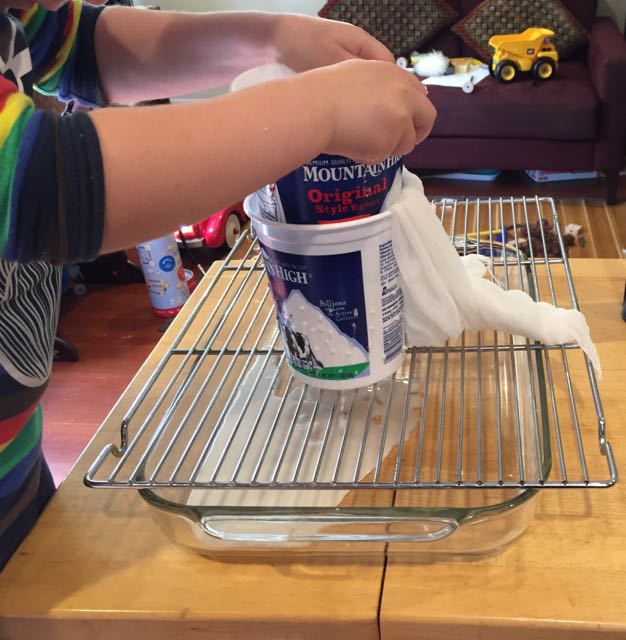
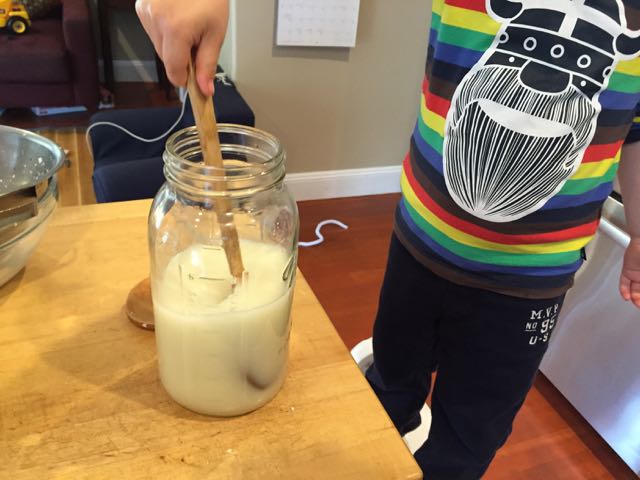
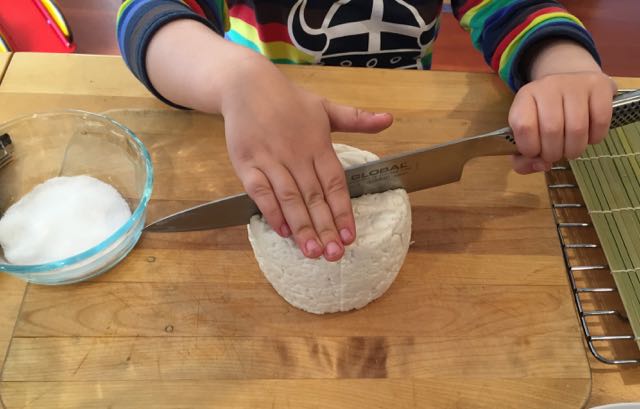
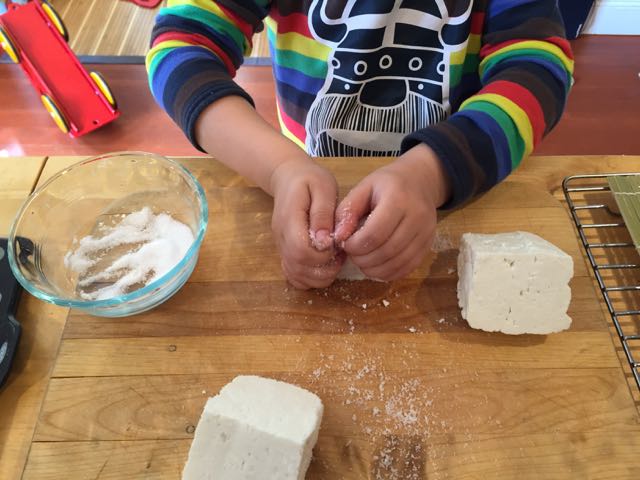
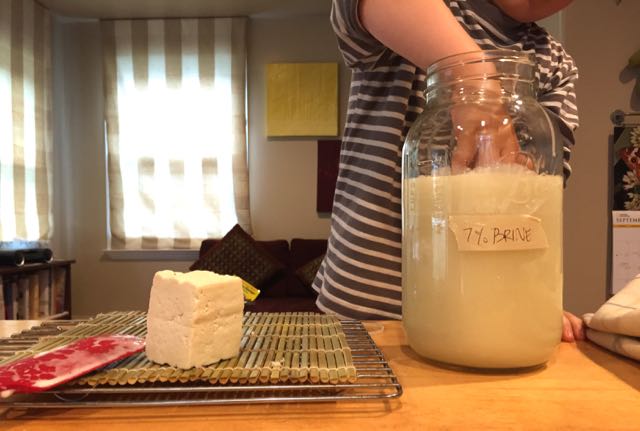
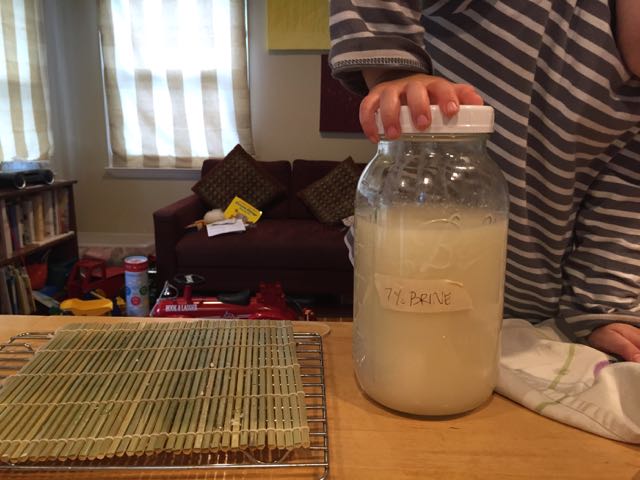
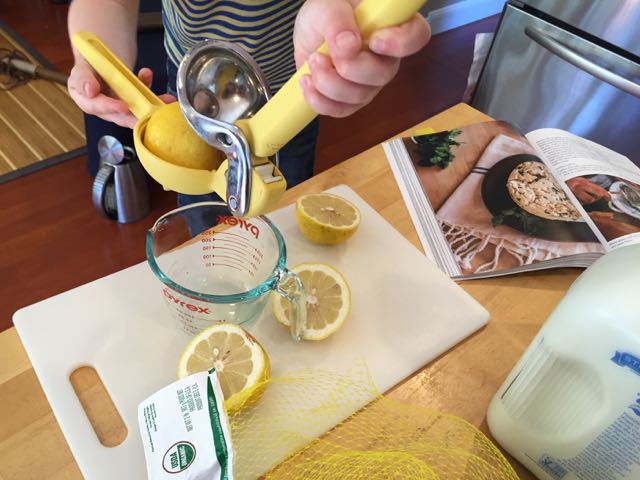
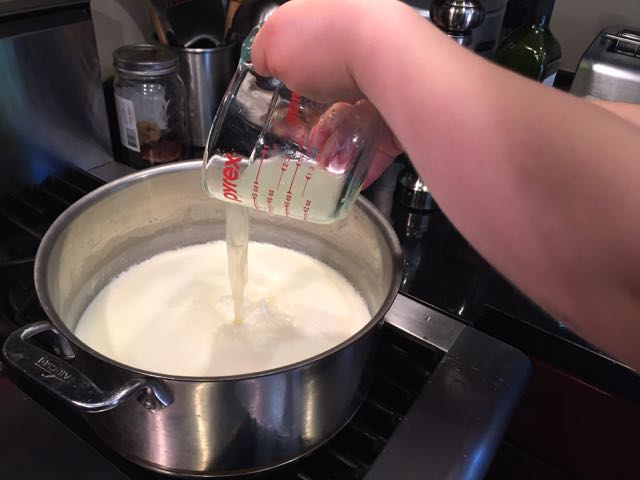
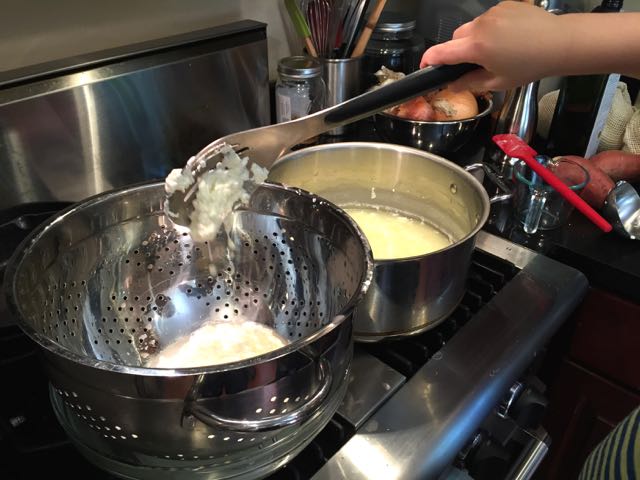
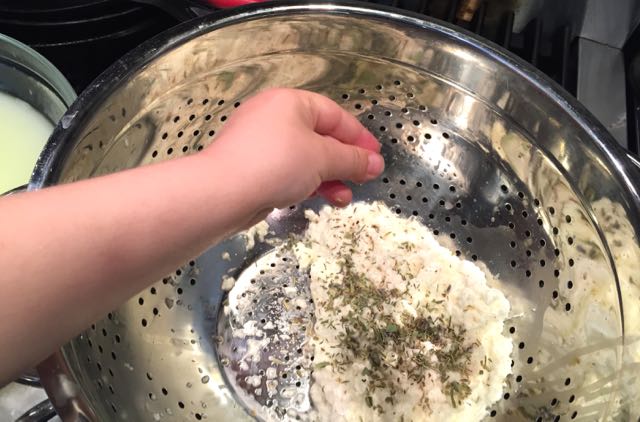
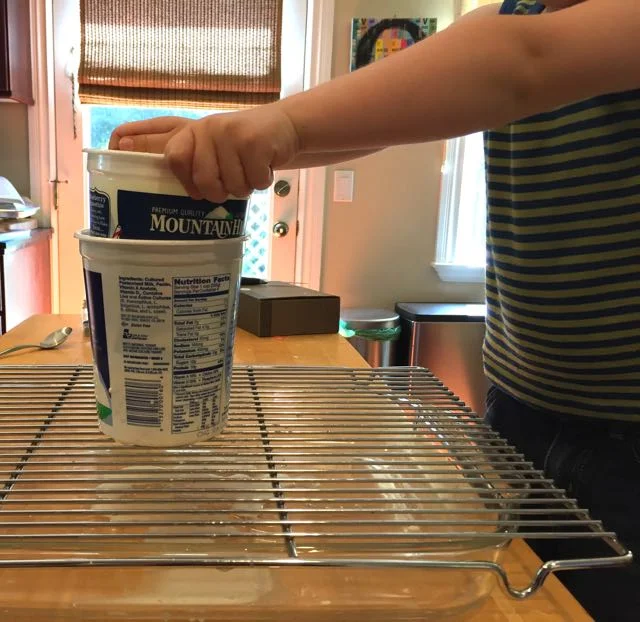
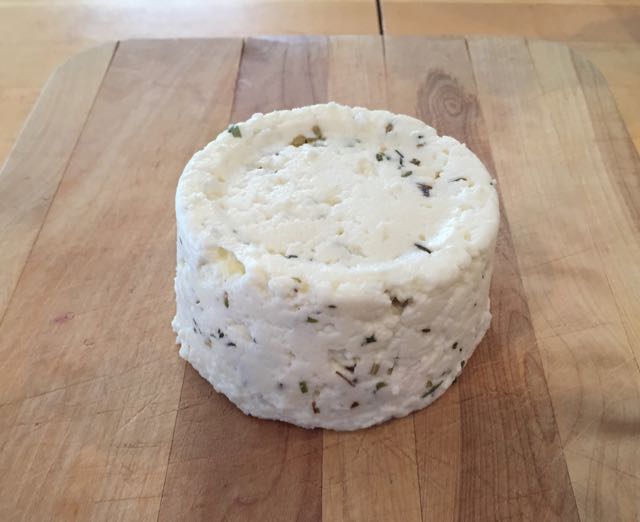
Also, I have good news: We got a mini wine fridge. This means we can get back to making cheese. We have been on hiatus because after the washed rind cheese, I finally admitted we did not have the temperature control we needed to get good, reliable aged cheese results. After much discussion and shopping, we finally bought a not-too-fancy cheese (wine) fridge with the money we got from selling Wyatt's old stroller. So far, we feel like this was a win for all three of us. Wyatt and I started an aged goat cheese. Maybe the third time trying this recipe will be the charm. It should go in the cave tomorrow. (Tasting video to follow, maybe.)