Going Greener
"Mom. Why don't they know how to weigh and label their jars when they buy stuff?"
"It's something you have to learn. I had to ask Christina how to buy olive oil in bulk. If you've never done it before, it's intimidating."
This time last year, I was on a "transfer everything to glass and quit using plastic" kick.
Spoiler alert: Quitting plastic is really hard to do.
When I started really paying attention to how much plastic is used in packaging, I was astounded. If you haven't done this already, just go to any grocery store and try to find something packaged without it—plastic cups, jugs, sleeves inside of plastic bags or cardboard boxes, resealable zippy bags. It's everywhere. One could make a full-time occupation out of simply avoiding plastic and still come up short.
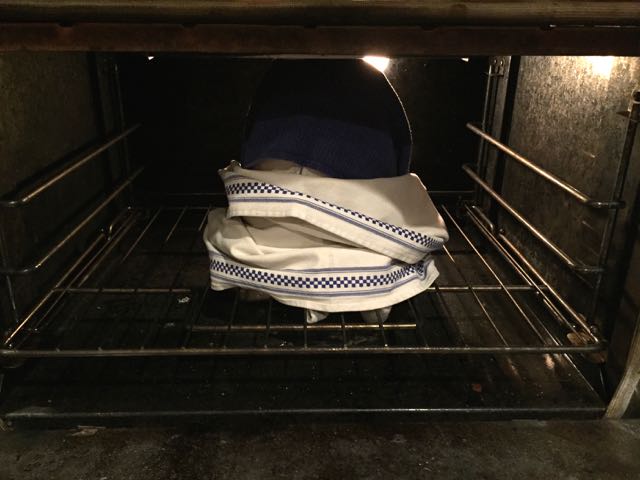
Even though we may never get to "zero plastic" in our house, there is every reason to try to do better. This time last year, I started asking people lots of questions about how they avoid plastic. I started with Wyatt's pediatrician, because she was the one who presented me with the friendly challenge of getting plastic out of our kitchen. She said she's a big fan of glass jars for freezing, glass storage containers for leftovers, and reusable abeego beeswax wraps. I next canvassed friends on Facebook. I got more votes for glass jars, glass storage containers, and abeego wraps. I also got suggestions to use tea towels in refrigerator crisper drawers (instead of plastic bags), and Fresh Paper, which is amazing for prolonging the life of fruits and vegetables.
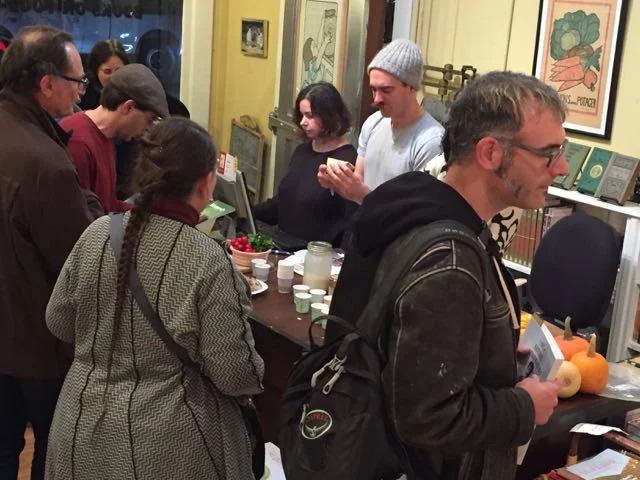
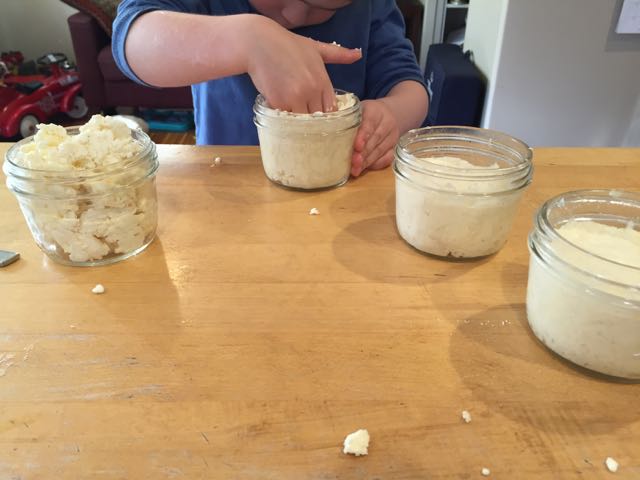
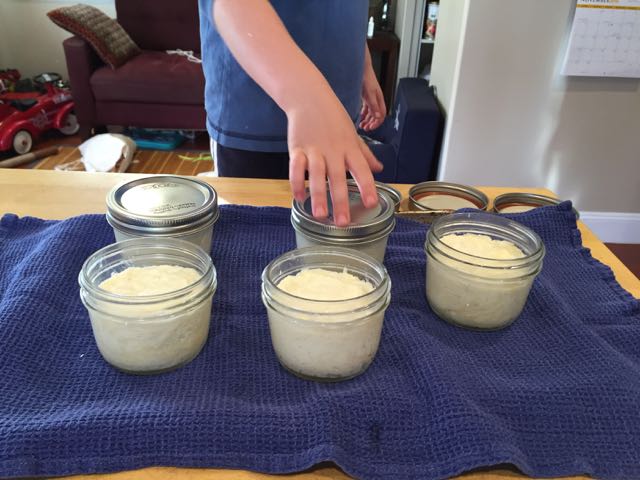
I also pretty quickly realized that I should buy in bulk, refilling glass jars instead of buying new (plastic) packages of food. So we ventured into Rainbow Grocery. On one of Wyatt's and my first trips there, I saw a very organized-looking woman with a bag of labeled jars that she had brought to the store to refill. We happened to walk out of the store at the same time, and I complimented her on how she had the whole process down perfectly. She smiled and explained she had been buying in bulk for awhile, and she generously pointed out that it's a process, so I shouldn't expect to get into the rhythm of it right away. She explained that she keeps jars labeled with tare weights (more on that later), what goes in the jar (like, "Rice"), and the store code (the bulk number on the bin), so her shopping process is more streamlined. I asked her whether she waits to run out of stuff before she buys more (because heaven forbid cutting things that close). She explained that for some products, she has a couple of jars, that way she doesn't have to wait until she runs out before she refills one of the jars. And she said that when a jar is empty, she just puts it in her (reusable) shopping bag so she doesn't have to remember what needs to be refilled. So smart! With this role model's excellent suggestions in mind, I went home and dug out all my Bed Bath & Beyond coupons so that I could buy some storage jars.
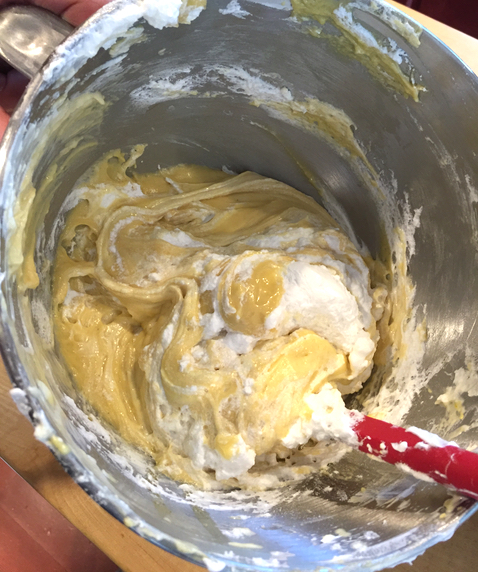
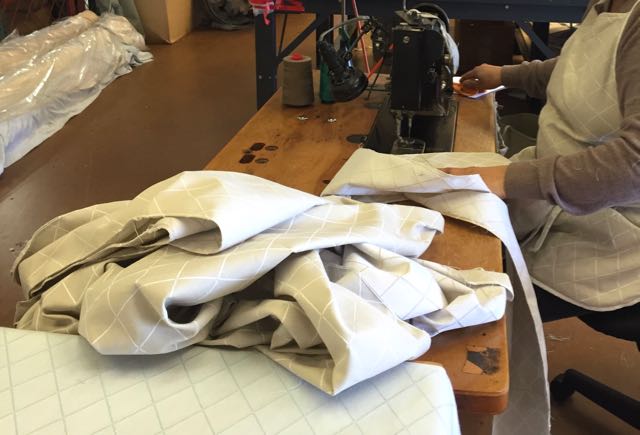
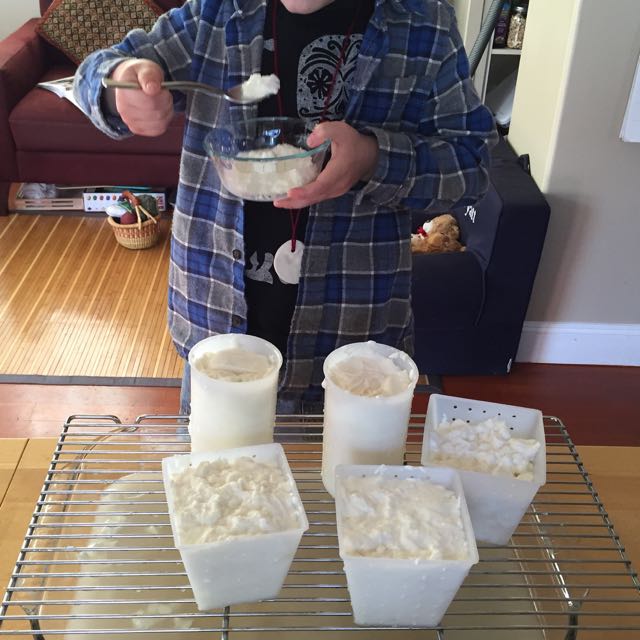
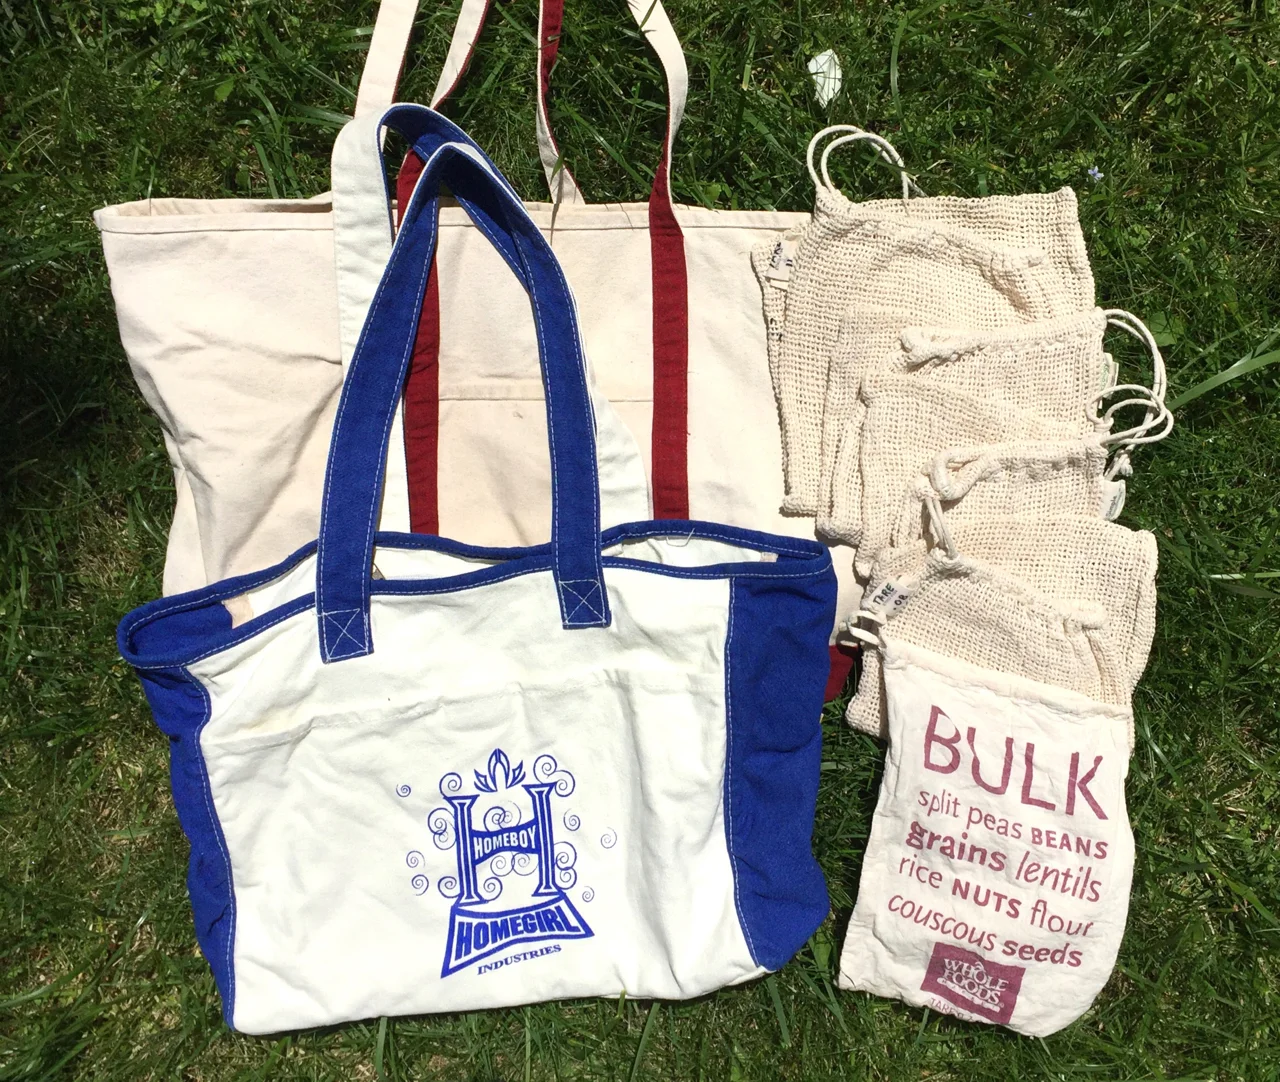
Over the next week, I began a pantry overhaul, reorganizing dry goods into storage jars and making labels. During that process, I noticed that we had a mountain of those thin plastic bags you can get from the roll at the market to hold fruits and vegetables. Clearly we needed a new plan for our produce bags. So I bought reusable net bags from Simple Ecology. The bags are GOTS certified and made from "green" cotton. We have used the bags consistently for the past year, and they're great. When they start to look a little grungy, I put them through a cold water wash cycle and hang them to dry.
With food-plastic more under control, I moved onto personal care and home cleaning products. We can't really be trusted with glass in the shower, or with glass spray bottles of cleaners, but there was no reason to be recycling so many plastic bottles if we could just refill them. I began going to Green 11 to refill our lotions, soaps, and cleansers.
Compared to last year, we're using much less plastic, and we're comfortable with our bulk-and-refill-buying approach. More than that, I must have looked like I had it together at the store last week because I found myself in the bulk section of Rainbow answering questions about tare weights.
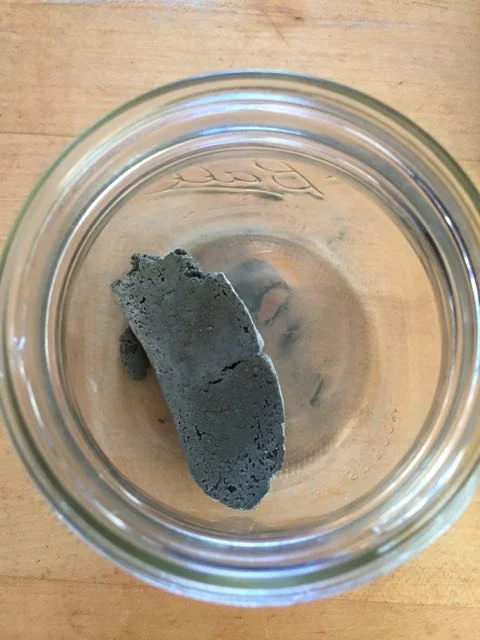
If you know about bulk buying and tare weights, the following is old news. If you don't, though, check it out. Buying in bulk is cheaper than buying the same item pre-packaged, but the tare weight (the weight of your empty container) is critical to that calculation. Let's say I'm buying raisins, and I've scooped them from the bulk bin into the clean, empty jar I brought with me to the store. When I get to the check-out line, the checker will weigh my jar of raisins to determine how much I owe. The way to avoid paying for the weight of jar is by knowing the "tare weight," or the weight of the empty container. So, before I fill my jar, I weigh the jar and the lid together, and write down that weight, measured in pounds, on a label I stick to the jar. When I get to the check-out counter, the checker can subtract the weight of the packaging (tare weight) from the total weight of the raisins and the jar (gross weight), get the net weight of just the raisins. That way, I only pay for the raisins.
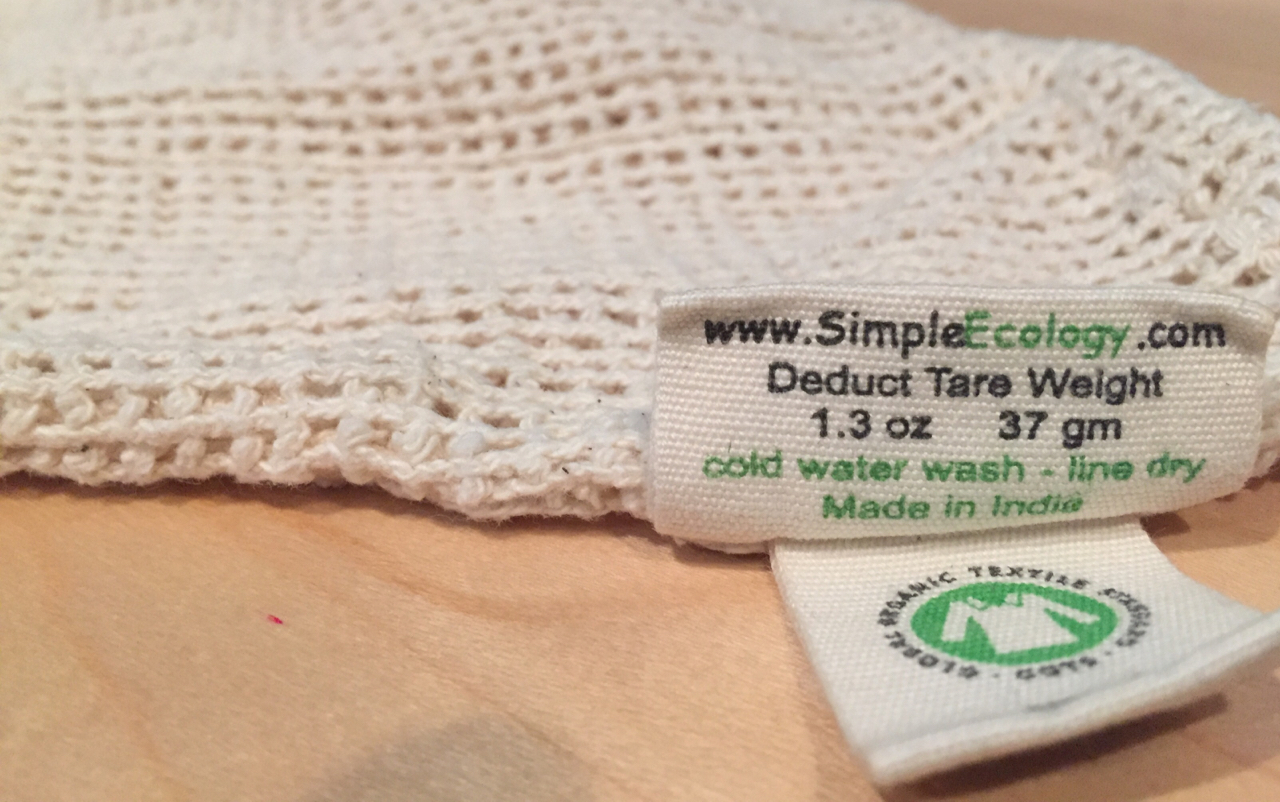
I also pay attention to tare weights of the Simple Ecology bags. The weight, in ounces, is printed on the tag of each of the bags. But as I learned the first time I used the bags, that number is not very helpful for checkers where I live. It seems that check-out systems allow checkers to remove tare weights when the weights are in fractions of a pound, not ounces. When I asked a checker to remove 1.3 ounces from the weight of a bag of apples I was buying, her eyes crossed, and she took a beat. She then she poured the apples onto the scale by the conveyor belt to weigh them without the net bag, and then re-bagged the apples. As the check-out line grew longer and longer behind me, I started to imagine my future shopping visits and the checkers' impending dread as they watched me approach with my bags. My face turned pink with embarrassment just thinking about it.*

There is an easy fix, though. The checkers at stores near me (or maybe all stores in the U.S.?) need to know how much the bags weigh in pounds, so I did the conversion for them. Just multiply the weight of the bag in ounces by the conversion factor (.0625), to get the weight of the bag in pounds. Or, stated another way, where the weight of the bag is 1.3 oz: 1.3 oz x 1 lb / 16 oz = 0.08 lb. And that's the tare weight.
I wrote the tare weight of each bag on its tag with permanent marker, so now I can point the checkers to that number, and they can make the weight adjustment easily. Half the time, the checkers remark that the bags are great and ask me where I got them. With any luck, that means I am only being a little bit annoying with my "do-gooding."
*Marc pointed out to me that the weight of the bags is really very small, so I shouldn't think too much about it. But this was around the time that Whole Foods' weights and measures were being investigated, again, and I was feeling indignant about paying any more than the price of the actual amount of goods I purchased there (or anywhere else).